

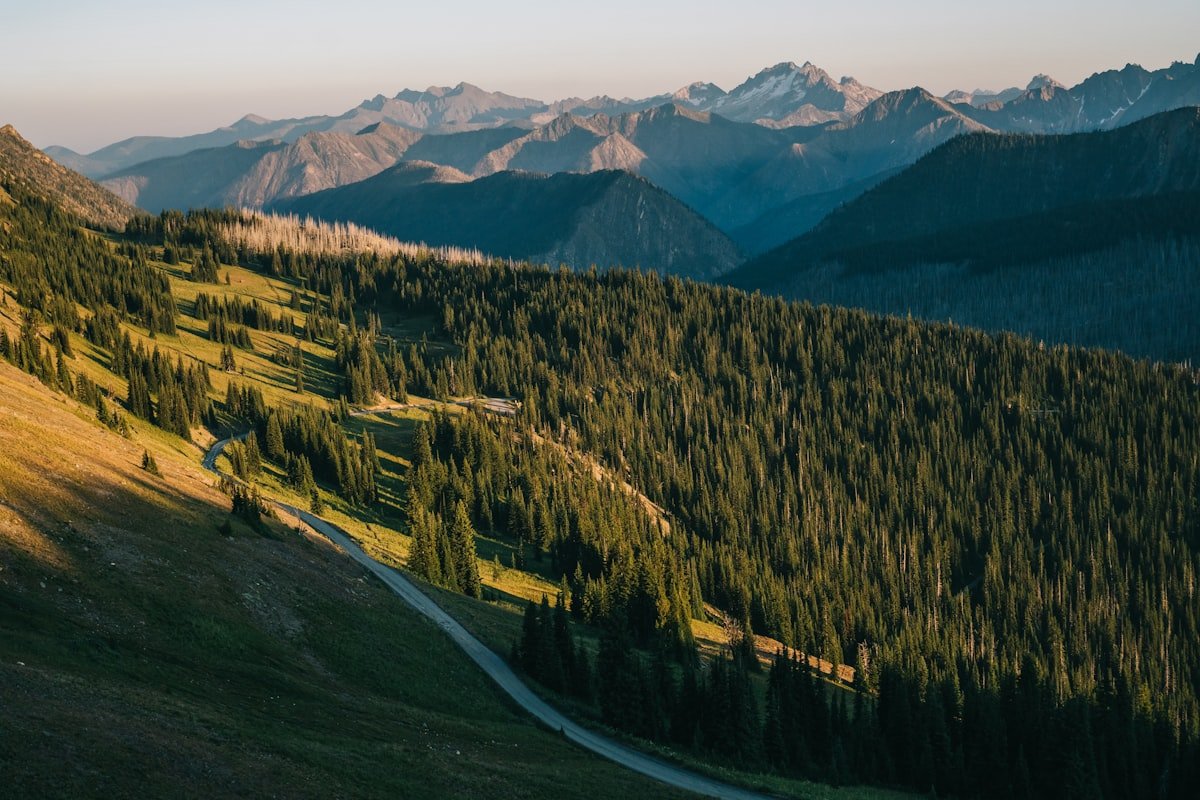
Doing your first multi-day hike feels like a big leap.
It is not just the walking. It is the gear, the food, the weather, the campsite, the transport, and the quiet little fear that you might forget something important.
That is exactly why so many people put it off.
The good news is this: your first multi-day hike does not need to be big, remote, or hardcore to be brilliant. In fact, the best first trip is usually short, simple, and very manageable.
This guide breaks it down step by step so you can go from “I think I’d like to try that” to “I know how to plan it.”
Quick Start: If You Only Need the Basics
If you want the short version, focus on these five things:
- Pick a short, well-marked trail
- Keep your first trip to 1 night or 2 easy days
- Get the Big 3 right: pack, shelter, sleep system
- Test your gear on a loaded day hike first
- Sort your transport, weather, and emergency plan before you leave
Helpful gear pages on Wild Trail Hiker:
Why Multi-Day Hiking Is Worth It
There is a point on a multi-day hike where normal life drops away.
You stop checking the time. You stop rushing. Your world becomes the trail, the weather, your next water refill, and where you will sleep that night.
That is why people get hooked.
Multi-day hiking gives you:
More time in wild places
You get sunset, sunrise, camp life, and the slower rhythm that day hikes never quite deliver.
A real sense of self-reliance
There is something deeply satisfying about carrying what you need and making it all work.
Access to better experiences
Some of the best valleys, ridgelines, campsites, and remote views only make sense once you stay out overnight.
The trick is not to master everything at once.
The trick is to make your first trip easy enough that you can enjoy it while learning.
Step 1: Choose the Right Trail for Your First Trip
This is the most important decision you will make.
A good trail makes your first trip feel exciting and achievable. A bad one makes it feel like survival training.
For your first multi-day hike, do not choose based on ego. Choose based on simplicity.
How Far Should a Beginner Go?
A common mistake is assuming your normal day-hiking pace will carry over once you add a loaded pack.
It will not.
A useful beginner target is:
- Overnight trip: 8 to 12 km per day
- 2 to 3 day trip: 8 to 15 km per day depending on terrain
- Elevation: keep it modest and avoid steep, technical climbs
Ten kilometres on smooth trail is one thing.
Ten kilometres with 600 metres of climbing and a full pack is a different game.
For a first trip, easier is smarter.
What Makes a Good First Multi-Day Trail?
Look for:
- clear signage
- established campsites
- reliable water access
- easy navigation
- simple trailhead access
- low exposure to extreme weather
- exit options if something goes wrong
Check Permits and Rules Early
Before you commit, check:
- campsite booking requirements
- park entry fees
- hiking permits
- fire restrictions
- stove rules
- group size limits
- seasonal closures
A simple trail can still have admin attached to it.
Best Trail Types for Beginners
These usually work best:
Out-and-back trails
Easy to understand, easy to navigate, and familiar on the way back.
Well-marked loops
Great for confidence if the terrain is manageable.
Hut-to-hut routes
A good option if you are nervous about tents or want to simplify your first trip.
For trail inspiration, browse the Wild Trails section.
Best First-Trip Rule
Do not try to impress yourself on trip one. Your first multi-day hike should leave you thinking, I can do that again, not I barely survived that.
Step 2: Build Your Kit List
You do not need an elite setup.
You need a setup that is reliable, comfortable, and realistic for the conditions.
Start With the Big 3
The “Big 3” are the heaviest and most important pieces of your setup:
- pack
- shelter
- sleep system
Get these mostly right and everything else becomes easier.
1. Pack
For a first 1 to 3 day trip, most hikers will land somewhere in the 50L to 65L range.
That is enough room for shelter, food, layers, and sleep gear without encouraging ridiculous overpacking.
A good all-round option is the Osprey Exos 58, featured in our guide to 8 Best Ultralight Backpacks. It is a strong balance of weight and comfort for beginners.
Browse the full Backpacks category for more options.
2. Shelter
Your shelter does not need to be exotic.
For a first trip, simple matters more than ultralight bragging rights.
A freestanding tent is often a very sensible beginner choice because it is easier to pitch on mixed ground. See our guide to 8 Best Freestanding Tents in 2026.
If you want to keep the lightweight angle, also check out 8 Best Ultralight Tents in 2026.
3. Sleep System
This is your sleeping bag plus your sleeping pad.
Beginners often think the pad is optional comfort.
It is not.
The pad also helps insulate you from the cold ground. A bad night of sleep can make day two feel a lot longer.
Clothing Layers
Do not pack for every possible disaster. Pack a system.
A simple setup is:
- moisture-wicking base layer
- insulating mid layer
- waterproof shell
- hiking socks plus a spare pair
- warm camp layer
- sun hat or beanie depending on conditions
Browse the Footwear category for boot and shoe recommendations.
Food and Water
Your first trip is not the time to get fancy.
Keep food simple:
- easy breakfast
- high-calorie snacks
- easy trail lunch
- straightforward dinner
- one or two backup snacks
For water, know:
- where the refill points are
- whether they are reliable
- how much you need to carry between them
- whether you need a filter
Quick Checklist: Beginner Multi-Day Gear
Core
- backpack
- tent or shelter
- sleeping bag
- sleeping pad
- headlamp
- water bottles or bladder
- stove if needed
- lighter
Clothing
- hiking clothes
- warm layer
- rain jacket
- spare socks
- sleep clothes
Safety and admin
- first aid kit
- map or offline navigation
- phone and power bank
- emergency details
- toiletries
- sunscreen
- personal medications
Step 3: Train and Prepare
You do not need to be super fit.
You do need to avoid making your first trip your first real test.
Do a Few Build-Up Hikes
In the month before your trip, do a few longer walks.
Then start adding pack weight.
At minimum, do one or two hikes with something close to your real load. This helps you test:
- shoulder comfort
- hipbelt fit
- footwear
- pacing
- food and water habits
Break In Your Footwear
Never take brand-new boots or shoes on a multi-day trip.
That is how people end up with blisters, bad moods, and a very long walk out.
If you bought new footwear, use it on several walks first.
Basic Conditioning
You do not need a custom training block.
Just build useful hiking fitness:
- walk more
- use hills or stairs
- strengthen your legs
- build comfort under pack weight
- keep your calves and hips mobile
Best Preparation Tip
Do one dress rehearsal before the real trip. Load your pack, wear the actual footwear, and do a decent day hike. Tiny problems show up early when you test them.
Step 4: Plan Your Logistics
This is where most first-trip anxiety lives.
The more you solve at home, the calmer the hike feels.
Transport
Confirm:
- where the trail starts
- where it finishes
- whether it is a loop or point-to-point
- whether you need a shuttle
- what the road access is like
- where you can park
Weather
Check the forecast in the days before your hike and again just before leaving.
Pay attention to:
- temperature
- rain
- wind
- overnight lows
- storm risk
- exposed sections
If the weather looks ugly, postpone.
There is no prize for forcing a bad first trip.
Emergency Plan
Always leave your trip plan with someone you trust.
They should know:
- where you are going
- who you are with
- when you expect to finish
- when to escalate if you do not check in
Download offline maps before leaving as well.
For related navigation content, see 8 Best Hiking Compasses in 2026.
Step 5: Your First Night on Trail
This is the bit most beginners worry about.
Ironically, it is also the bit many people end up loving most.
What Usually Surprises People
Camp tasks take longer than expected
Pitching, collecting water, cooking, and getting organised all take time.
You feel colder once you stop moving
That is normal.
The bush sounds different at night
Also normal.
Your sleep may be average
That is fine. One imperfect night does not make it a bad trip.
Arrive in Camp Early
Try to reach camp with daylight left.
That gives you time to:
- pitch calmly
- sort your water
- eat before you are wrecked
- find your gear easily
- fix mistakes without stress
Keep Your Night Setup Simple
A few good rules:
- headlamp always in the same spot
- warm layer easy to grab
- water bottle easy to reach
- toilet items easy to find
- rain gear accessible if weather turns
Beginner Mistakes to Avoid
- choosing a trail that is too hard
- overpacking
- using untested gear
- wearing brand-new boots
- ignoring water planning
- arriving at camp too late
- assuming the forecast does not matter
- treating the trip like a toughness test
A good first trip should build momentum.
That is the real goal.
Conclusion
Planning your first multi-day hike is not about being perfect.
It is about making a series of sensible decisions:
- choose a forgiving trail
- carry a simple, reliable kit
- test your setup first
- sort your logistics properly
- keep the first trip manageable
Once you do one successful overnight or short multi-day hike, the whole idea becomes much less intimidating.
That is when the bigger adventures start to feel real.
Ready to Start Planning?
Start here:
- Browse Backpacks
- Compare options in Footwear
- Explore Wild Trails
- Read 8 Best Ultralight Backpacks
- Review 8 Best Freestanding Tents in 2026
If you are carrying a full pack for the first time, trekking poles are also worth considering as part of your setup.
Useful Planning Resources
For trail finding and route planning, AllTrails is one of the best tools for discovering multi-day hiking routes with maps and reviews. The Leave No Trace Center is also worth bookmarking for responsible hiking practices before your first overnight trip.
