

Last updated: August 2026
Wild Trail Hiker is reader-supported. We may earn a commission when you buy through links on this page, at no extra cost to you. We only recommend products we’d consider taking on a multi-day trip ourselves.
Before You Go
The Skyline Trail is Jasper National Park’s most popular backcountry hike, and it books out fast: Parks Canada opens reservations for the whole season in late January, months before most hikers start planning. You need a mandatory backcountry camping permit for every night, you’re locked into the specific campgrounds on that permit, and campfires are banned at all six of them. This is grizzly country and critical woodland caribou habitat, so bear spray is essential and dogs are banned on most of the route. More than half the trail sits above treeline, which means real exposure to wind, lightning, and snow that can fall in any month, even at the height of summer.
Why This Trail
The Skyline earns its name honestly. Of the 44.1 km one-way route, more than 25 km runs above treeline, which is an unusually high proportion for a maintained backcountry trail in the Canadian Rockies. Most multi-day hikes trade a day or two of alpine payoff against long stretches of forest walking to get there. The Skyline flips that ratio: you climb out of the trees on day one and mostly stay there, crossing three named passes and a long, exposed ridge with views that keep opening rather than repeating.
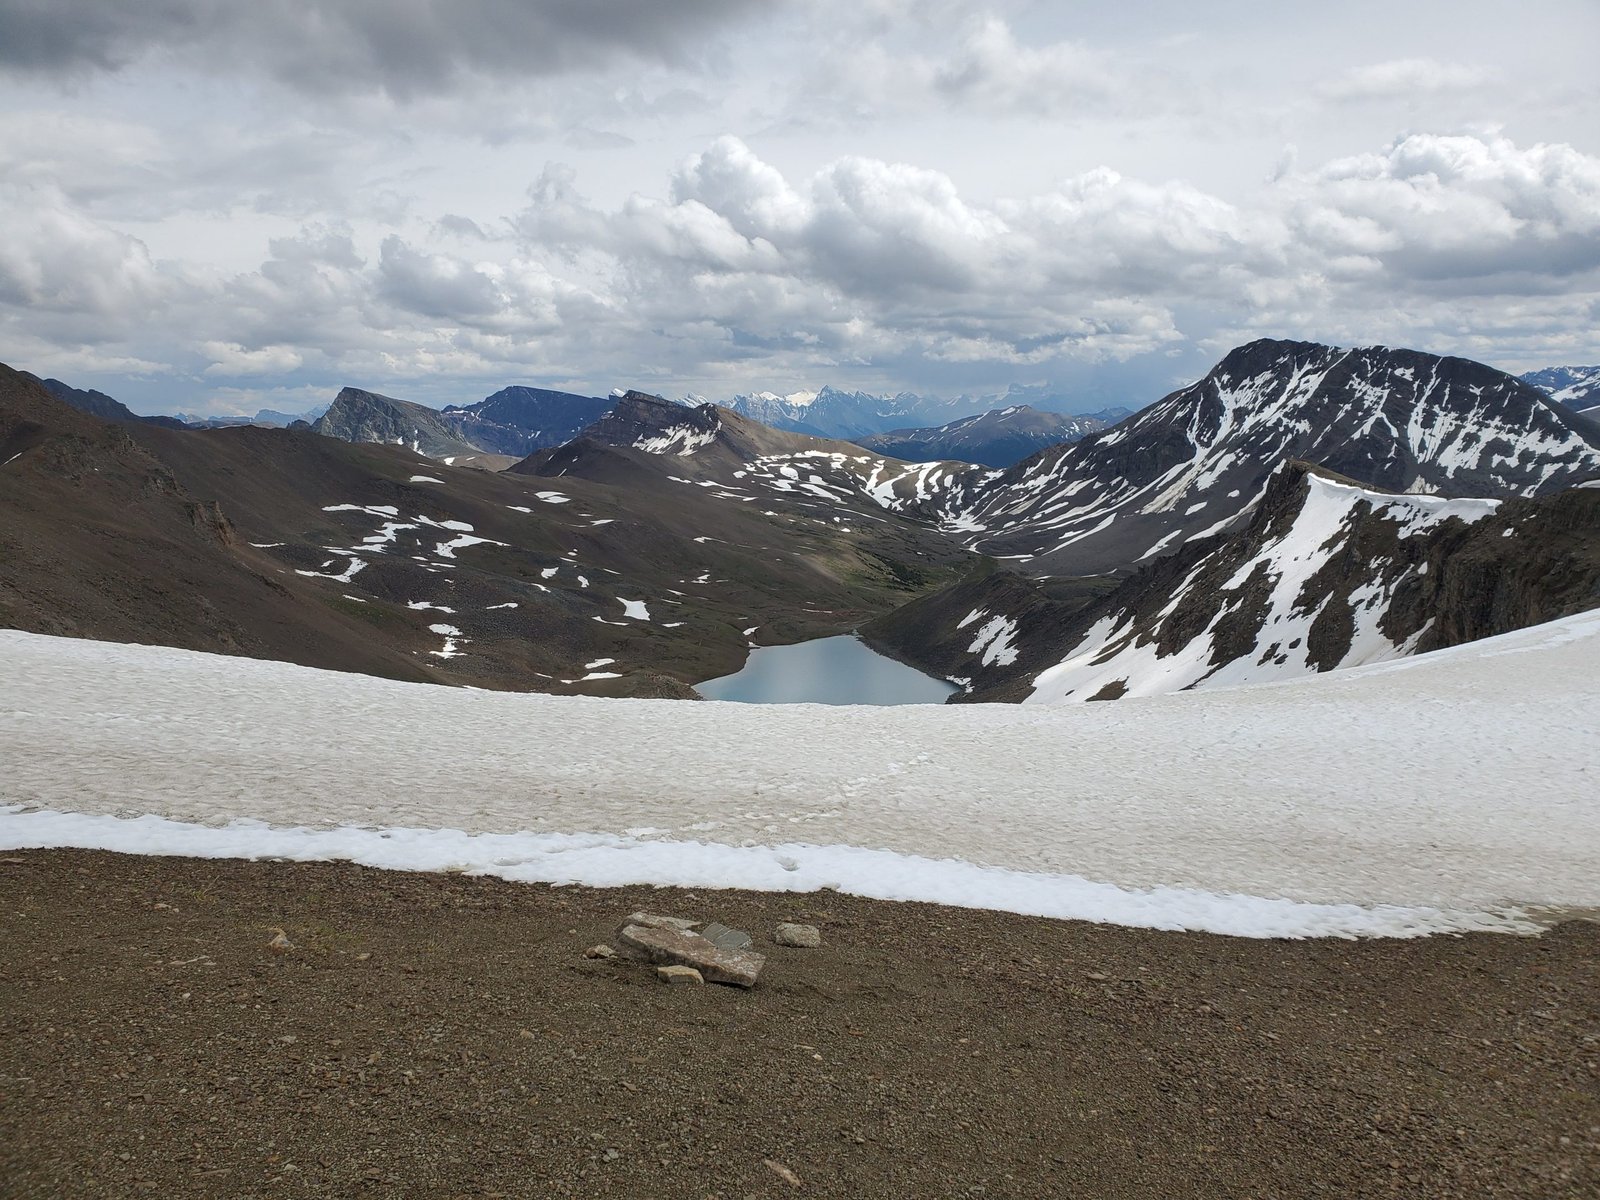
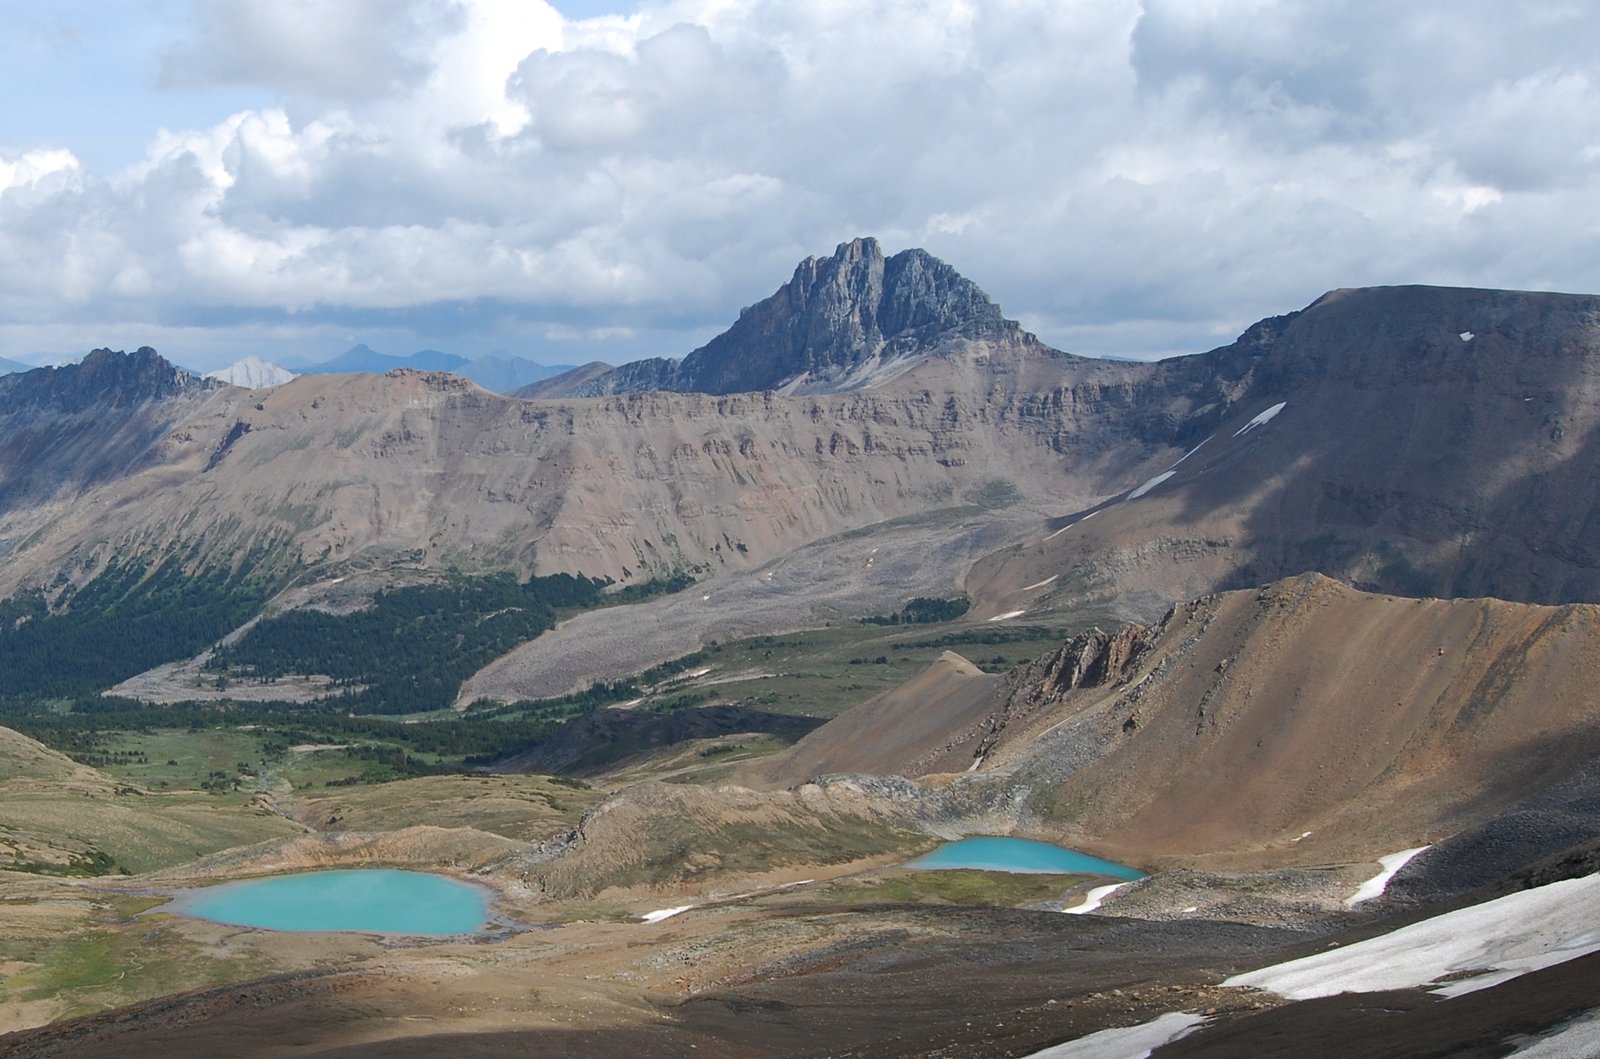
The trail’s defining stretch is The Notch, a narrow, wind-scoured col at 2,510 m, the highest point on the route, with a steep drop-off on one side and Mount Edith Cavell filling the skyline behind it. From there the trail doesn’t drop straight back down. It follows the summit ridge of Amber Mountain for close to 3 km, exposed the whole way, with the Icefields Parkway, the Jasper townsite, and on a clear day Mount Robson all visible at once. Among experienced Rockies hikers, this ridge walk is consistently the section people talk about afterward. Add wildflower meadows that peak in August, a genuine chance of grizzly and woodland caribou sightings, and a maintained trail (no off-trail navigation required, unlike some of the more remote treks on this site), and it’s easy to see why this is the trail every serious hiker in Jasper wants a permit for.
Trail at a Glance
- Distance: 44.1 km (27.4 miles) one-way, point-to-point.
- Duration: 2 to 4 days. Most hikers take 3 days, 2 nights; a 4-day pace gives more time to enjoy the alpine sections rather than just cross them.
- Difficulty: Hard. Total elevation gain and loss of roughly 1,410 m (4,626 ft), sustained exposure above treeline for over half the route, and a steep, unforgiving climb to The Notch. This is a maintained, signed trail with no off-trail navigation required, which puts it a notch below the site’s expert-only treks, but it still demands solid multi-day fitness and comfort with alpine weather exposure.
- Best season: Early July through early October. Snow can persist at The Notch well into July in a heavy year, and Parks Canada’s own guidance is not to book campsites until late July once the pass has cleared. Snow is possible at any time of year at this elevation, including midsummer.
- Permits: Mandatory backcountry camping permit for every night, booked through Parks Canada’s online reservation system. Reservations for the whole season open in late January (the 2026 window opened January 28 at 8:00am Mountain Time), which is unusually early and easy to miss. Backcountry camping costs $15 CAD per person per night (2026 rate), on top of the park’s daily entry fee.
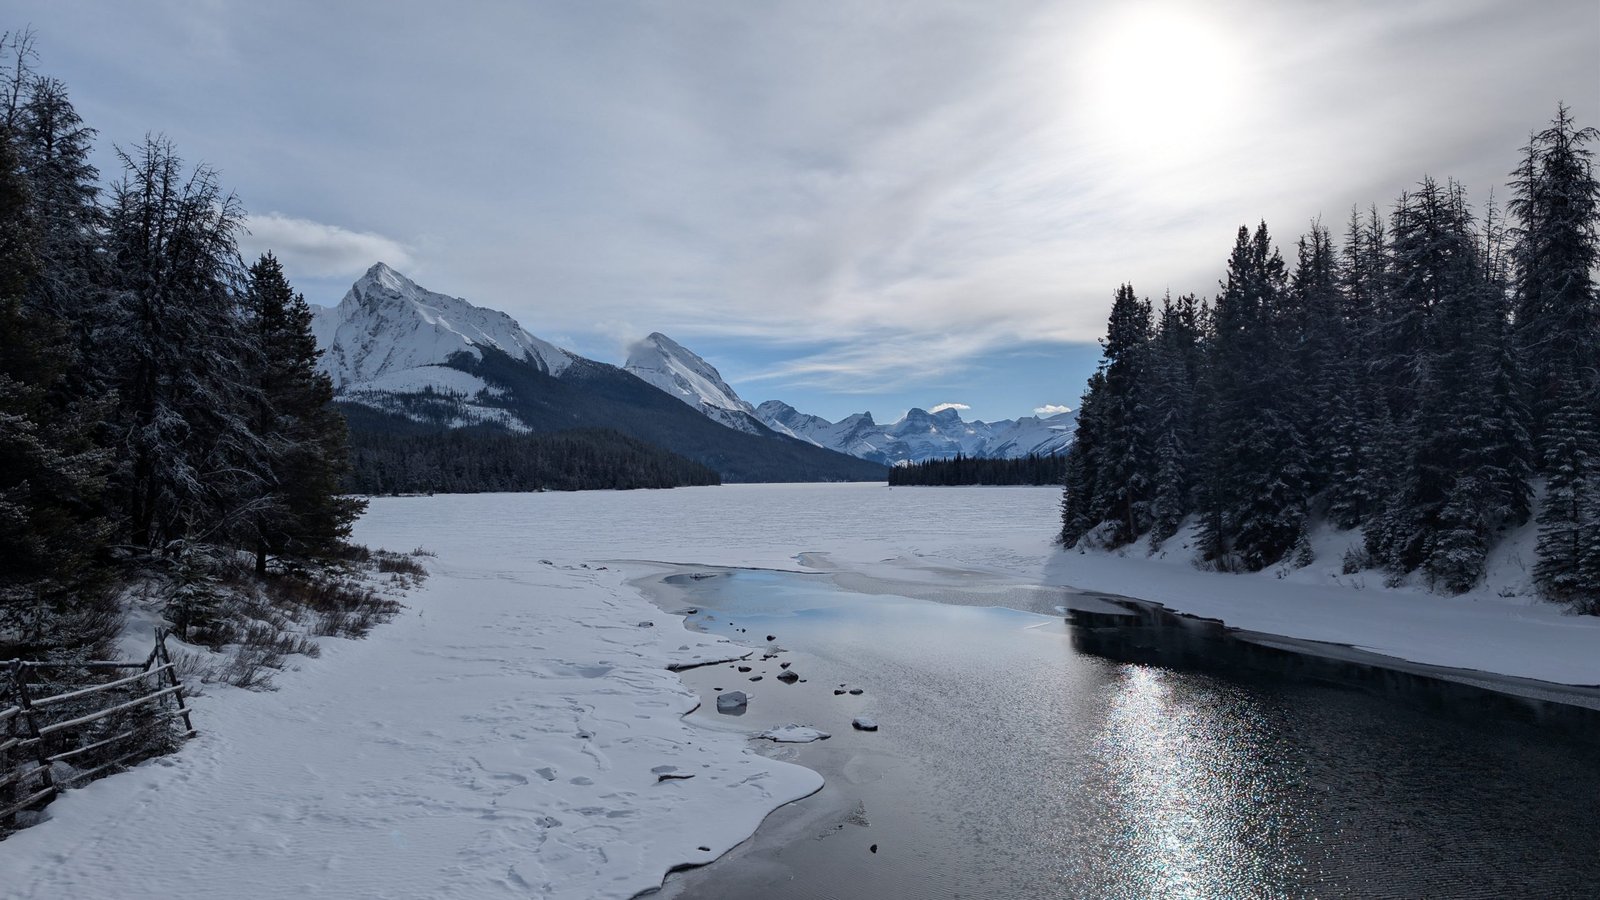
- Start trailhead: Maligne Lake Trailhead, at the west side parking lot beyond the Maligne Lake chalet: Maligne Lake Chalet on Google Maps (the trailhead itself is about 250 m further down the road, on the right, just before the day-use parking lot). Most hikers walk south to north from here, since the route loses more elevation than it gains in this direction.
- End trailhead: Signal Trailhead (also called the North Skyline Trailhead), 8 km south of Jasper townsite on Maligne Lake Road: Signal Trailhead on Google Maps.
The route runs one-way between two trailheads roughly 40 minutes apart by road, not a loop. Wabasso trailhead, sometimes described elsewhere as a mid-route exit, is currently closed to Skyline access, and Curator Trail is closed under a superintendent’s order after 2024 wildfire damage: see the Getting There and Away and Logistics sections below for what that means in practice.
Trail Map
View the Skyline Trail on AllTrails: includes the elevation profile, recent hiker photos, and condition reports.
Parks Canada’s official Skyline Trail Backcountry Guide (PDF): the source of truth for campground locations, elevation profile, and current trail closures, updated for the 2026 season. Carry a proper topographic map in the backcountry; recommended options are the National Topographic System sheets Medicine Lake 83C/13 and Athabasca Falls 83C/12, the National Geographic Jasper South map, or the Gem Trek Jasper and Maligne Lake map.
Getting There and Away
Getting there (Maligne Lake Trailhead, south end): The nearest airport with regular commercial service is Edmonton International Airport (YEG), about 385 km (240 miles) from Jasper townsite, roughly a 4 to 4.5-hour drive west on Highway 16. Sundog Transportation and Tours runs a direct coach between the airport and Jasper townsite twice daily, taking about 5 hours; rideshare options like Poparide are also common on this route. VIA Rail’s Canadian service also stops in Jasper, an option worth considering if you’d rather not drive the whole way. From Jasper townsite, it’s a further 46 km south on Maligne Lake Road to the Maligne Lake trailhead itself, past the Maligne Canyon and Medicine Lake viewpoints; you’ll need a car or shuttle for this leg, since there’s no scheduled public transit down the Maligne Valley.
Because this is a one-way hike, most solo hikers or single-car groups use a hiker shuttle rather than a car swap. Maligne Adventures runs the Express Hiker’s Shuttle daily between the Signal Trailhead and the Maligne Lake trailhead through the hiking season, a 45-minute trip costing around $35 CAD one-way; book ahead, since seats sell out on peak weekends. The most common approach: park your car at Signal Trailhead (your finish point), take the morning shuttle up to Maligne Lake to start, and find your car waiting when you walk out.
Getting away (Signal Trailhead, north end): Signal Trailhead sits directly on Maligne Lake Road, 8 km south of Jasper townsite, with its own parking area (overflow parking is available 500 m further on at the Maligne Overlook lot). If you left your car here, you’re done. If you took the shuttle in both directions or arrived without a vehicle, it’s a short taxi or rideshare into Jasper townsite from the trailhead.
Staging town: Jasper townsite is the obvious base, with groceries, gear shops, a range of accommodation from hostels to hotels, and the VIA Rail station. Book accommodation well ahead for peak summer weeks; Jasper is a small townsite inside a hugely popular national park, and rooms go fast alongside the trail permits themselves.
Day-by-Day Breakdown
The breakdown below follows the standard 3-day, 2-night itinerary, walked south to north from Maligne Lake to Signal Trailhead, using official Parks Canada campground names, elevations, and distances. A 4-day version, adding a night at Curator Campground to split the long second day, is a sound choice if you’d rather not do an 18 km day with 500 m of climbing; it’s noted at the end of this section.
Day 1: Maligne Lake Trailhead to Snowbowl Campground (12.2 km / 7.6 miles, about 545 m / 1,790 ft gain)
Highlight: Little Shovel Pass and the first big views back over Maligne Lake.
The trail climbs gently from the Maligne Lake trailhead (1,690 m) through subalpine forest for the first stretch, reaching Evelyn Creek Campground at 4.8 km (1,825 m), a small, quiet site that suits hikers who start late in the day but isn’t the usual first-night stop on a 3-day plan. From there the climb steepens through to Little Shovel Campground (2,233 m) around the 8 km mark, and on to Little Shovel Pass (2,240 m) shortly after, where the trees thin out and the views open up over Maligne Lake and the Bald Hills behind you. Past the pass the trail descends into the wide alpine meadow bowl that gives Snowbowl Campground its name, at 12.2 km (2,094 m). Snowbowl is the busiest of the six campgrounds and books out first; some tent pads here are recycled plastic lumber rather than soil, so bring cord to secure your tent to the provided anchor points rather than pegs.
Day 2: Snowbowl Campground to Tekarra Campground (18.2 km / 11.3 miles, about 521 m / 1,710 ft net gain)
Highlight: The Notch and the exposed ridge walk along Amber Mountain, the marquee stretch of the whole trail.
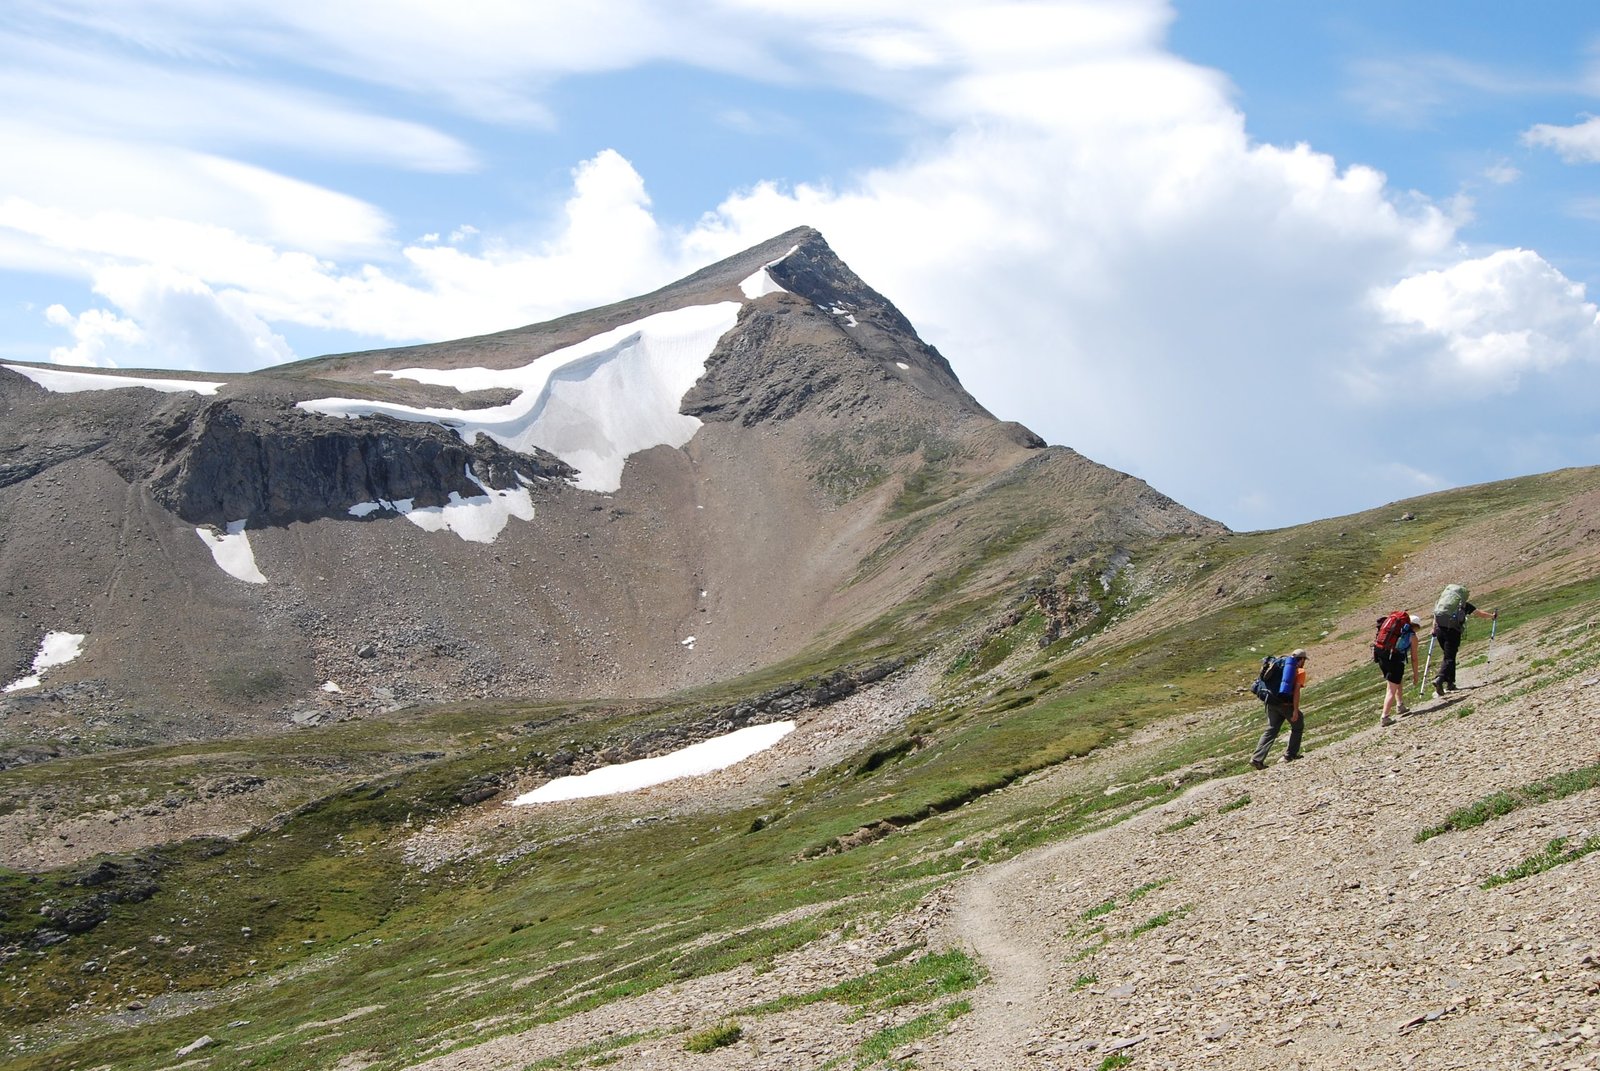
This is the trail’s biggest and most demanding day, and it’s worth starting early to give yourself time on the ridge without rushing. A steady climb of about 5.3 km takes you to Big Shovel Pass (2,320 m), then a gentle 2 km descent brings you to the Curator Campground junction (2,210 m); Curator itself sits 0.8 km off the main trail and a further 1.2 km from Curator Lake, a worthwhile detour if you have the legs for it. From the junction, the trail climbs steeply and directly for 2.6 km to The Notch (2,510 m), the highest point on the route: a narrow col with a real drop-off on one side, framed by Mount Edith Cavell in the distance. From The Notch, the trail doesn’t descend right away. It follows the summit ridge of Amber Mountain for close to 3 km with almost no elevation change, fully exposed, with sweeping views toward the Icefields Parkway, the Jasper townsite, and Mount Robson on a clear day. This is spectacular hiking and a genuinely bad place to be caught in a thunderstorm; check the forecast before you commit to the day. Past the ridge, a steady 5.5 km descent brings you down to Tekarra Campground (2,062 m), set beside a fast-moving creek.
Day 3: Tekarra Campground to Signal Trailhead (13.7 km / 8.5 miles, mostly descending)
Highlight: Long views over the Athabasca Valley on the way down, and the satisfaction of a trail you’ll want to talk about for a while.
The first 5.3 km out of Tekarra roll gently through subalpine terrain with short ups and downs to the Signal Campground junction (2,010 m), passing Signal Campground itself, a quiet site with views over Jasper townsite from the hills above it. From the junction, the trail commits to a long, steady, at times steep 8.4 km descent through the forest back to the valley floor and the Signal Trailhead on Maligne Lake Road. It’s a straightforward day on tired legs rather than a technical one, but the sustained descent works your knees hard after two days of alpine walking; trekking poles earn their keep here as much as anywhere on the route.
4-day option: add a night at Curator Campground between Snowbowl and Tekarra, splitting Day 2’s long 18.2 km push into two shorter days of roughly 8 and 10 km. This gives you a full afternoon to explore Curator Lake and takes the pressure off doing the Notch climb and the exposed ridge walk on tired legs from an already long day.
What to Expect
Terrain: More than half the route runs above treeline, over alpine tundra, meadow, and rocky pass terrain, crossing Little Shovel Pass, Big Shovel Pass, and The Notch. The steepest, most sustained climbs and descents bookend the trip: the push to Little Shovel Pass on Day 1, the Notch climb on Day 2, and the long descent to Signal Trailhead on Day 3.
Weather: This is a genuinely exposed high-alpine trail, and conditions can turn fast. Snow is possible in any month at this elevation, and the trail is really only reliably hikeable from early July to early October; even then, wind, rain, and the odd summer snow squall on the ridge are real possibilities. The Amber Mountain ridge section past The Notch has essentially no shelter, so a thunderstorm forecast is a genuine reason to delay or reroute your day.
Wildlife: This is grizzly bear country, with bears active and visible in the high meadows through summer and autumn; carry bear spray and know how to use it. The Skyline Trail also crosses critical habitat for the Brazeau woodland caribou herd, which is the reason dogs are banned on the trail between Maligne Lake and the Signal Campsite. Treat both encounters with respect and distance.
Crowds: This is Jasper’s most popular backcountry trail by a wide margin, which is exactly why the permit system exists and why reservations open so early. Expect to share campgrounds, particularly Snowbowl, with other groups most nights in peak season; genuine solitude isn’t really the draw here, the scenery is.
Signature features: Maligne Lake at the start, Little Shovel and Big Shovel Passes, the optional Curator Lake side trip, The Notch, the Amber Mountain ridge walk, and Mount Edith Cavell and Mount Robson views from the high sections.
Water: sources, safety, and treatment
Water is generally easy to find on the Skyline: creeks and streams cross or run near the trail for most of its length, and each of the six official campgrounds (Evelyn Creek, Little Shovel, Snowbowl, Curator, Tekarra, and Signal) has a nearby water source. No official Parks Canada statement was found declaring any specific source on this trail safe to drink untreated, and the standard practice across Jasper’s backcountry, given the presence of beavers, wildlife, and other hikers upstream at lower elevations, is to treat every source regardless of how clear or remote it looks. A lightweight squeeze or gravity water filter handles this trail well; purification tablets are worth carrying as a backup, since a filter can freeze solid on a cold night at the higher camps like Snowbowl or Tekarra.
Logistics
The permit is the main planning bottleneck, not the cost. Reservations for the full season open online at reservation.pc.gc.ca in late January (the 2026 window opened January 28 at 8:00am Mountain Time), and popular July and August dates, especially Snowbowl Campground, can fill within days. Backcountry camping runs $15 CAD per person per night (2026 rate), on top of the park’s standard daily entry fee; you can also book by phone at 1-877-737-3783. You’re required to camp at the specific campgrounds listed on your permit, not wherever you like along the route.
Every one of the six campgrounds (Evelyn Creek, Little Shovel, Snowbowl, Curator, Tekarra, and Signal) has an outhouse and a bear-proof food storage locker; use the lockers rather than hanging food. Campfires are banned at all six campgrounds. Dogs are not permitted on the trail between Maligne Lake and the Signal Campsite, and bikes are banned on the same stretch. Parks Canada’s general backcountry guide mentions the Wabasso Trail as a possible poor-weather escape route from the Skyline, but the same official Skyline page states there is currently no access to or exit from the trail via the Wabasso trailhead, and that the Curator Trail is closed under a superintendent’s order following 2024 wildfire damage. Check current trail conditions directly with Parks Canada before relying on any escape route.
Mandatory Gear Checklist
- Bear spray. Non-negotiable in grizzly country with bears regularly active in the high meadows. See best bear sprays.
- A reliable water filter, since no source on the route is confirmed safe to drink untreated. See best water filters for hiking.
- Trekking poles, genuinely useful on the Notch climb and the long, steady Day 3 descent into Signal Trailhead. See best trekking poles.
- A proper wind-resistant, waterproof shell and warm insulating layers, given how exposed the Amber Mountain ridge is and how fast weather turns above treeline, even in August. See best lightweight hiking jackets and best insulated jackets for hiking.
- Sturdy, broken-in waterproof hiking boots, for the rocky pass terrain and sustained climbs and descents. See best waterproof hiking boots.
- A physical topographic map, even though this is a signed, maintained trail; the alpine sections have limited landmarks in poor visibility, and Parks Canada names three specific map options for this route. See best hiking compasses.
- A satellite messenger or PLB is worth considering, since cell coverage is unreliable to absent through most of the backcountry section, consistent with most of Jasper’s backcountry.
For the full kit list with specific picks for every category, see What to Pack for the Skyline Trail.
Honest Assessment
The Skyline suits hikers with solid multi-day fitness and some backcountry experience who want maximum alpine scenery for a moderate technical demand. It’s a maintained, signed trail, not an off-trail route, so it doesn’t require the navigation skills a trip like the Long Range Traverse does. What it does require is genuine fitness for sustained climbing and descending, comfort with real exposure to wind and weather on the ridge, and a willingness to plan around Parks Canada’s early reservation window.
It’s not the right choice for a first multi-day hike. The elevation gain, the length of Day 2, and the total lack of shelter on the Amber Mountain ridge all punish underestimating this trail. Hikers who want a shorter taste of Jasper’s alpine scenery without the permit scramble or the distance have easier options nearby, including a range of day hikes around Maligne Lake itself. Among experienced Rockies hikers, the consensus is that the Skyline is one of the best-value backcountry trips in the Canadian Rockies for the ratio of scenery to technical difficulty, precisely because so much of the route sits above treeline on a trail you don’t need off-trail navigation skills to follow.
Final Thoughts
The Skyline rewards hikers who plan ahead more than almost anything else about it: get your permit the moment reservations open in January, watch the Notch snow conditions before booking late-June or early-July dates, and pack for real alpine weather even in the middle of summer. If your trip planning and permit-booking process needs a refresher before a trail like this, how to plan your first multi-day hike covers the fundamentals this trip leans on hardest. Ready to build your kit? What to Pack for the Skyline Trail covers the exact gear, category by category.
Frequently Asked Questions
Do I need a permit for the Skyline Trail?
Yes, for every night. Backcountry camping permits are mandatory and booked through Parks Canada’s online reservation system, which opens for the whole season in late January, months earlier than most hikers expect. Popular July and August dates can sell out within days.
How hard is the Skyline Trail?
It’s a hard, physically demanding hike with roughly 1,410 m of cumulative elevation gain and loss over 44.1 km, and more than half the route sits above treeline with real weather exposure. It’s a maintained, signed trail rather than an off-trail route, so it doesn’t demand advanced navigation skills, but it does demand solid multi-day fitness.
What’s the best month to hike the Skyline Trail?
The trail is typically only reliably hikeable from early July to early October. Parks Canada advises against booking campsites until late July in most years, since snow can linger at The Notch, the trail’s highest point, well into the summer.
Can beginners hike the Skyline Trail?
It’s not the best choice for a first multi-day hike. The sustained elevation gain, the length of the second day, and the total exposure on the Amber Mountain ridge all demand real backcountry fitness and comfort with alpine weather. Hikers building up to a trip like this are better served starting with a shorter, less exposed multi-day trail first.
Do I need a shuttle or two vehicles?
Yes, since this is a one-way, point-to-point hike between two trailheads about 40 minutes apart by road. Most hikers either arrange a hiker shuttle, such as the Maligne Adventures Express Hiker’s Shuttle between Signal Trailhead and Maligne Lake, or use two vehicles staged at each end.
