

Last updated: September 2026
Wild Trail Hiker is reader-supported. We may earn a commission when you buy through links on this page, at no extra cost to you. We only recommend products we’d consider taking on a multi-day trip ourselves.
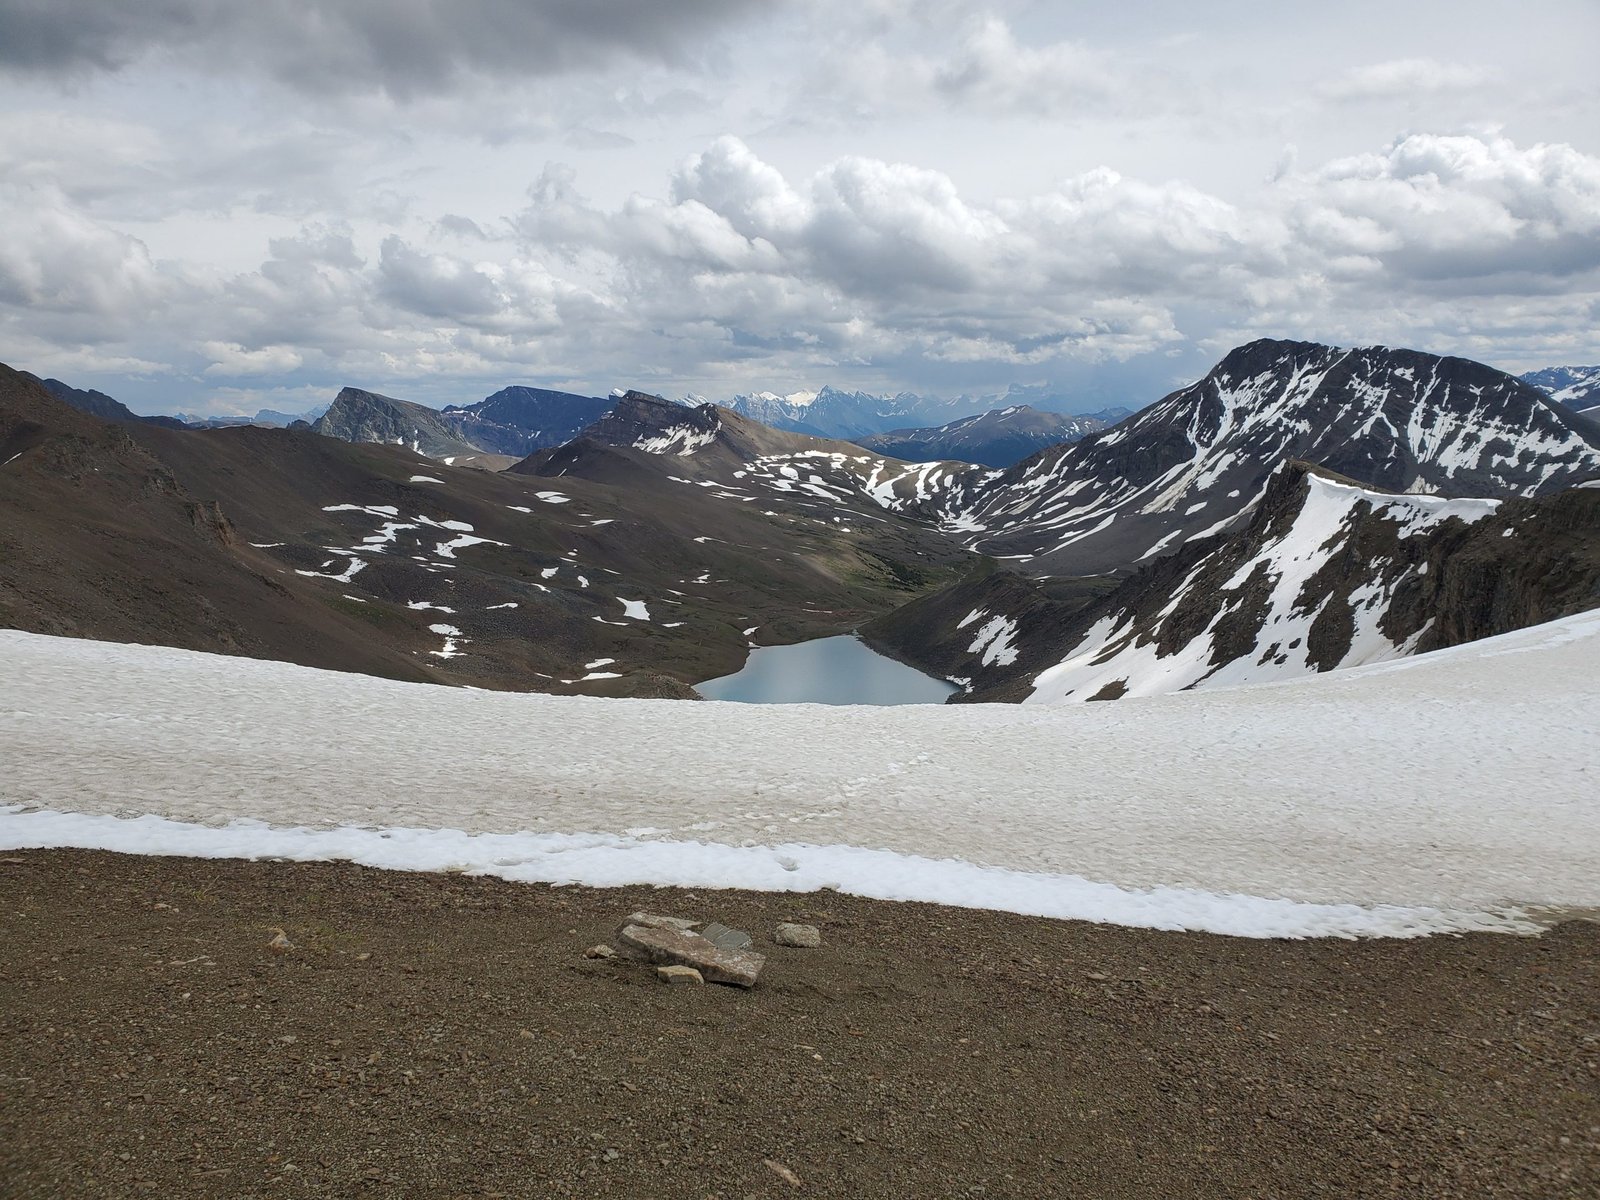
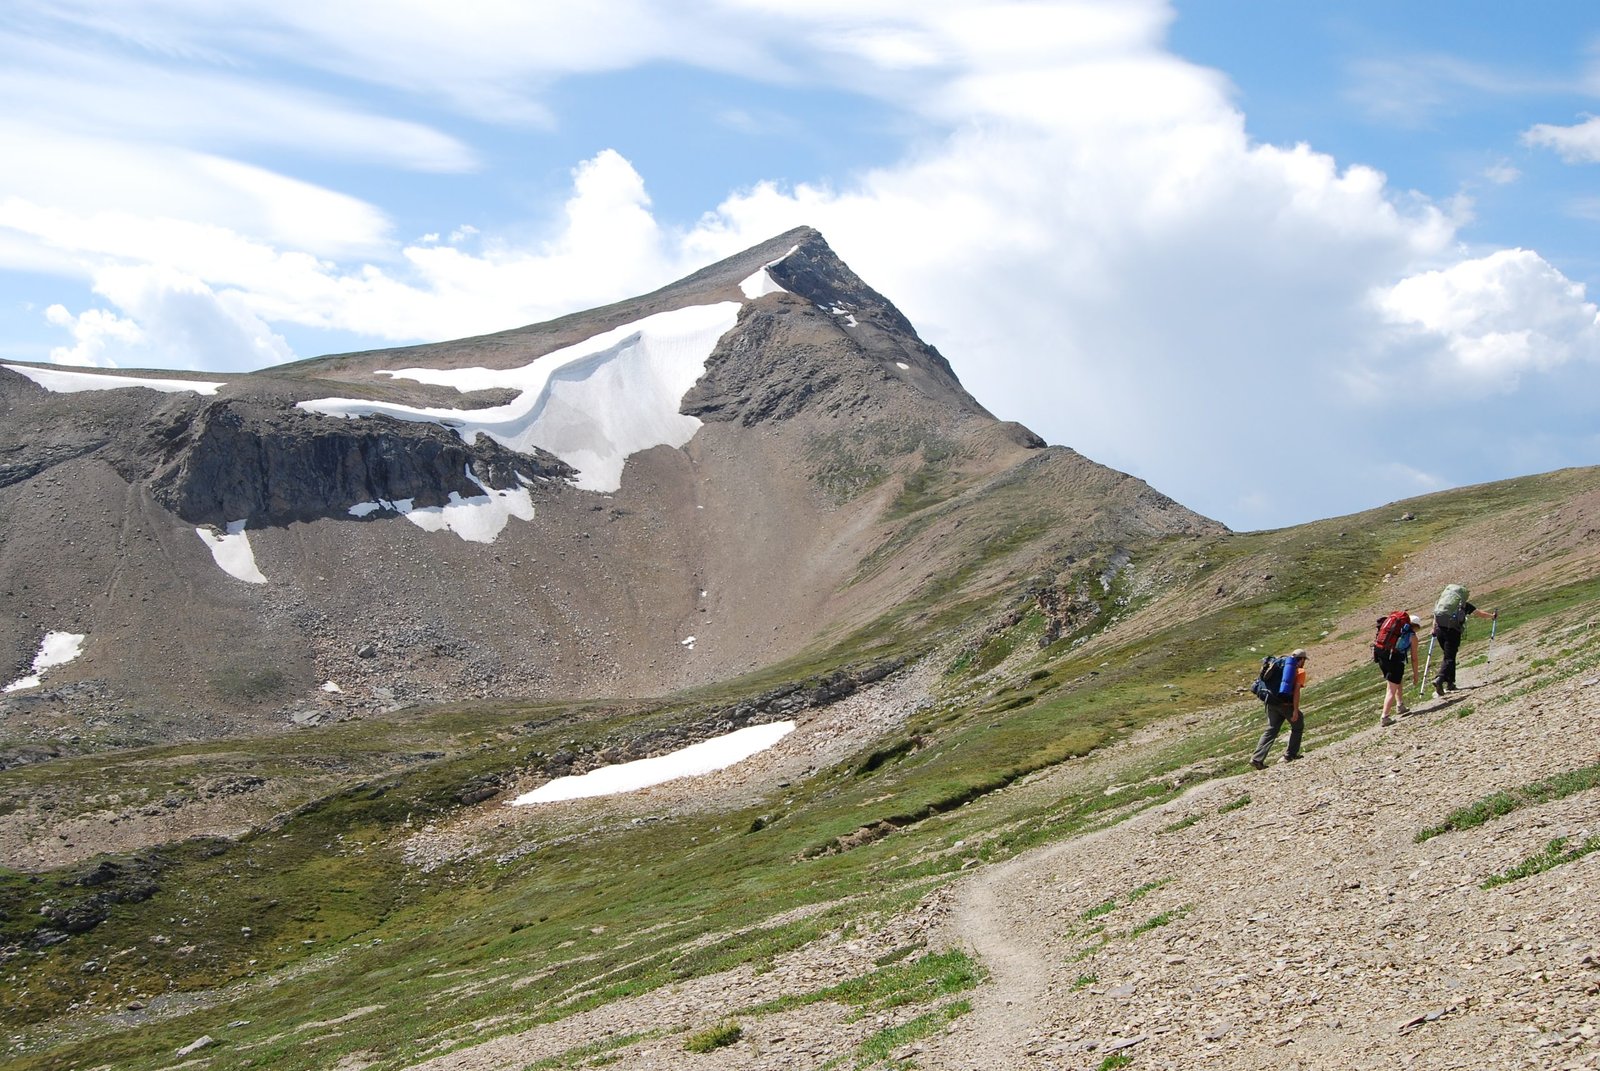
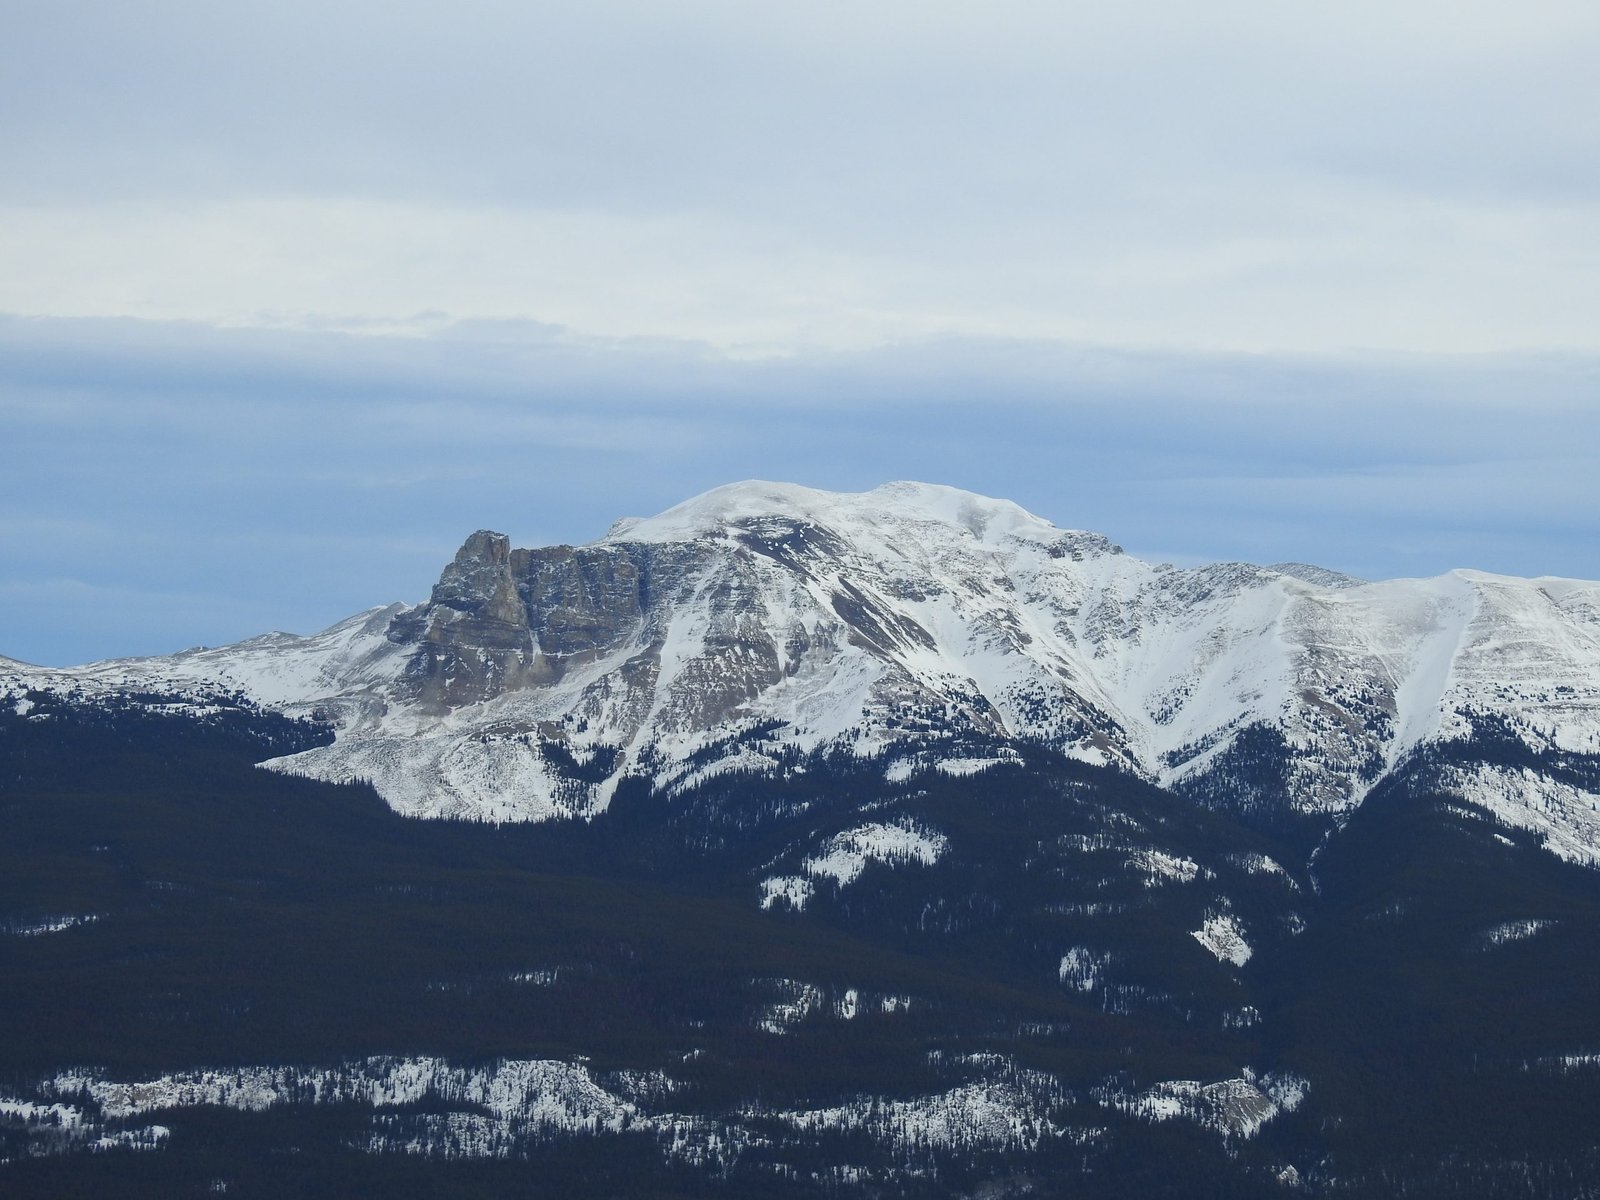
There is a stretch on Day 2 of the Skyline Trail where the trail stops climbing and just stays up there. You crest The Notch at 2,510 m, Mount Edith Cavell fills the skyline in front of you, and then the trail runs the top of Amber Mountain for close to 3 km with nothing between you and the view: the Icefields Parkway, the Jasper townsite, Mount Robson on a clear day. It is one of the best sustained ridge walks in the Canadian Rockies, and more than half the trail sits above treeline like this.
That same exposure is what makes the kit non-negotiable. There is no shelter on that ridge if a storm builds, grizzlies are genuinely active in the high meadows, and every campground sits far enough into the backcountry that a gear mistake becomes a long, cold night. This is what to pack for the Skyline Trail: the kit dialled for this specific trail, not a generic packing list.
Still deciding whether to walk it? Start with the full Skyline Trail guide for the day-by-day route, permits, and water planning. For the broader system behind these gear calls, see Multi-Day Hiking Gear: What You Actually Need.
Conditions That Drive Your Kit
44.1 km one-way, usually walked in 3 days, 2 nights (2 to 4 days is the normal range). Season window is early July through early October, with snow possible on The Notch into July in a heavy year and possible at any elevation in any month. More than half the route runs above treeline across three passes, with essentially no shelter on the Amber Mountain ridge past The Notch. Grizzly and black bears are active and visible in the high meadows. Water is plentiful at every campground, but no source on the trail is confirmed safe to drink untreated. There is little to no cell signal along most of the route. Full specs and the day-by-day breakdown are in the destination guide.
How This Kit Is Built
This list is built from Parks Canada’s own summer backcountry equipment checklist for Jasper, CleverHiker’s operator-grade Skyline Trail gear list, and Off Track Travel’s 2026 trip report from hikers who walked it this season. Everything here earns its place against the three things the Skyline throws hardest at you: sustained exposure above treeline with real weather risk, grizzly country you cannot opt out of, and cold, high-elevation camps with no way to warm up except your own gear.
The Kit, by Category
Bear Spray
Non-negotiable. Jasper’s high meadows have active, visible grizzly and black bear populations, and every source checked for this guide, from Parks Canada down, lists bear spray as essential.
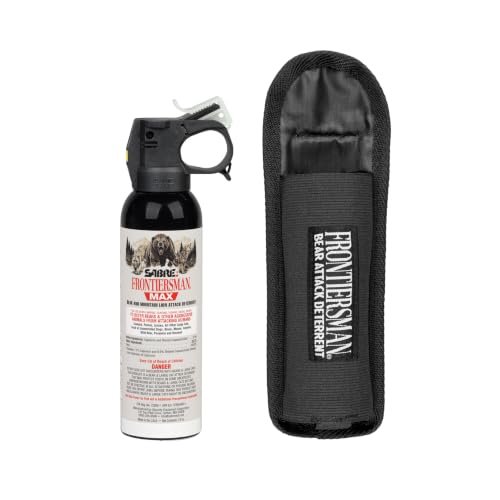
SABRE Frontiersman MAX 7.9 oz Bear & Mountain Lion Spray: Best Overall. Strong range claim in a genuine bear-spray format, sized to clip onto a hip belt or chest holster rather than bury in your pack. Keep it accessible, not packed away, and know how to use it before you’re on trail. Compare more options: Best Bear Sprays for Multi-Day Hiking.
One thing Skyline does differently: every campground has a bear-proof food locker, so unlike the John Muir Trail or Teton Crest Trail, you do not need to carry a hard-sided bear canister here. That is real weight and cost you can skip.
Wind and Rain Protection
This is the category the Amber Mountain ridge makes mandatory. Once you’re past The Notch there is no tree cover, no rock overhang, nothing between you and whatever the weather is doing for close to 3 km. Parks Canada’s own guidance is blunt: pack for winter conditions at any time of year at this elevation.
Rain jacket: The North Face Antora Waterproof Jacket: Best Overall, genuinely waterproof rather than merely showerproof, which matters on a ridge with no bail-out option. Compare more options: Best Waterproof Jackets for Multi-Day Hiking.
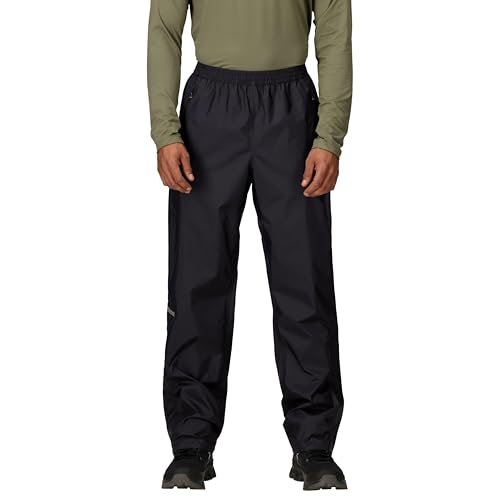
Rain pants: Marmot PreCip Eco Rain Pant: Best Overall. Wind-driven rain on an exposed ridge finds any gap a jacket alone leaves. Compare more options: Best Rain Pants for Multi-Day Hiking.
Sleep System
Snowbowl and Tekarra, the two most common overnight stops, both sit in alpine terrain above 2,000 m, and camp temperatures drop fast once the sun clears the ridge. This is a summer trail on paper, but the ground and the air at these camps do not always agree with the calendar.
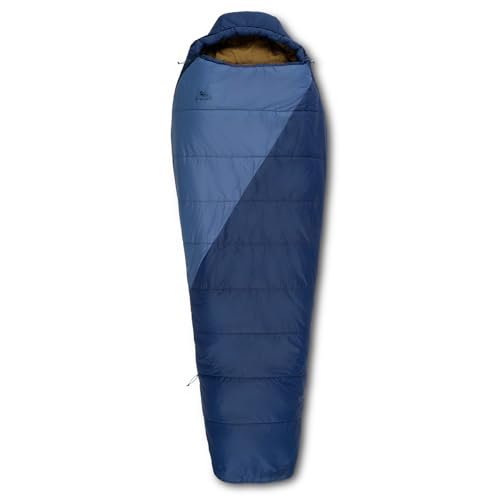
Sleeping bag: Kelty Cosmic Synthetic 20 Degree: Best Overall. A 20°F rating gives real margin above a cold alpine night without the bulk of a 0°F bag you don’t need for this trail’s season window, and synthetic fill keeps insulating if a tent gets damp from condensation or a passing shower. Compare more options: Best Synthetic Sleeping Bags for Multi-Day Hiking.
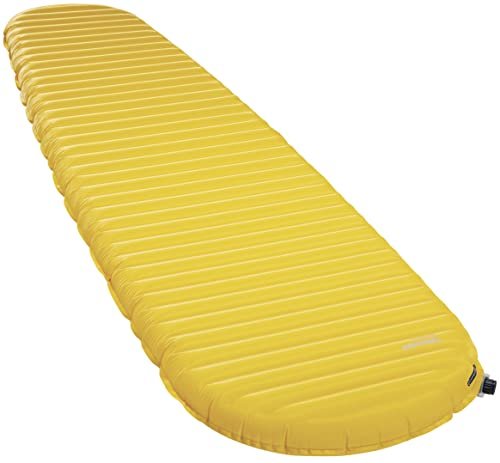
Sleeping pad: Therm-a-Rest NeoAir XLite NXT: Best Overall in our insulated sleeping pads guide, R-value 4.5 at around 340 g. Cold ground pulls heat out of you faster than cold air does, and a pad with no stated R-value, the kind most generic “camping” pads ship with, will undo a warm bag from underneath. Compare more options: Best Insulated Sleeping Pads for Hiking.
Footwear
The climb to The Notch and the long, steady Day 3 descent into Signal Trailhead are the two stretches where footwear either does its job or doesn’t. Add rocky pass terrain and half a dozen creek crossings along the route, and this is not a category to cut corners on.
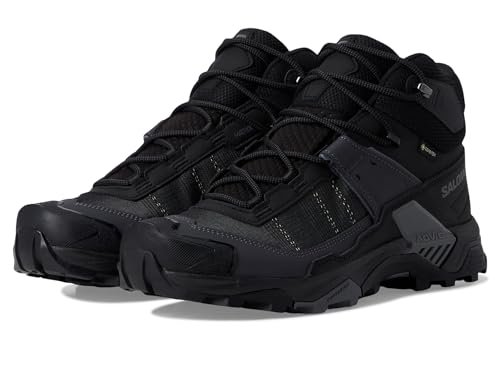
Boots: Salomon X Ultra 5 Mid GTX: Best Overall. A genuine Gore-Tex membrane and Salomon’s All Terrain Contagrip outsole handle wet rock and mixed terrain well, and the mid-height cuff gives real ankle support for the Notch climb and the sustained Day 3 descent once your pack is loaded. Compare more options: Best Waterproof Hiking Boots for Multi-Day Hiking.
Camp and creek shoes: HUMTTO Amphibious Water Shoes: non-slip and quick-drying, useful for the trail’s several creek crossings (the largest is on the north side of Tekarra Campground) and for giving your feet a break at camp after a long day in boots. Compare more options: Best Hiking Sandals.
Backpack
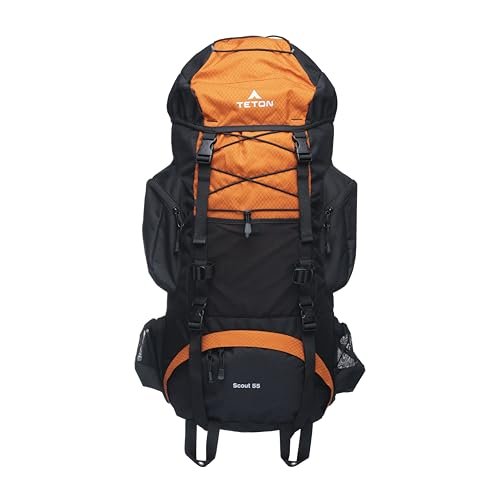
TETON 55L Scout Internal Frame Backpack: Best Overall in our multi-day backpacks guide. You are not carrying two days of water or a bear canister on this trail, so a 50 to 60 litre pack with a rain cover is genuinely enough for 2 to 3 nights of food, layers, and a sleep system, without the bulk of an expedition-sized pack you’d only half fill. Compare more options: Best Multi-Day Backpacks.
Trekking Poles
Black Diamond Alpine Carbon Cork: Best Overall in our trekking poles guide. Genuinely useful rather than a nice-to-have here, on the steep, direct climb to The Notch and on the long, sustained Day 3 descent into Signal Trailhead that works your knees hard after two days of alpine walking. Compare more options: Best Trekking Poles for Multi-Day Hiking.
Insulated Camp Jacket
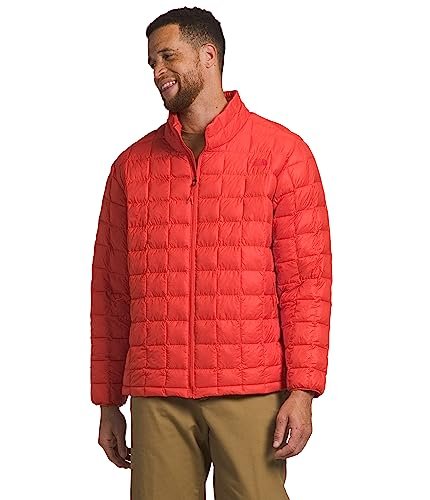
The North Face ThermoBall Eco Jacket 2.0: Best Overall. Keeps insulating even when damp from tent condensation or a passing shower, and earns its place the moment the sun drops behind the ridge and camp temperature falls well below what the afternoon felt like. Compare more options: Best Insulated Jackets for Hiking.
Water Treatment
Water is genuinely easy to find here, every campground has a nearby source, but no official Parks Canada statement declares any of it safe to drink untreated. The standard backcountry default in the Canadian Rockies, given beavers, wildlife, and hikers upstream, is to treat everything regardless of how clear it looks.
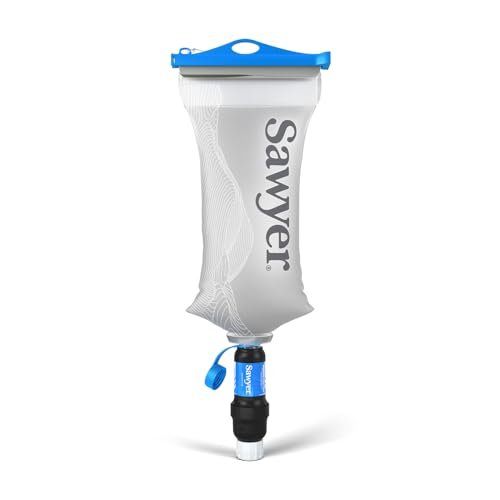
Sawyer Squeeze Water Filtration System: Best Overall. Reliable, field-cleanable, and light enough that carrying a chemical backup (tablets or drops) alongside it costs almost nothing, worth doing since a squeeze filter can freeze solid on a cold night at Snowbowl or Tekarra. Compare more options: Best Water Filters for Hiking.
Cooking System
Campfires are banned at all six campgrounds, so a stove is how you eat, not a comfort upgrade. A compact canister stove like the Fire-Maple Fixed Star 1 boils water fast and packs small. Compare options: Best Backpacking Stoves.
Headlamp
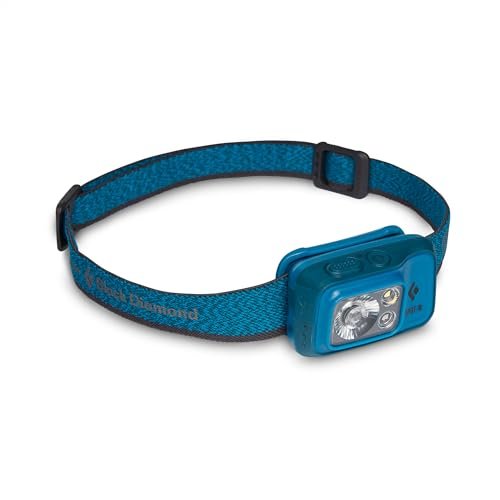
Black Diamond Spot 400-R: Best Overall. Worth having for an early start on the long Day 2 push over The Notch and the Amber Mountain ridge, giving you time on the exposed sections without rushing weather you can’t see coming in the dark. Compare more options: Best Headlamps for Hiking.
Navigation
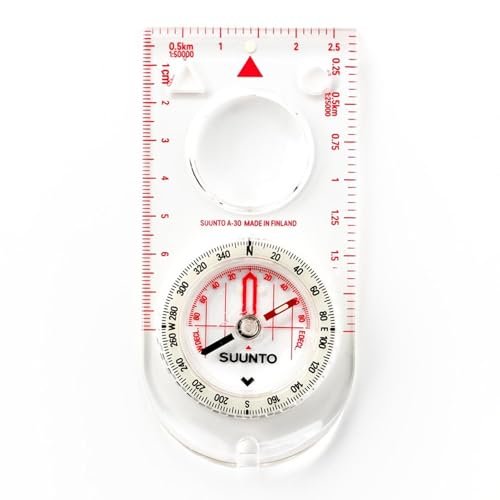
This is a signed, maintained trail, so you are not relying on a compass to find your way. But Parks Canada names three specific paper map options for the Skyline for a reason: the alpine sections have limited landmarks in poor visibility, and a phone with a dead battery or no signal is not a backup plan out here.
Suunto A-30 NH USGS Compass: Best Overall, a sound baseline backup to carry alongside a proper topographic map (Parks Canada names the National Topographic System sheets Medicine Lake 83C/13 and Athabasca Falls 83C/12, the National Geographic Jasper South map, or the Gem Trek Jasper and Maligne Lake map). Compare more options: Best Hiking Compasses.
A satellite messenger or PLB is worth serious consideration too, since cell coverage is unreliable to absent through most of the backcountry. This is a safety purchase, not an affiliate pick: buy or hire a unit you trust and register it before you go.
Bug Protection
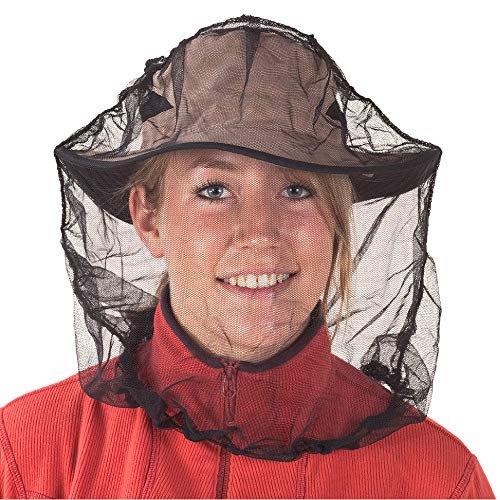
Late July into August brings real mosquito and fly pressure to the campgrounds and buggy stretches like Little Shovel Pass. Not the trail’s defining risk, but a head net weighs almost nothing and you’ll use it every evening in peak season.
Sea to Summit Mosquito Head Net: the genuine wearable pick in our bug nets guide, built for on-trail use rather than a pop-up screen tent. Compare more options: Best Bug Nets for Camping.
Kit at a Glance
| Category | Our Pick | Why It Matters Here |
|---|---|---|
| Bear spray | SABRE Frontiersman MAX 7.9 oz | Mandatory in active grizzly and black bear habitat |
| Rain jacket | The North Face Antora | Genuinely waterproof for the shelterless Amber Mountain ridge |
| Rain pants | Marmot PreCip Eco | Wind-driven rain on exposed sections finds jacket-only gaps |
| Sleeping bag | Kelty Cosmic Synthetic 20°F | Real margin for cold nights at Snowbowl and Tekarra |
| Sleeping pad | Therm-a-Rest NeoAir XLite NXT | R-value 4.5 stops cold alpine ground stealing your warmth |
| Boots | Salomon X Ultra 5 Mid GTX | Grip and ankle support for the Notch climb and Day 3 descent |
| Camp/creek shoes | HUMTTO Amphibious Water Shoes | Several creek crossings, plus camp recovery |
| Backpack | TETON 55L Scout | 50 to 60L is enough with no canister or big water carry needed |
| Trekking poles | Black Diamond Alpine Carbon Cork | Saves knees on the Notch climb and long Day 3 descent |
| Insulated jacket | North Face ThermoBall Eco 2.0 | Camp temperature drops fast once the sun clears the ridge |
| Water filter | Sawyer Squeeze | No source on the route is confirmed safe untreated |
| Cooking system | Compact canister stove (see best backpacking stoves) | Campfires banned at all six campgrounds |
| Headlamp | Black Diamond Spot 400-R | Early starts to clear The Notch and ridge before weather builds |
| Navigation | Suunto A-30 NH Compass + paper map | Backup for limited landmarks above treeline in poor visibility |
| Bug net | Sea to Summit Mosquito Head Net | Real mosquito pressure at camps and Little Shovel Pass in peak season |
What You Can Skip / Over-Packing Traps
A hard-sided bear canister is the biggest thing hikers bring here that they don’t need. Every one of the six Skyline campgrounds has a bear-proof food locker, so unlike the John Muir Trail or Teton Crest Trail, you can leave that weight and cost at home and use the lockers instead.
You also don’t need to carry two days of water. Every campground sits near a running source, so fill up as you go rather than hauling a full trip’s supply from the trailhead.
Don’t overpack layers “just in case,” either. One genuinely waterproof rain shell, one insulated camp jacket, and a couple of base layers cover the real temperature swing better than three half-used mid-layers. And don’t debut untested gear here: the Notch climb and exposed ridge are the wrong place to find out a new boot rubs or a pad you’ve never slept on leaks.
Final Thoughts
The gear that matters most on the Skyline is tied directly to its three real risks: bear spray you can actually reach in grizzly country, a genuinely waterproof shell for a ridge with no shelter, and a sleep system that holds up at a cold alpine camp. Get those three right and the rest is standard multi-day kit. For the full itinerary, permit timing, and water detail, read the Skyline Trail destination guide. For the broader gear framework behind these picks, see Multi-Day Hiking Gear: What You Actually Need. If you’re weighing a similar high-alpine, bear-country trip, our What to Pack for the Teton Crest Trail guide covers a lot of the same core kit.
Frequently Asked Questions
Do I need a bear canister for the Skyline Trail?
No. Unlike some Sierra Nevada and Grand Teton routes, every one of the Skyline’s six campgrounds has a bear-proof food locker, so you use those instead of carrying a hard-sided canister. Bear spray is still essential and non-negotiable for every hiker.
How warm a sleeping bag do I need?
A bag rated around 20°F gives useful margin. Camps at Snowbowl and Tekarra sit above 2,000 m in alpine terrain, and temperatures drop fast once the sun clears the ridge, even in the July to September window. Pair it with a genuinely insulated sleeping pad rather than a foam camp pad with no stated R-value.
Can I rent gear near the trailhead?
Jasper townsite has outdoor retailers for last-minute purchases, but no confirmed backcountry-gear rental operator specific to the Skyline turned up in research. Bear spray especially is generally bought, not rented, in Canada. Plan to arrive with your kit.
What’s the one thing people forget to pack?
Toilet paper. None is provided at any of the six campgrounds, and it is an easy thing to leave off a list built around bigger-ticket gear. Pack it in a zip bag alongside your permit printout, since a printed copy of your campground reservation is expected on trail.
