

Last updated: August 2026
Wild Trail Hiker is reader-supported. We may earn a commission when you buy through links on this page, at no extra cost to you. We only recommend products we would consider taking on a multi-day trip ourselves.
Before You Go
The Rae Lakes Loop needs a wilderness permit, and during the quota season (late May through late September) those permits are genuinely competitive: only 25 people a day can start on the Woods Creek side, and 20 of those slots are reservable, the rest are walk-ups. A hard-sided bear canister is mandatory for every overnight party, no exceptions. And one river crossing on this loop has no bridge: the South Fork Kings River span above Paradise Valley washed out in the winter of 2016 to 2017, and a replacement will not begin construction before 2027. Plan your route, your permit, and your gear around all three before you lock in dates.
Why This Trail
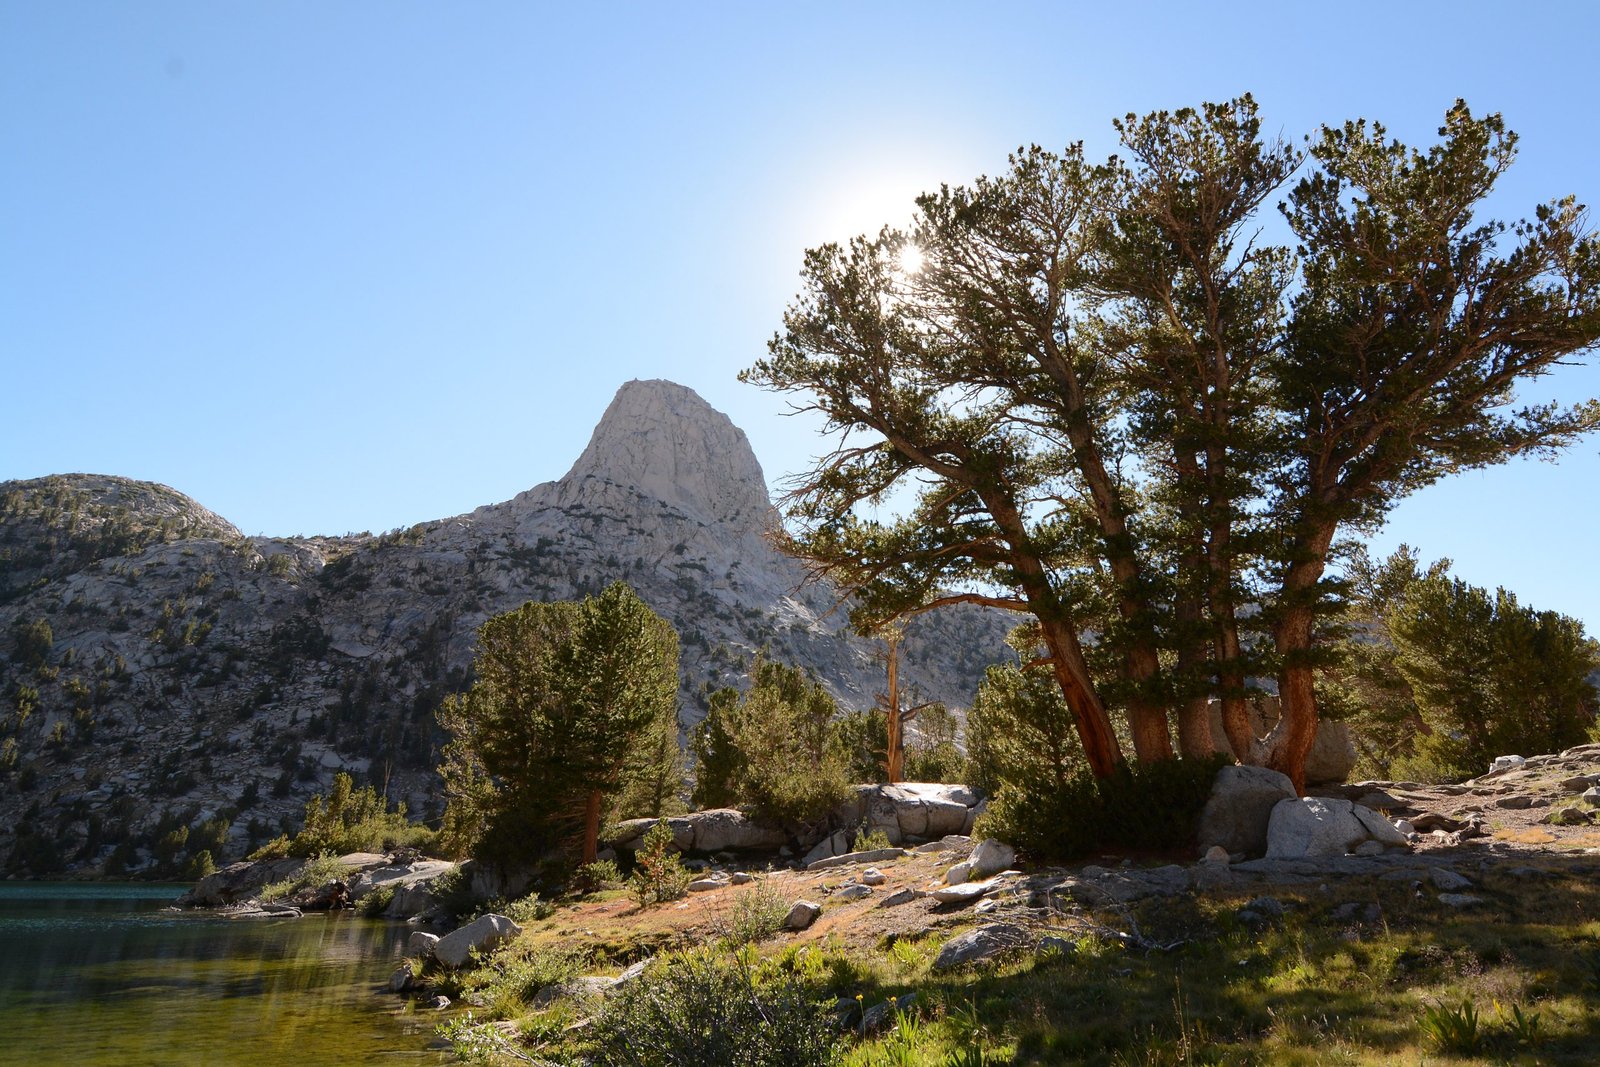
Ask Sierra hikers to name the best multi-day loop in California and the Rae Lakes Loop comes up constantly. It is often described as a compact, self-contained version of the John Muir Trail experience: the same granite canyons, alpine lake chains, and one genuinely high pass, but packaged into a 4 to 5 day loop instead of a multi-week thru-hike. The route climbs the South Fork Kings River canyon past Mist Falls, threads through Paradise Valley and Woods Creek, then earns its name at the Rae Lakes themselves, a chain of blue-green alpine lakes sitting below the Painted Lady’s striped granite face.
The high point is Glen Pass at 11,978 feet, part of the same trail corridor used by both the John Muir Trail and the Pacific Crest Trail, so hikers on the Rae Lakes Loop spend a stretch walking the same tread as thru-hikers headed for Mount Whitney. That overlap is part of the trail’s reputation: it is frequently pitched as the best short introduction to what the John Muir Trail feels like, without needing three weeks off work. The descent back to Road’s End via Bubbs Creek passes through Vidette Meadow and Junction Meadow, two classic Sierra backcountry camps with a long history among JMT hikers.
What separates this loop from other Sierra trips is variety packed into a short distance: a shaded canyon walk on day one, an exposed climb to the lakes, one genuine mountain pass, and a quiet descent down a different drainage on the way out.
Trail at a Glance
- Distance: 41.4 miles (66.6 km) per the National Park Service’s official mileage table, measured from Road’s End. Some GPS-tracked trip reports report totals in the 42 to 46 mile range depending on route and device drift.
- Duration: 4 to 5 days (3 to 4 nights) is the common pace. Strong, light-and-fast hikers sometimes finish in 3 nights / 4 days, but that means 10 to 15 mile days including the Glen Pass climb. A 4-night / 5-day pace is a comfortable default for most backpackers.
- Difficulty: Hard. One pass above 11,900 feet, roughly 6,000 to 9,000 feet of cumulative elevation gain depending on source, and one unbridged river crossing.
- Best season: Mid-July through mid-September. Glen Pass can hold snow into July and may be impassable to hikers before mid to late July in a heavy snow year; the quota season itself runs late May to late September, and conditions in the shoulder weeks vary a lot year to year.
- Permits: Required during the quota season (25 people/day at the Woods Creek trailhead: 20 reservable, 5 walk-up). Reservations open at recreation.gov 6 months ahead, released daily at 7 am Pacific. Outside the quota season, permits are free and self-issued at the trailhead, no reservation needed. Every permit, reserved or walk-up, must be physically collected at the Road’s End Permit Station.
- Start / end trailhead: Road’s End, Kings Canyon National Park (loop trail, same point both directions): Road’s End Trailhead on Google Maps
Because this is a loop, the trailhead you start at is the one you finish at. Most hikers go clockwise via the Woods Creek Trail, which spreads the elevation gain more gradually over the first few days; a smaller number go counter-clockwise via Bubbs Creek. Both directions can also be reached from the east side via Kearsarge Pass out of Onion Valley, a popular variation for hikers coming from the Eastern Sierra, but this guide focuses on the standard Road’s End loop.
Trail Map
View the Rae Lakes Loop on AllTrails: includes an elevation profile, current condition reports, and over a thousand hiker reviews and photos.
Official Rae Lakes Loop trail page, Sequoia & Kings Canyon National Parks (NPS): the source of truth for current closures, the washed-out bridge, and mileage between points.
Getting There and Away
Getting there: Because this is a loop, “getting there” and “getting away” both point back to Road’s End. The nearest major air hub is Fresno Yosemite International Airport (FAT), roughly 90 miles and about 2 to 2.5 hours away. From Fresno, take Highway 180 east through the park’s Big Stump entrance, past Grant Grove, then continue on to the Cedar Grove area. Road’s End sits at the literal terminus of Highway 180, about an hour’s drive past the Kings Canyon Visitor Center at Grant Grove, so budget the full 2 to 2.5 hours from Fresno as a minimum, more with stops.
There is no scheduled public shuttle or bus service to Road’s End. For most hikers, a private vehicle or rental car is the practical option. The Road’s End parking area is unpaved and can fill on weekends in peak season; overflow parking is usually available nearby.
Highway 180 to the Cedar Grove area, including Road’s End, closes for winter, typically from mid-November until the fourth Friday in April, so this loop is only accessible roughly late April through mid-November depending on snowpack.
Getting away: Same trailhead, since this is a loop.
Staging towns: Cedar Grove Village, a short drive before Road’s End, has the closest lodging and services: Cedar Grove Lodge, a campground, a small store, and a simple restaurant. It is the natural place to spend the night before and after the hike, including a shower on the way out. For more services and a wider range of accommodation, Fresno and the towns along Highway 180 (Squaw Valley, Miramonte) serve as a secondary base, roughly 1.5 to 2 hours from the trailhead.
Day-by-Day Breakdown
The breakdown below follows a 4-night, 5-day clockwise itinerary starting at the Woods Creek Trailhead, the most commonly recommended pace for hikers doing this loop for the first time. Mileage points are drawn from the NPS’s official cumulative distance table measured from Road’s End. A faster 3-night / 4-day version is possible by combining two of the middle days, at the cost of some longer, harder days; that variation is noted at the end of this section.
Day 1: Road’s End to Upper Paradise Valley (about 10 miles)
Highlight: Mist Falls, the biggest waterfall in the parks reachable by trail.
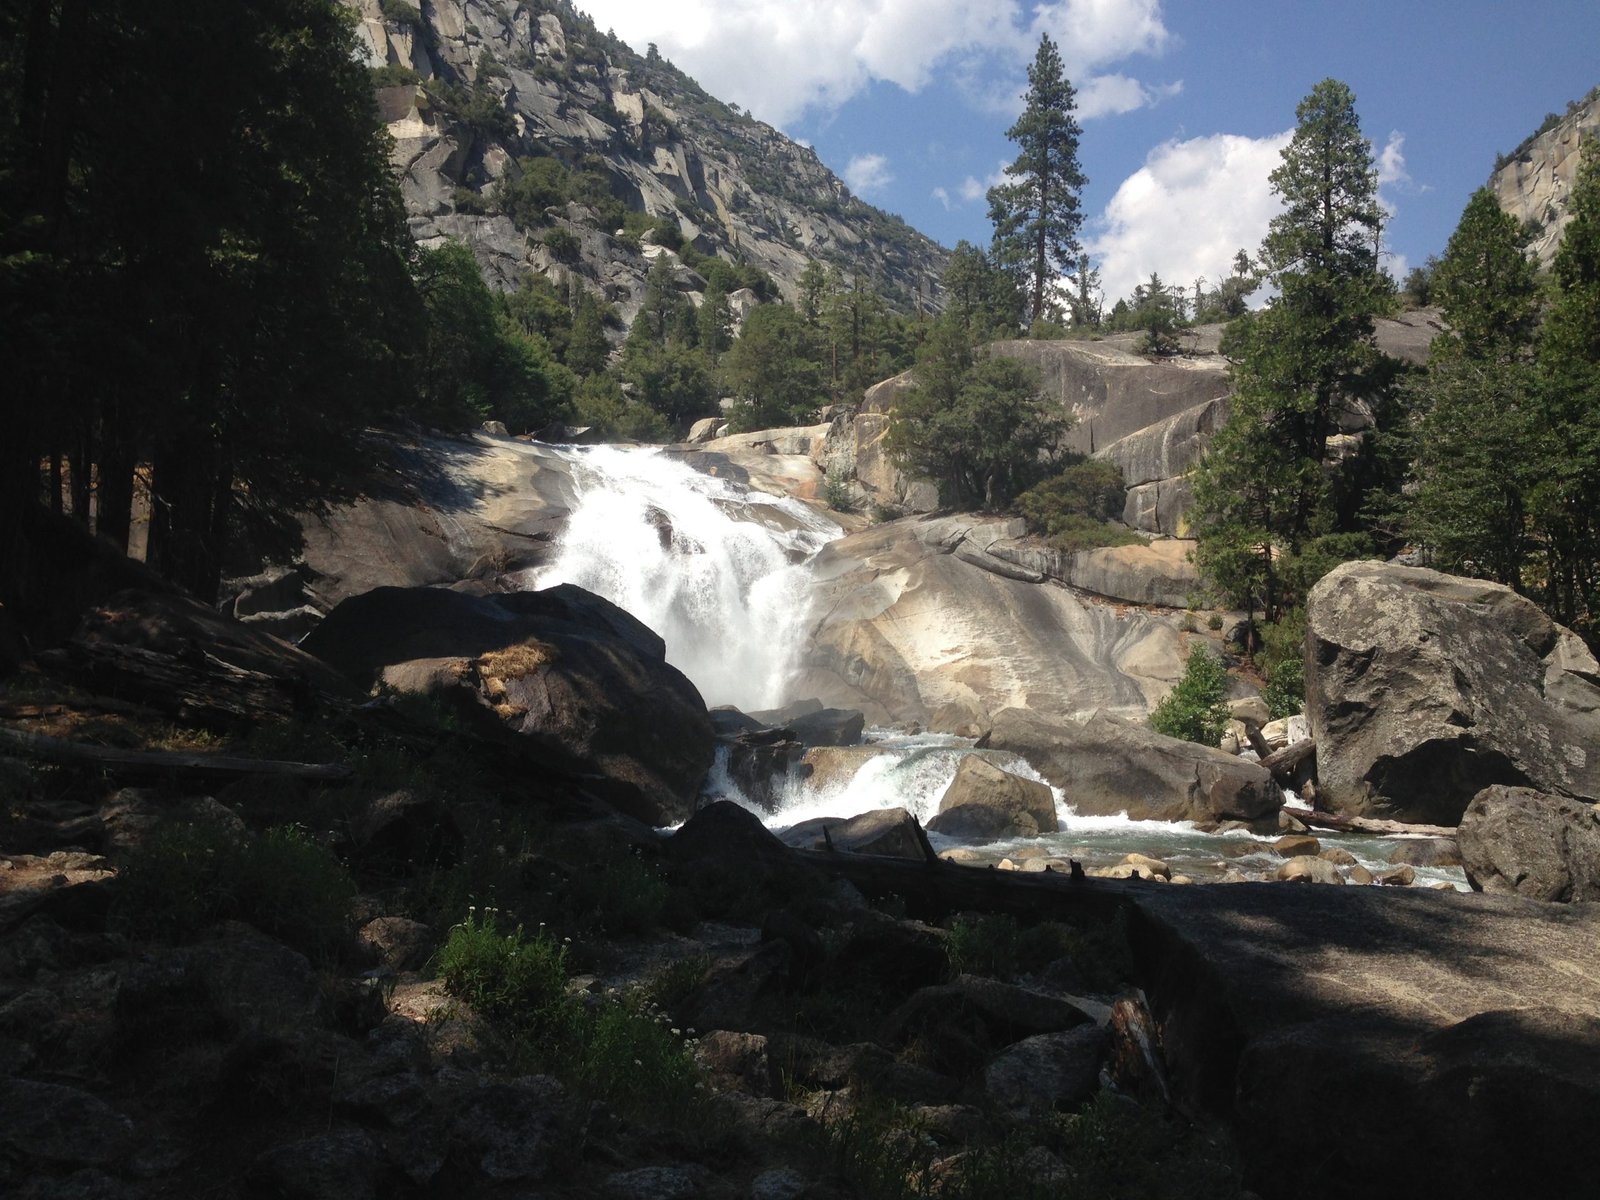
The first two miles out of Road’s End are flat, sandy, and shaded, an easy warm-up before the trail climbs alongside the South Fork Kings River. Around the 4-mile mark you reach Mist Falls, a powerful cascade and the last easy day-hike destination before the trail earns “backcountry” status. From there the climb continues into Lower Paradise Valley (the first legal campsite, at 5.7 miles) and on to Middle and Upper Paradise Valley. Camping in Paradise Valley is capped at two nights total, and camping below Lower Paradise Valley is closed entirely. Upper Paradise Valley, at roughly 10 miles from Road’s End, is a common first-night target with river access and established fire rings (campfires are allowed here, below the 10,000-foot line).
Day 2: Upper Paradise Valley to South Fork Woods Creek area (about 9 to 10 miles)
Highlight: The unbridged South Fork Kings River crossing, and the Woods Creek suspension bridge.
This day opens with the loop’s defining hazard: the South Fork Kings River ford just past Upper Paradise Valley, where the original bridge washed out in the 2016 to 2017 winter and has not been rebuilt. In normal August flow this is typically a shin-to-calf-deep wade, but it can be genuinely dangerous during high snowmelt in May and June. Scout the crossing carefully and be prepared to turn back in high, fast, or murky water. Past the crossing, the trail climbs into full sun before reaching the Woods Creek suspension bridge at about 15.7 miles from Road’s End, a natural rest stop and popular fishing spot. Beyond the bridge the trail climbs again toward Dollar Lake; a few small, informal campsites along the South Fork of Woods Creek are a reasonable stopping point if the day has run long.
Day 3: South Fork Woods Creek to Rae Lakes (about 4 to 5 miles)
Highlight: Arrowhead Lake and the first full view of the Rae Lakes chain.
A short, front-loaded day. The climb from the Woods Creek drainage up to the Rae Lakes basin gains roughly 1,700 feet over about 4 miles with very little shade, so an early start matters more here than the modest mileage suggests. The trail passes Dollar Lake (camping closed in some posted areas here, watch for signage) and Arrowhead Lake before reaching the Rae Lakes themselves at roughly 22.7 miles from Road’s End. Camping at Rae Lakes is limited to one night per lake, and the most scenic sites near the lower lakes fill early in peak season, so aim to arrive by early-to-mid afternoon if you want first pick of a site. The rest of the day is typically spent swimming, fishing, or simply sitting with the view of the Painted Lady across the water, since the following morning brings the loop’s high point.
Day 4: Rae Lakes over Glen Pass to Vidette Meadow or Junction Meadow (about 8 to 9 miles)
Highlight: The summit of Glen Pass and the long, quiet drop into the Bubbs Creek drainage.
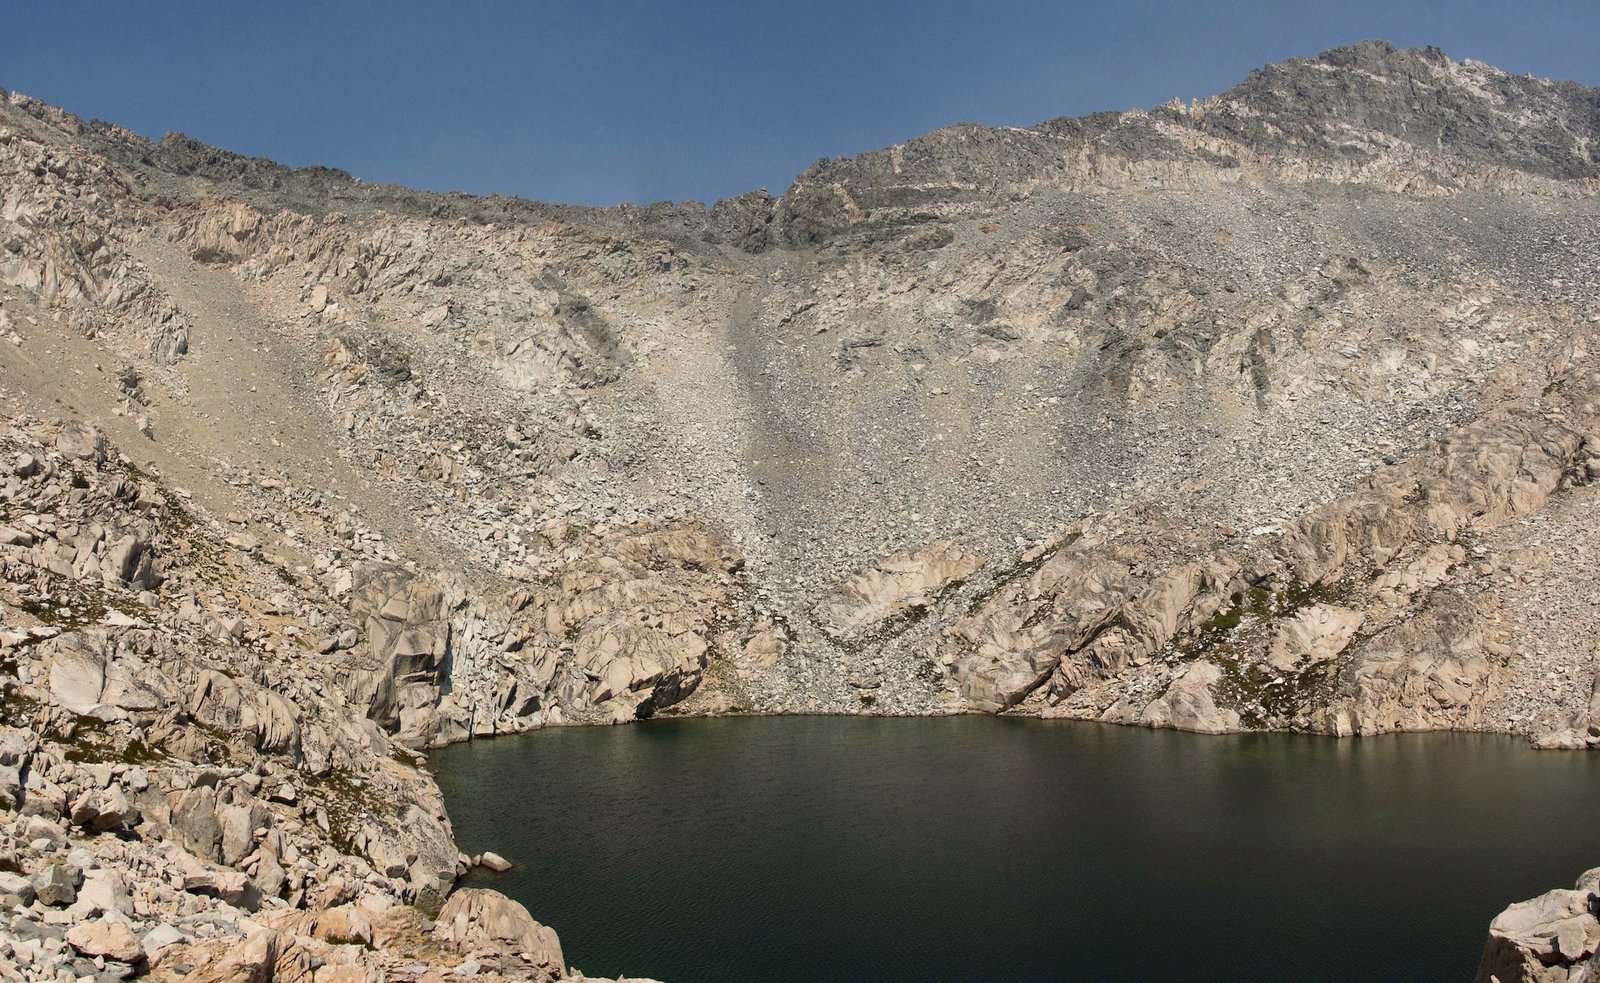
Start early to cross Glen Pass (11,978 feet, at roughly 24.6 miles from Road’s End) before any afternoon weather builds and while the switchbacks are still in shade. The climb itself is steady rather than technical, but the final approach and the descent on the far side involve loose, narrow switchbacks that catch a lot of hikers off guard after several days of otherwise well-graded trail. From the pass, the trail drops past the Charlotte Lake junction (26.7 miles) and Vidette Meadow (28.2 miles), both classic John Muir Trail camps with their own long history, before continuing toward Junction Meadow (31.1 miles). Bullfrog Lake, just off the trail between Vidette Meadow and Glen Pass, is closed to all camping and grazing, so do not plan a night there. Vidette Meadow or Junction Meadow both make sensible camps for the night, depending on pace.
Day 5: Junction Meadow to Road’s End via Bubbs Creek (about 10 miles)
Highlight: An easy, mostly downhill finish along Bubbs Creek.
The final day follows Bubbs Creek most of the way down, passing Charlotte Creek (33.9 miles) and the last legal campsite at the Sphinx junction (37.5 miles) before rejoining the Paradise/Bubbs junction (39.4 miles) just above Road’s End. The grade is gentle and the trail surface easy compared to the earlier days, and most hikers cover this stretch quickly on tired legs. Watch for active black bears in the Charlotte Creek area; rangers have flagged repeat bear activity here in recent seasons.
3-night / 4-day compressed option: Combine Day 2 and Day 3 above into a single roughly 13-mile day from Upper Paradise Valley to Rae Lakes, then follow Days 4 and 5 as written. This is a legitimately harder pace, especially with the river ford and the exposed climb to the lakes on the same day, and suits fit, light-packing hikers more than first-timers.
What to Expect
Terrain: Well-maintained trail for nearly the entire loop, sandy and flat near Road’s End, then steady climbing through granite canyon country. The one unbridged crossing (South Fork Kings River, Day 2) is the trail’s main obstacle. Glen Pass’s approach and descent involve loose rock and narrow switchbacks.
Weather: Canyon sections near Road’s End can run hot in mid-summer, with daytime highs in the 80s to 90s°F at lower elevations. Nights at Rae Lakes and other high camps regularly drop into the 30s and 40s°F even in July and August. Afternoon thunderstorms are possible, especially in a wetter monsoon year, so plan to be over Glen Pass before early afternoon.
Wildlife: Black bears are common and active along this route; rangers report bears successfully accessing improperly stored food, which is the reasoning behind the mandatory canister rule. No grizzlies in the Sierra. Mule deer, marmots, and pikas are common near the lakes and passes. Mosquitoes can be intense in Paradise Valley and around the lakes in July, easing by late August.
Crowds: This is one of the most popular multi-day trails in the Sierra, and the daily quota system (25 people/day at the Woods Creek trailhead) exists specifically to manage that popularity. Expect to see other hikers throughout the quota season, especially at Rae Lakes itself; the shoulder ends of the season (early July, mid-September) are noticeably quieter.
Signature features: Mist Falls, Paradise Valley, the Woods Creek suspension bridge, Dollar and Arrowhead Lakes, the Rae Lakes chain beneath the Painted Lady, Glen Pass, and Vidette Meadow.
Water: sources, safety, and treatment
Water is abundant along most of the route: the South Fork Kings River, Woods Creek, the Rae Lakes chain, and Bubbs Creek all provide reliable sources. The one genuine dry, exposed stretch is the roughly 4-mile climb from South Fork Woods Creek up to Rae Lakes on Day 3, with little shade and limited water until the lakes themselves. Fill up before starting that climb.
None of the water on this trail should be treated as safe to drink untreated. This is a heavily used trail corridor with significant stock and hiker traffic through the season, and giardia risk is real even in water that looks clean at altitude. A standard backpacking filter (squeeze or gravity system) handles this trail well. Treat every source, including the water at Rae Lakes itself. A water filter rated for backcountry use is standard kit here, not optional.
The South Fork Kings River ford (Day 2) is the trail’s known water hazard, not a drinking-water issue but a crossing-safety one. Flow is highest and most dangerous during May and June snowmelt; by August it is typically an easy wade, but conditions vary year to year. Check current conditions with the Road’s End Permit Station or the park’s trail conditions page before a trip planned for the early season.
Logistics
Permits are the main planning bottleneck during the quota season (late May through late September 2026). Reservations open at recreation.gov 6 months in advance, released daily at 7 am Pacific, and the Woods Creek trailhead’s 20 reservable daily slots go quickly for peak summer dates. A flat $15 group fee plus $5 per person applies during the quota period. Outside the quota season, permits are free, self-issued, and unlimited.
Every permit, reserved online or claimed as a walk-up, must be physically collected at the Road’s End Permit Station, open roughly 7 am to 3:30 pm daily. Uncollected reserved permits are released to the walk-up line if not claimed by 10 am on the entry date, so plan to arrive early or the day before.
A hard-sided bear canister is mandatory for every overnight party; rangers check for one at permit pickup, and canisters are available to borrow at the Permit Station if you do not own one. Campfires are prohibited above 10,000 feet, which covers Rae Lakes and Glen Pass approaches. Camping is restricted by zone in several places: Paradise Valley is capped at two nights total, Rae Lakes at one night per lake, Charlotte Lake at two nights, and Bullfrog Lake is closed to all camping. Toilet paper must be packed out, not buried, due to the slow decomposition rate in this dry, rocky terrain.
Mandatory Gear Checklist
- A hard-sided, bear-resistant canister. Non-negotiable for every overnight party on this loop; rangers check at permit pickup and can loan one if you don’t have your own. See best bear canisters for multi-day hiking.
- A reliable water filter, since no source on this trail is safe to drink untreated. See best water filters for hiking.
- Trekking poles, genuinely useful for the South Fork Kings River ford and the loose switchbacks on both sides of Glen Pass. See best trekking poles.
- A wearable bug head net. Mosquitoes are consistently reported as intense in Paradise Valley and around the lakes through July. See best bug nets for camping.
- An insulated jacket for camp. Nights at Rae Lakes and the high camps drop into the 30s and 40s°F even in peak summer. See best insulated jackets for hiking.
- Camp shoes or sandals you don’t mind getting wet, for the unbridged river crossing on Day 2 and the many creek-side camps along the route.
- Sun protection: a wide-brim or lanyard hat, since the climb from Woods Creek to Rae Lakes and much of the canyon floor near Road’s End offer very little shade.
For the full kit list built specifically for this route, item by item and why each piece earns its place, see What to Pack for the Rae Lakes Loop.
Honest Assessment
This trail suits hikers who already have at least one multi-day trip behind them and are comfortable with sustained daily mileage, one genuine mountain pass, and an unbridged river crossing that demands real judgment. The permit competition and zone-based camping rules also reward hikers who plan carefully rather than showing up and improvising.
It is not the easiest entry point into Sierra backpacking: a first-timer without overnight backcountry experience will find the altitude, the Glen Pass day, and the water crossing genuinely demanding. For a shorter taste of the same terrain, an out-and-back to Mist Falls or Paradise Valley covers similar canyon scenery without the full loop permit.
Among hikers who’ve done it, the consensus is that this is one of the best-value multi-day loops in California: real high-Sierra scenery and a genuine mountain pass, in a trip that fits into a long weekend or a single week of leave rather than the multi-week commitment the John Muir Trail demands.
Final Thoughts
Once you are sold on the route, get your kit sorted with the full What to Pack for the Rae Lakes Loop guide before you go.
The Rae Lakes Loop rewards the same kind of planning discipline as any competitive-permit Sierra trip: lock in your dates early, sort your bear canister and water crossing strategy before you go, and the trail itself does the rest. Start with how to plan your first multi-day hike if you’re still building toward a trip at this pace and altitude. If you want the same granite-and-alpine-lake country over a longer, more committing trip, our John Muir Trail guide covers the full-length version of this same corridor, and the High Sierra Trail is a similarly compact week-long alternative one range over.
Frequently Asked Questions
How hard is it to get a Rae Lakes Loop permit?
Competitive during the quota season (late May to late September). Only 20 of the 25 daily Woods Creek trailhead slots are reservable online at recreation.gov, released 6 months ahead at 7 am Pacific; the rest are 5 walk-up permits available at the Road’s End Permit Station. Outside the quota season, permits are free and unlimited.
Do I need a bear canister for the Rae Lakes Loop?
Yes, always, for every overnight party. A hard-sided, bear-resistant canister is mandatory and checked at permit pickup. If you don’t own one, canisters are available to borrow at the Road’s End Permit Station.
What’s the best month to hike the Rae Lakes Loop?
Late July through early September offers the most reliable combination of a snow-free Glen Pass and a manageable South Fork Kings River crossing. Early-season trips (June, early July) can face a genuinely hazardous ford and lingering snow on the pass.
Can beginners hike the Rae Lakes Loop?
Not recommended as a first-ever backpacking trip. The unbridged river crossing, the Glen Pass day, and the zone-based permit and camping rules all reward hikers who already have at least one multi-day trip of experience.
How does the Rae Lakes Loop compare to the John Muir Trail?
It covers similar High Sierra terrain, granite canyons, alpine lakes, and one high pass on the shared JMT/PCT corridor near Glen Pass, but in 4 to 5 days instead of the John Muir Trail’s typical 3 or more weeks. It is often recommended as a shorter, more accessible way to sample the same landscape.
