

Last updated: August 2026
Wild Trail Hiker is reader-supported. We may earn a commission when you buy through links on this page, at no extra cost to you. We only recommend gear we’d take on a multi-day trip ourselves.
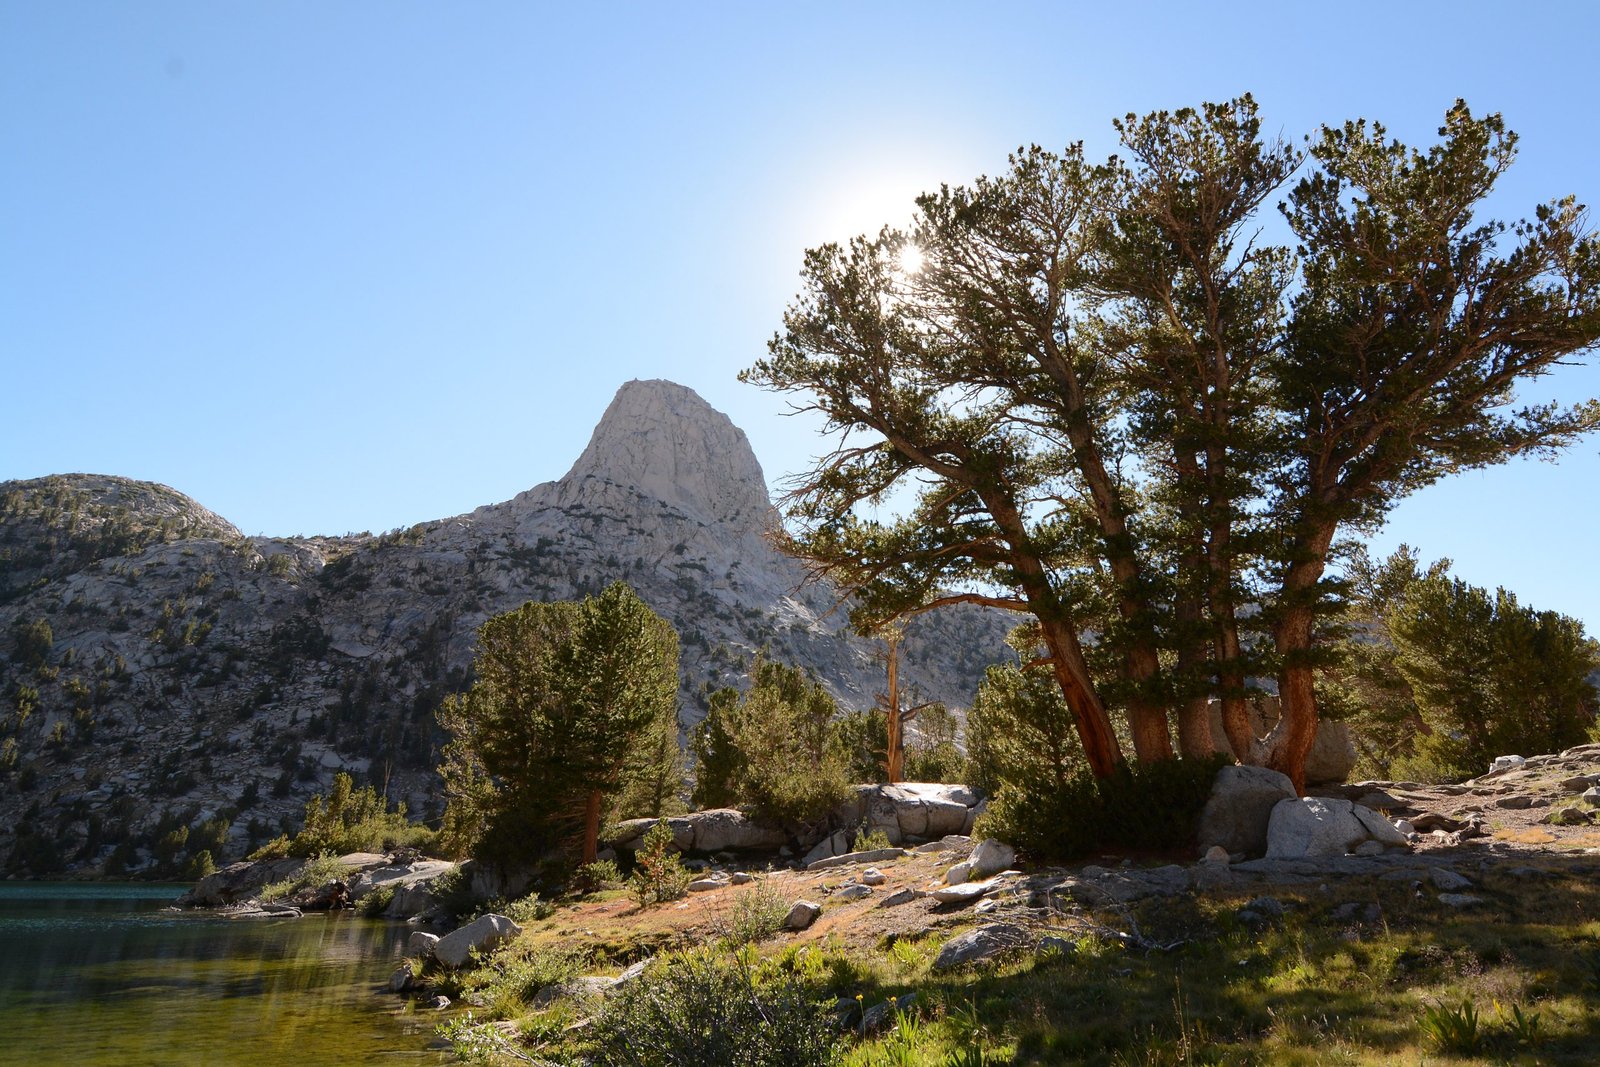
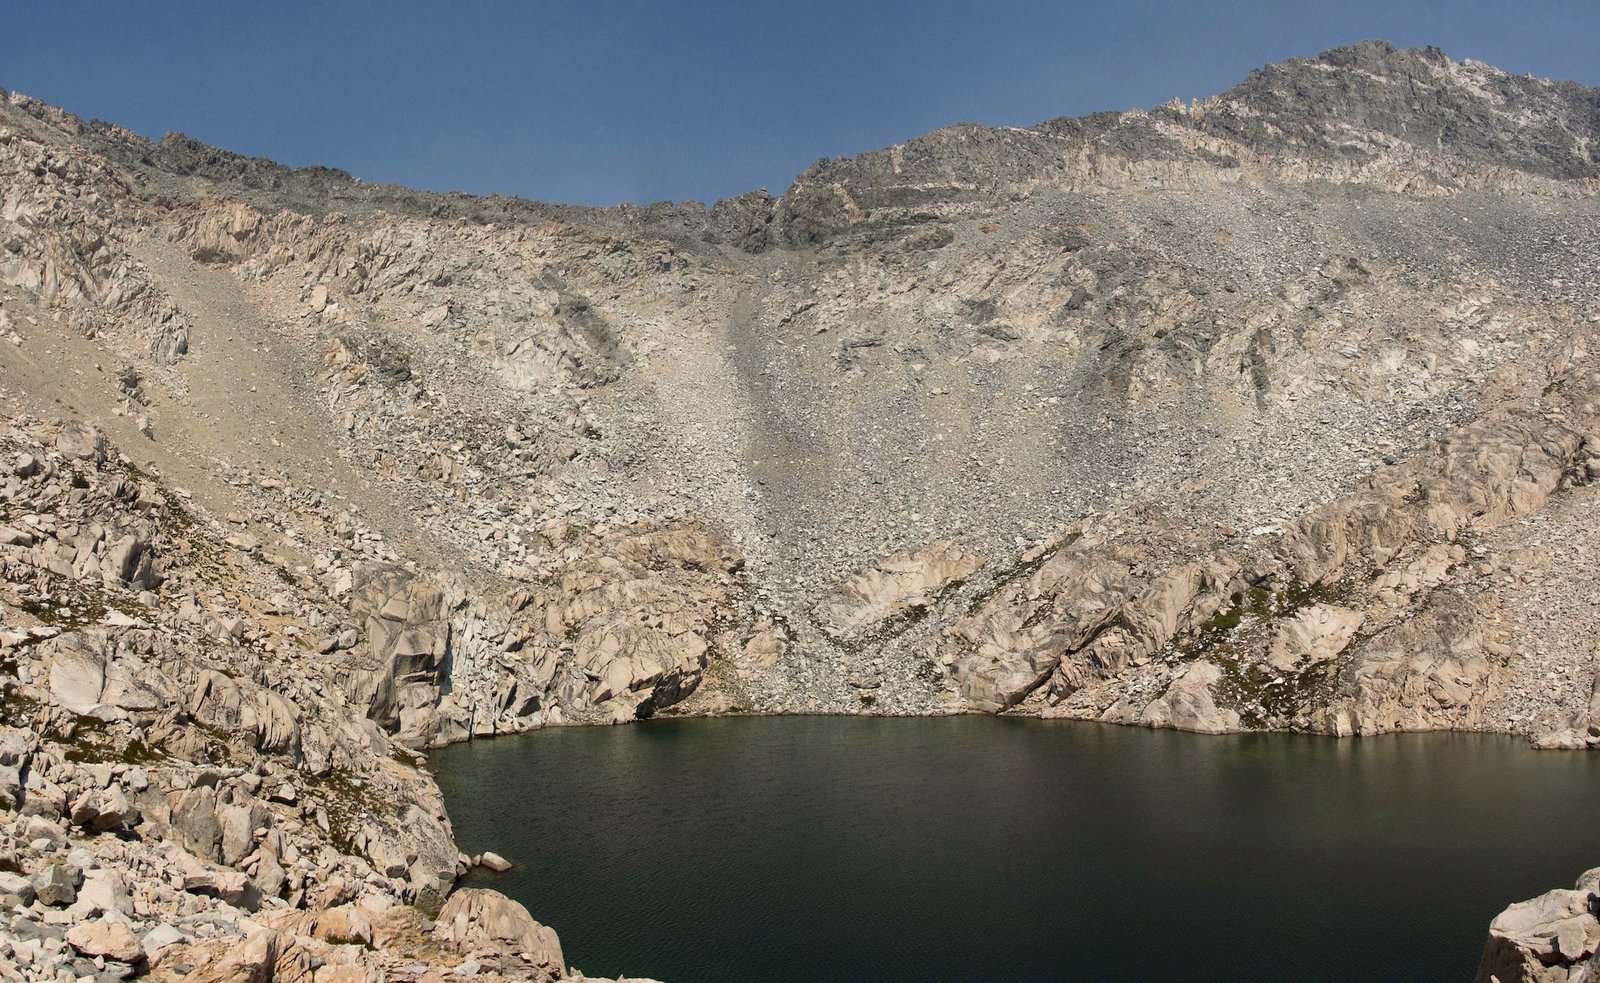
There is a moment on the climb out of the South Fork Woods Creek drainage, legs already tired from two days of canyon walking, when the trees thin out and the Rae Lakes basin opens below you: a chain of blue-green water under the Painted Lady’s striped granite face. It is one of the best payoffs in the Sierra for four days of effort.
Here’s what to pack for the Rae Lakes Loop: the kit dialled for what this route actually throws at you, not a generic Sierra checklist. A hard-sided bear canister is mandatory, checked at the permit desk, no exceptions. One river crossing on Day 2 has no bridge. Nights at the lakes and on the Glen Pass approach drop into the 30s and 40s°F even at the height of summer, while the canyon floor near Road’s End can hit the 90s the same week. This guide is the kit dialled for those conditions, not a copy-paste packing list.
If you are still deciding whether this loop is the right trip, start with the full Rae Lakes Loop guide for permits, the day-by-day itinerary, and the river crossing in detail. For the wider system behind these gear calls, see Multi-Day Hiking Gear: What You Actually Need.
Conditions That Drive Your Kit
| Factor | Rae Lakes Loop reality |
|---|---|
| Distance and duration | 41.4 miles per the NPS mileage table, usually 4 to 5 days (3 to 4 nights) |
| Best season | Mid-July through mid-September, once Glen Pass clears of snow |
| Terrain | Well-graded trail for most of the loop, one unbridged river ford, loose switchbacks on Glen Pass |
| Temperature | 80s to 90s°F in the canyon near Road’s End, 30s to 40s°F overnight at Rae Lakes and the high camps |
| Water | Abundant most of the route, but the climb from Woods Creek to Rae Lakes on Day 3 is dry and exposed for roughly 4 miles |
| Elevation | Glen Pass tops out at 11,978 feet; several days involve sustained climbing |
| Regulations | Hard-sided bear canister mandatory for every overnight party, checked at Road’s End Permit Station |
Every pick below traces back to a line in this table. Full permit, itinerary, and water detail sits in the Rae Lakes Loop guide.
How This Kit Is Built
This list is built from the National Park Service’s own backpacking and wilderness guidance for Sequoia and Kings Canyon, the packing patterns used by guided-trip operators running this route, and the accounts of hikers who have actually walked it. It is built for the trail first. Where the strongest option for the job is not one we have a live buying link for yet, we still name it, because a list that bends to inventory instead of the trail is not worth carrying.
Three things make or break a Rae Lakes Loop kit: the mandatory bear canister and how you pack around it, sleeping warm at altitude after a hot canyon day, and getting safely through the unbridged crossing and over Glen Pass. Those get the deep treatment below. The rest still matters and gets a clear pick.
Bear Canister: The One Item You Cannot Skip
This is not optional gear, it is a permit condition. Rangers check for a hard-sided, bear-resistant canister at the Road’s End Permit Station before you’re allowed to start, and food, rubbish, toiletries, and anything scented all have to fit inside it every night on the trail.
For most hikers doing the standard 4-night, 5-day pace, the BearVault BV500 is the safest default. It carries enough food for a full solo trip without careful rationing, and the clear body means you can see what’s packed where without digging.
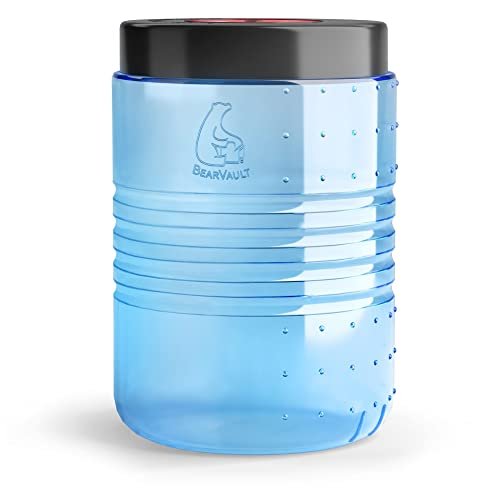
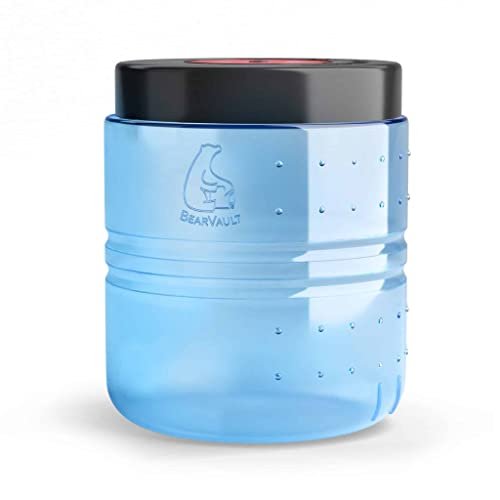
If you’re an efficient packer or moving on the faster 3-night, 4-day pace, the mid-size BearVault BV475 fits the same trip with less bulk in your pack. Size back up to the BV500 if your meals run bulky or you’re sharing food between two hikers.
Water Treatment and Carry
Every water source on this loop needs treatment, including the water at Rae Lakes itself. This is a heavily used trail corridor with significant stock and hiker traffic, and giardia risk is real even in water that looks clean. The one genuine planning point is Day 3: the roughly 4-mile climb from Woods Creek to Rae Lakes has little shade and limited water, so fill up before you start it.
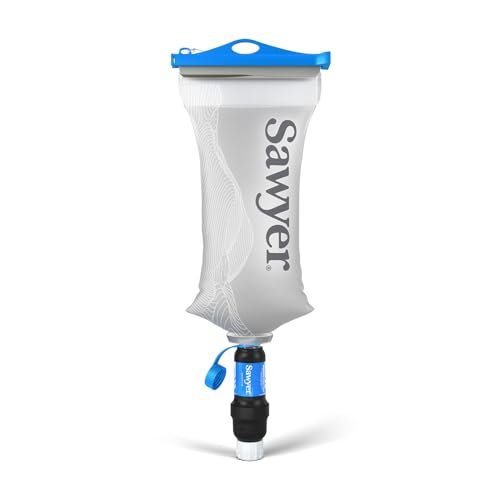
The Sawyer Squeeze is the right default here. It is light, field-cleanable, and handles the kind of clear, fast-moving Sierra water this loop mostly serves up, without the weight of a full purifier.
If you would rather scoop and drink without stopping to squeeze, the Katadyn BeFree trades a little durability for speed, useful on the frequent-water stretches through Paradise Valley and along Woods Creek.
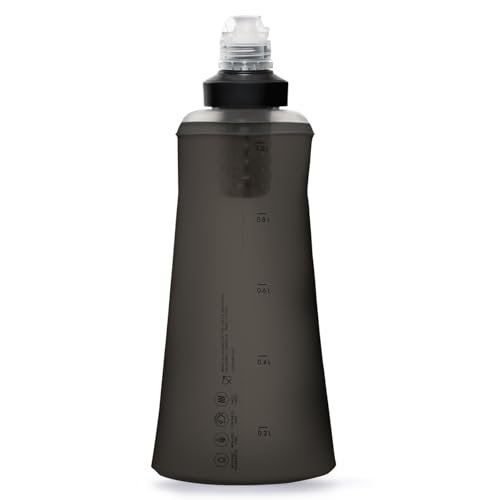
Carry at least 2 to 3 litres of capacity and treat every fill, even from sources that look pristine at 10,000 feet.
Sleep System: Warm Nights at 8,500 to 10,000 Feet
This is where a hot day near Road’s End tricks people into underpacking. Nights at Rae Lakes and the high camps regularly drop into the 30s and 40s°F even in late July and August, and the ground at altitude pulls heat out of you fast.
For the bag, the Kelty Cosmic Synthetic 0 Degree gives real margin over a summer-rated bag without the weight penalty of a heavier expedition model. Synthetic fill also shrugs off the damp that comes with camping near the lakes and creeks on this route.
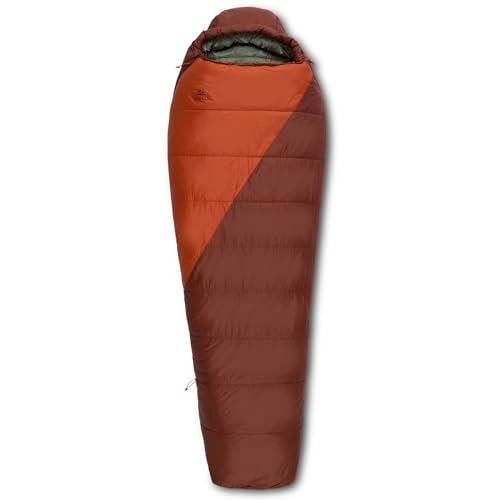
The mat matters just as much and this is one category where we will not point you at a budget camping pad. Cold ground at altitude demands an insulated inflatable sleeping mat with a real R-value of 3 or higher, not a thin foam pad built for car camping. The class benchmarks here are the Therm-a-Rest NeoAir XLite and the Sea to Summit Ultralight Insulated: light, packable, and rated for genuinely cold ground. Our best insulated sleeping pads for hiking guide covers the genuine R-value picks that fit this trail, including the NeoAir XLite. This gap is already logged against G1 in the backlog.
Trekking Poles and the River Crossing
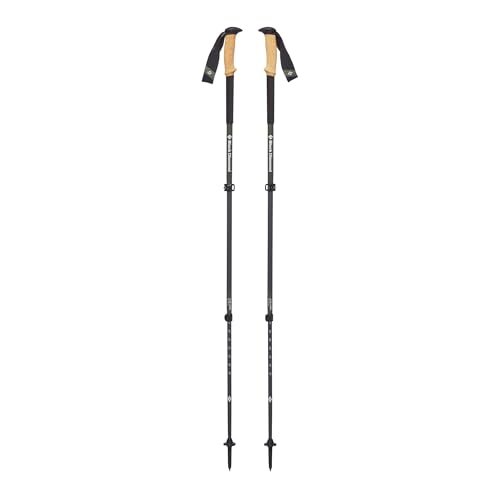
Two of this loop’s defining moments both reward the same piece of gear. The unbridged South Fork Kings River ford on Day 2 is typically a shin-to-calf wade by August, and poles give you a stable third and fourth point of contact in current you cannot fully see the bottom of. The loose, narrow switchbacks on both sides of Glen Pass do the same work on tired legs after four days on trail.
The Black Diamond Alpine Carbon Cork holds up well over a multi-day trip and adjusts fast for the climb up to the pass and the drop back down the other side.
Pack a pair of camp shoes or sandals you don’t mind getting wet too. You’ll want them for the ford itself, so you’re not crossing in your hiking boots, and for the many creek-side camps along the route.
The Rest of Your Kit
These categories are more straightforward, but each still earns its place on this loop.
Footwear
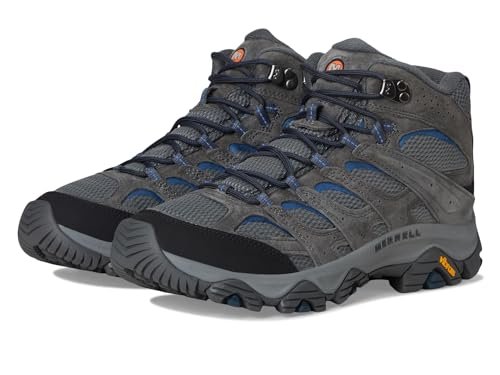
Terrain is well-maintained trail for nearly the entire route, so this is not a boot built for the roughest ground on earth, it is a boot built for consecutive long days and one wet crossing. The Merrell Moab 3 Mid gives you ankle support for the Glen Pass switchbacks and dries fast enough after the ford that it does not stay wet for the rest of the day.
Insulated jacket
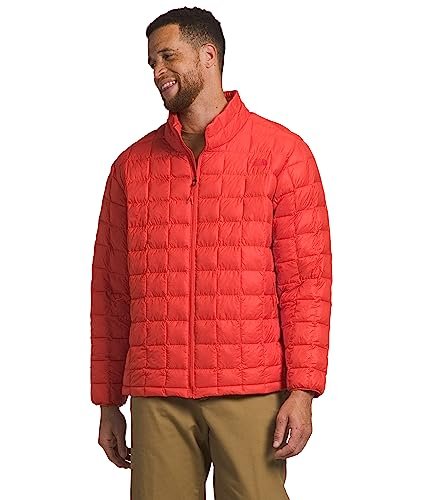
The temperature swing on this loop, 90s in the canyon to the 30s at the lakes, means camp warmth is not optional. The North Face ThermoBall Eco Jacket 2.0 keeps performing if it gets damp from lake spray or an evening drizzle, which matters more here than a marginally lighter down jacket.
Bug protection
Mosquitoes are consistently reported as heavy in Paradise Valley and around the lakes through July, easing off by late August. What this trail genuinely needs is a wearable head net you can hike in, not just a camp shelter. Our current bug net pick is a pop-up screen tent built for camp use rather than a net you wear while walking, so if a wearable option matters to your trip, a basic mesh head net from any outdoor retailer covers the gap until the catalogue does. Logged as a Rae Lakes Loop addition to the existing G2 gap.
Rain shell
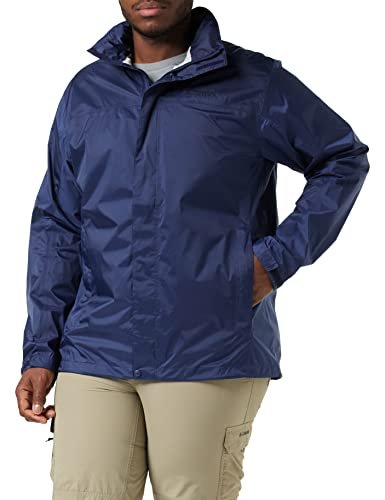
Afternoon thunderstorms build over the Sierra in a wetter monsoon year, and the exposed climb to Glen Pass is the worst place to get caught without one. The Marmot PreCip Eco Jacket is a proven, affordable rain shell that earns its spot even on a mostly dry-season trip.
Backpack
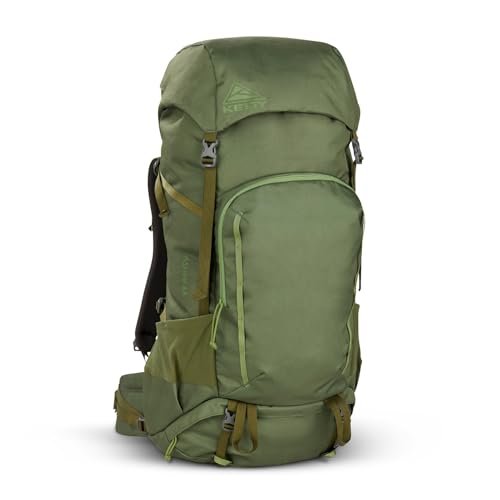
Add a bear canister, several days of food, and a sleep system rated for real cold, and a weak pack becomes a sore back on the Glen Pass climb. The Kelty Asher 65L carries that load onto your hips without the premium price of a technical pack.
Hiking pants
Shorts leave your shins exposed through the brush along Woods Creek and Bubbs Creek, and there is very little shade on the Day 3 climb to Rae Lakes. A pair of lightweight, quick-dry hiking pants covers both problems at once, and dries fast enough after the South Fork Kings River ford that it does not stay wet for the rest of the day. The Eddie Bauer Men’s Athletic Fit Rainier Pants is a solid pick for this kind of trip.

Sun protection
There is very little shade on the Woods Creek to Rae Lakes climb or on the canyon floor near Road’s End. A wide-brim or lanyard hat is standard kit here, alongside sunscreen and UV-filtering sunglasses. No dedicated hat article exists on the site yet, this is a known gap (G5 in the backlog, now shared across the Larapinta, John Muir Trail, Presidential Traverse, and Rae Lakes Loop guides).
Navigation and extras
Cell coverage is unreliable to nonexistent for most of the loop, so carry a paper map or downloaded offline map alongside GPS. A headlamp is essential for early starts ahead of Glen Pass. Pack odor-proof bags to keep loose scented items organised inside the canister, and a basic first aid kit that covers blisters and ankle strain from the switchbacks.
Kit at a Glance
| Category | Our Pick | Why It Matters Here |
|---|---|---|
| Bear canister | BearVault BV500 | Mandatory permit condition, holds a full solo food carry |
| Water filter | Sawyer Squeeze | Light and proven for this loop’s fast, clear Sierra sources |
| Sleeping bag | Kelty Cosmic Synthetic 0 Degree | Margin for 30s to 40s°F nights at the high camps |
| Sleeping pad | Therm-a-Rest NeoAir XLite NXT, R-value 4.5 | Cold ground at altitude steals heat fast |
| Trekking poles | Black Diamond Alpine Carbon Cork | Stability for the river ford and Glen Pass switchbacks |
| Boots | Merrell Moab 3 Mid | Ankle support and quick drying after the crossing |
| Insulated jacket | North Face ThermoBall Eco Jacket 2.0 | Handles the 60-degree daily swing and any lake-camp damp |
| Backpack | Kelty Asher 65L | Carries the canister and cold-weather sleep system onto your hips |
What You Can Skip
You do not need a four-season mountaineering setup. Cold nights and one afternoon storm risk are the issues here, not snow loading, so a solid three-season bag, pad, and shelter cover it.
You also do not need a week of water capacity. Sources are frequent for nearly the whole route, and the one real gap, the Woods Creek to Rae Lakes climb on Day 3, is short enough that 2 to 3 litres covers it if you fill up first. And unless you’re on the compressed 3-night pace, skip the oversized 75L-plus pack. A well-loaded 60 to 65 litre pack handles the food, canister, and cold-weather layers for the standard itinerary.
Renting vs Buying: The Bear Canister
If this is your first canister trip, you do not need to buy one. Canisters are available to borrow at the Road’s End Permit Station when you collect your permit, first come first served, a reasonable way to try the trail before committing to owning one. Frequent Sierra hikers will find a BV500 pays for itself within a couple of trips.
Final Thoughts
That’s what to pack for the Rae Lakes Loop: gear for the swing this trail actually has, hot canyon floor to cold alpine camp, and one crossing and one pass that reward stable footing over anything else in your kit. Start with Multi-Day Hiking Gear: What You Actually Need if you’re still building your base system, and read the full Rae Lakes Loop guide for permits and the day-by-day route. If this loop has you eyeing the longer version of the same corridor, our What to Pack for the John Muir Trail guide covers the multi-week kit for the same granite and alpine-lake country.
Frequently Asked Questions
Do I need a bear canister for the Rae Lakes Loop?
Yes, always. A hard-sided, bear-resistant canister is mandatory for every overnight party and checked at the Road’s End Permit Station before you start. If you don’t own one, canisters are available to borrow there at no cost.
Can I rent gear near the trailhead?
Bear canisters are the main rentable item, borrowed free at the Road’s End Permit Station. There is no broader gear rental operation at the trailhead itself, so plan to arrive with the rest of your kit sorted, the nearest outdoor retail is in Fresno, roughly 2 to 2.5 hours away.
What’s the one thing people forget for the Rae Lakes Loop?
Camp shoes for the South Fork Kings River ford on Day 2. Hikers who cross in their hiking boots either accept wet boots for the rest of the day or spend a frustrating few minutes barefoot on a rocky riverbed. A light pair of sandals solves it.
What boots do I need for the Rae Lakes Loop?
A mid-height boot with real ankle support and a durable, quick-drying build handles this loop well: well-maintained trail for most of the route, one wet crossing on Day 2, and the loose switchbacks on both sides of Glen Pass. See the Footwear section above for our pick, or compare the full range in best hiking boots.
How heavy should my pack be for the Rae Lakes Loop?
Most hikers land somewhere between 28 and 38 pounds fully loaded with 4 to 5 days of food and a bear canister. The canister itself adds close to 2 pounds before you’ve packed a single meal into it, so weigh your base kit without it first, then account for the canister and food separately.
