

Wild Trail Hiker is reader-supported. We may earn a commission when you buy through links on this page, at no extra cost to you. We only recommend gear we’d take on a multi-day trip ourselves.
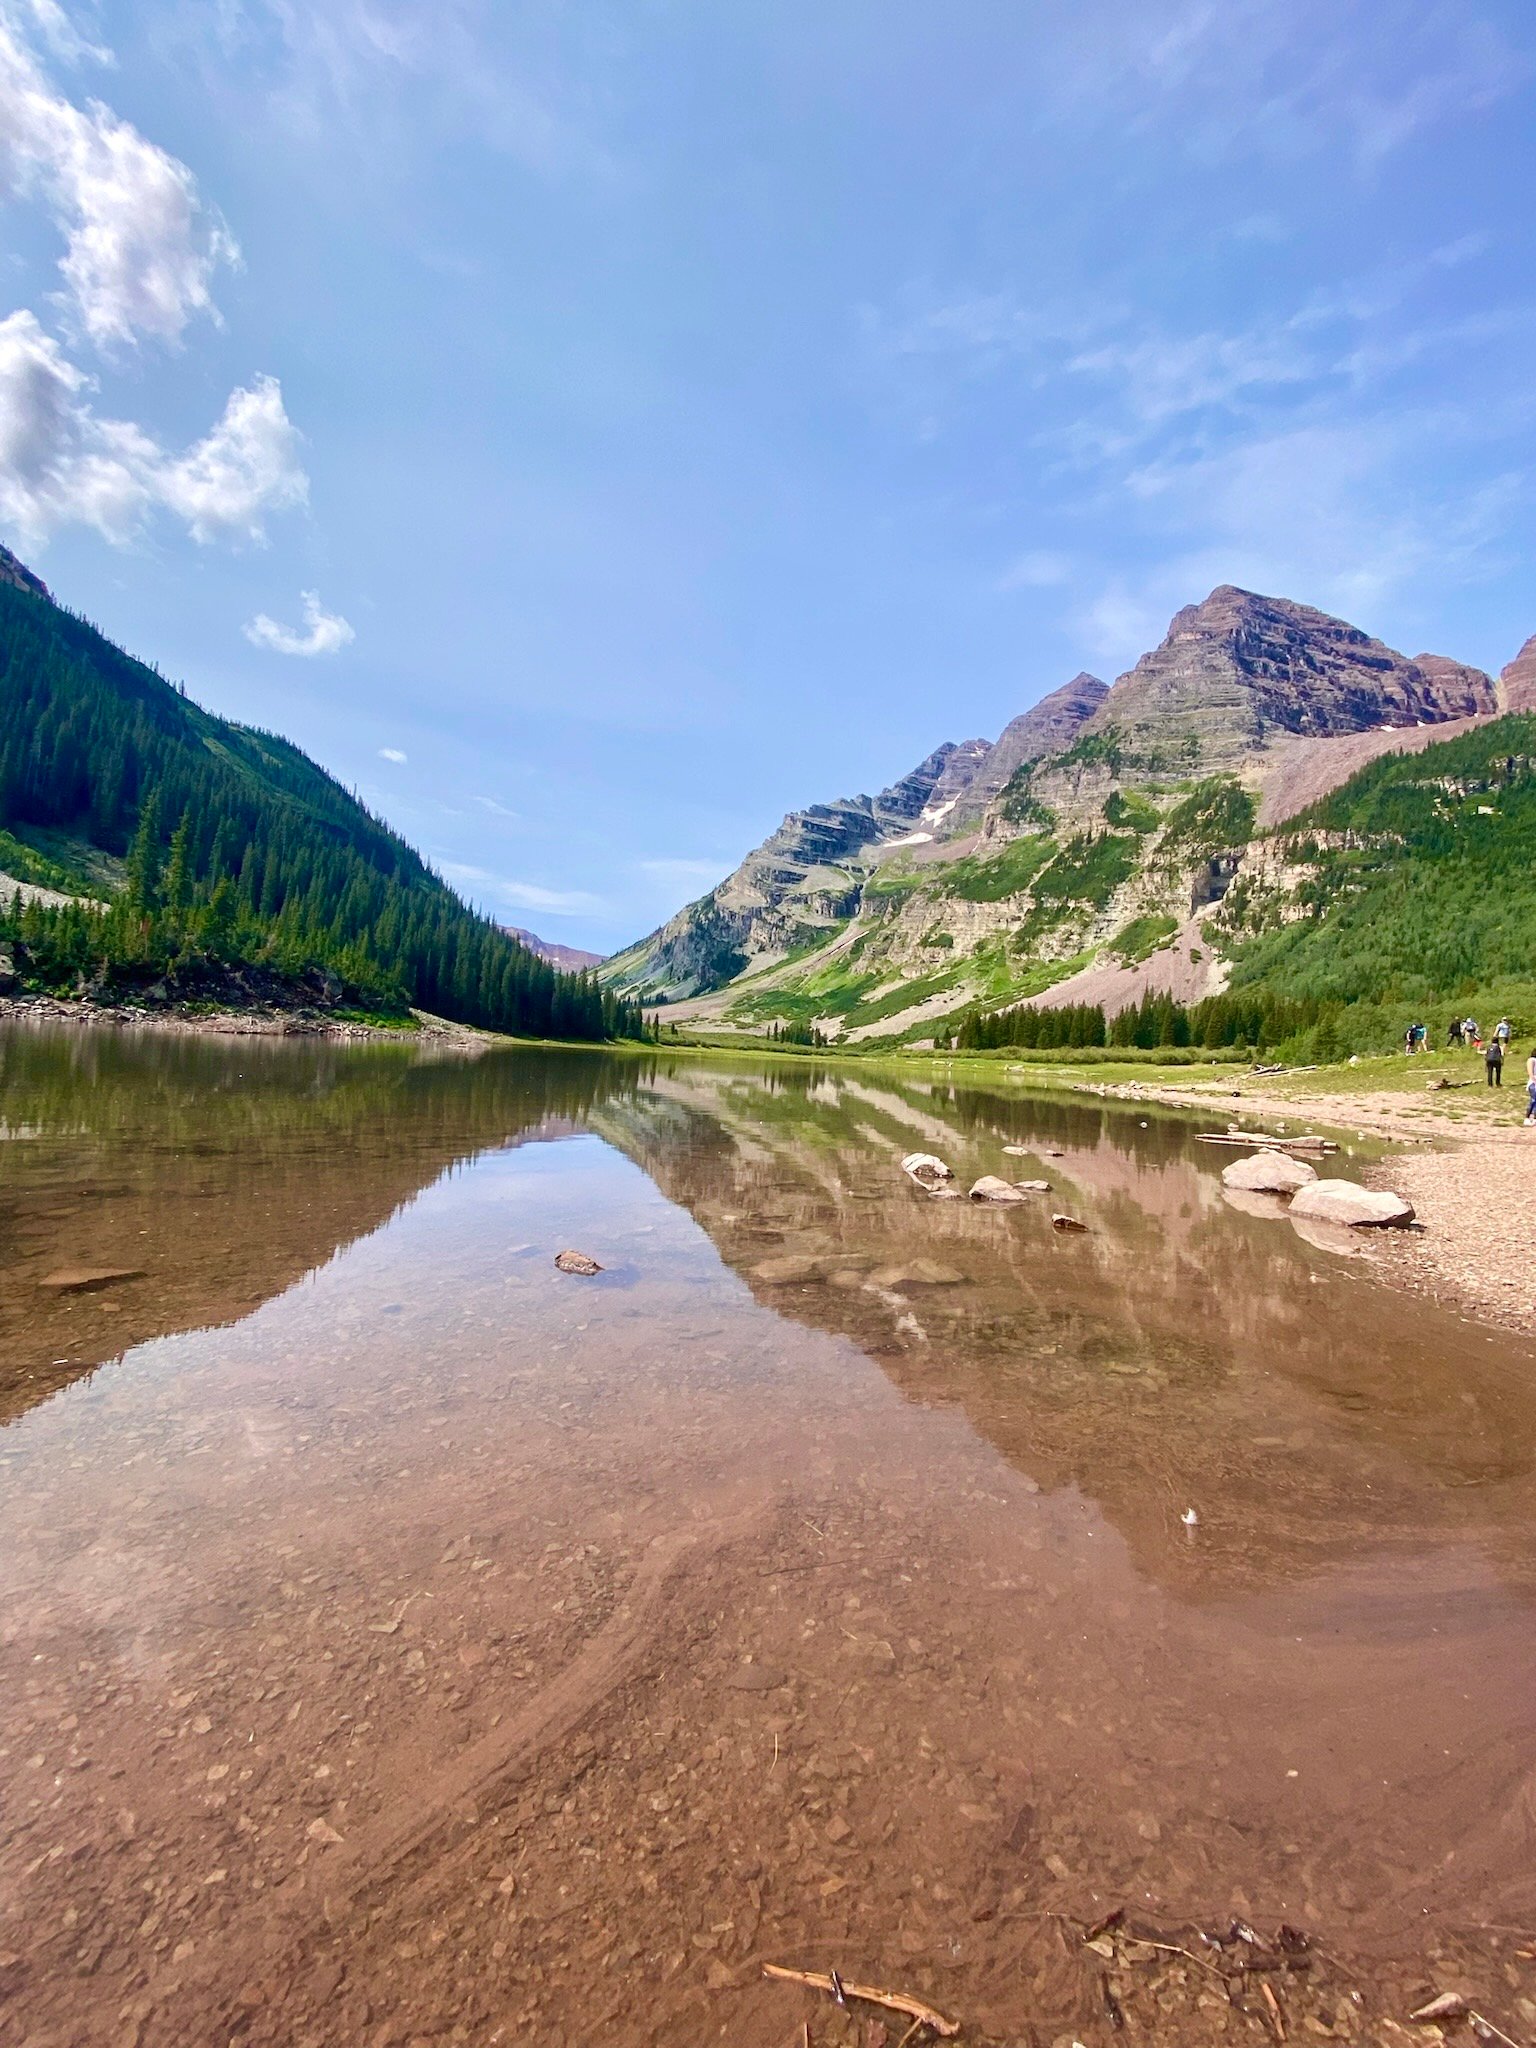
Somewhere on the climb to Trail Rider Pass, the trail levels out on a ridge saddle below Snowmass Peak, and the descent ahead opens up: Snowmass Lake, deep blue, sitting right below a 14,000-foot wall of rock. It is the payoff shot of the loop, earned after two passes already in your legs. Four days, four named passes above 12,000 feet, and views like that at nearly every one, is why the Four Pass Loop keeps coming up when Colorado hikers talk about the trip they would send a friend on.
Getting the kit right matters more here than the short distance suggests. This is a trail with a mandatory hard-sided bear canister, no exceptions, a genuine cold-camp swing in the middle of summer, and a well-earned reputation for afternoon thunderstorms that build fast above treeline. None of that calls for overthinking your pack, just for getting a short list of things right.
This is what to pack for the Four Pass Loop: the kit built for what this route demands, not a generic Colorado list with the trail name swapped in. Still deciding whether to walk it? Start with the full Four Pass Loop guide for permits, parking, and the day-by-day itinerary. For the system behind these picks, see multi-day hiking gear: what you actually need.
Conditions That Drive Your Kit
| Factor | Four Pass Loop reality |
|---|---|
| Distance and duration | 26 to 28 miles (42 to 45 km); most hikers take 3 to 4 days |
| Best season | Mid-July through early September, inside the permit window |
| Terrain | Four passes above 12,000 ft, loose scree on the descents, one creek crossing |
| Temperature | 70s°F days, overnight lows in the 30s and 40s°F at 11,000-plus feet |
| Weather | Afternoon thunderstorms common June to September; be off each pass by early afternoon |
| Water | Frequent in the valleys, thin near each pass; fill up before every climb |
| Food storage | Hard-sided, IGBC-approved bear canister mandatory every night |
| Remoteness | One continuous carry, no resupply; permits lock you to a camping zone each night |
Every pick below traces back to a line in this table. Full permit, parking, and day-by-day detail sits in the Four Pass Loop guide.
How This Kit Is Built
This list is built from the official White River National Forest equipment and permit guidance, independent trip reports from hikers who have walked the full loop, and picks cross-checked against gear-review testing. Three things make or break a kit here: carrying food legally in bear country, staying warm at an 11,000-foot camp after a 70-degree afternoon, and getting your feet and knees through four scree descents without a blowout. Those get the most detail below. The rest still matters and gets a clear pick.
The Kit, by Category
Food Storage: The Category With No Exceptions
Start here, because there is no working around it. Every overnight backpacker in the Maroon Bells-Snowmass Wilderness needs a commercial, hard-sided, IGBC-approved bear canister. Plastic coolers, soft-sided sacks, and standard backpacks do not count, and rangers ticket hikers who show up without one. Worth flagging directly: a soft-sided Ursack, which some hikers carry on other trails, does not meet this wilderness’s hard-sided requirement.
For a 3 to 4 day trip, the BearVault BV500 is the size to start with. It carries several days of carefully packed solo food, the clear body lets you check what is left without opening it, and rangers recognise it on sight.
Best for: every overnight backpacker, every night, no exceptions
Why it stands out: legal compliance plus enough volume for a 3 to 4 day trip
Compare options: best bear canisters for multi-day hiking
Sleep System: Warm Enough for an 11,000-Foot Camp
This is where a lot of first-time Colorado backpackers get caught out. Daytime highs sit in the 70s, which tricks people into packing for a mild summer trip, but every camp on this loop sits above 10,000 feet, and most are closer to 11,000. Overnight lows in the 30s and 40s°F are normal even in peak season, and the ground itself pulls heat out of you faster than the air does.
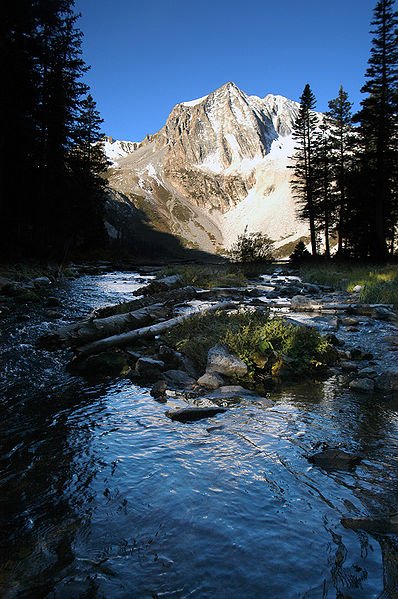
The Kelty Cosmic Synthetic 0 Degree bag gives real margin at a high camp like Upper Snowmass or Geneva Lake. Synthetic fill keeps insulating even if a stray thunderstorm gets into your gear, which matters on a trail where afternoon storms are close to a daily event in July and August.
The pad matters just as much. The Therm-a-Rest NeoAir XLite NXT carries a genuine 4.5 R-value at around 340 grams, enough insulation for cold alpine ground without adding real weight to a pack already carrying a canister and several days of food. If you run cold, the NeoAir XTherm NXT steps up to a 7.3 R-value for a modest weight penalty.
Best for: the daytime-warm, camp-cold swing at high-elevation zones like Upper Snowmass and Geneva Lake
Why it stands out: synthetic storm margin plus a genuine cold-ground R-value, not a three-season spec sheet stretched past its limit
Compare options: best synthetic sleeping bags and best insulated sleeping pads for hiking
Weather Protection: Built Around the Storm Clock
Afternoon thunderstorms are close to routine on this loop from June through September, and they build fast once you are above treeline, which is most of every day here. The standard advice from every source on this trail is the same: start early, and be over the day’s pass before early afternoon. Your gear needs to back that plan up, not fight it.
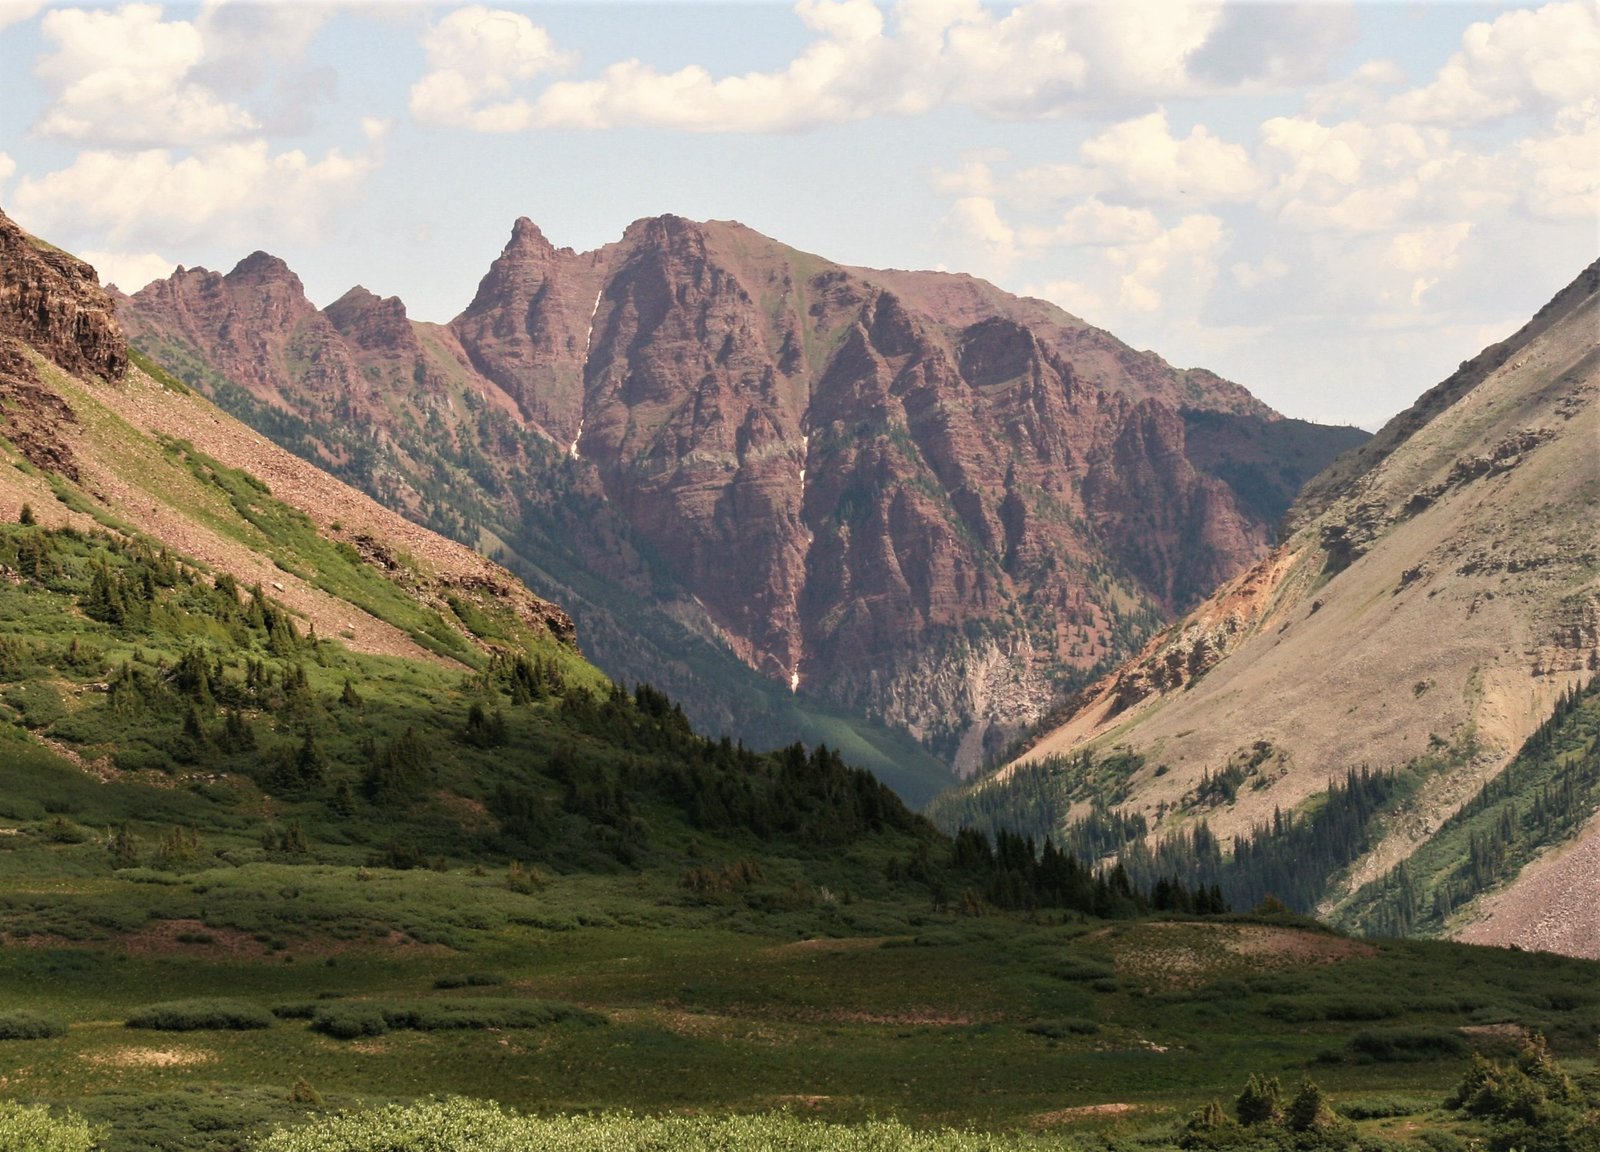
A genuinely waterproof, packable rain shell is the non-negotiable half of this category: fully seam-sealed, not just water-resistant, and packable enough that it lives at the top of your bag, because you want it on before the sky closes in, not after.
Compare options: best waterproof jackets
The other half is warmth at camp once the sun drops. The North Face ThermoBall Eco Jacket 2.0 keeps insulating even if it picks up storm damp, and packs down small enough that it is no real cost to carry on a trip already hauling a bear canister.
Best for: the daily storm-and-cold-camp pattern this loop runs on
Why it stands out: a shell built for a fast-building afternoon storm, paired with an insulating layer that still works wet
Compare options: best insulated jackets for hiking
Footwear: Surviving Four Scree Descents
The climbs on this loop are steady and well graded. The descents are where feet and ankles take the punishment, especially the loose scree below West Maroon and Buckskin passes. A fresh pair out of the box, or a pair with a dying sole, is the wrong gear to bring here.
The Merrell Moab 3 Mid is the safe default: a durable, well-bonded outsole with real grip on loose rock, and ankle support that pays off on the switchback descents. Break it in before you fly to Denver or Aspen, not on the trail itself.
Pair boots with socks built for four straight days on your feet. DANISH ENDURANCE Merino Wool Hiking Socks manage moisture and reduce blister risk, and a dry spare pair is worth the extra ounces. One more thing worth packing if you have room: light camp shoes double as a way to wade the single creek crossing in Fravert Basin, between Frigid Air and Trail Rider passes, without starting the day in wet boots.
Best for: loose scree descents off West Maroon and Buckskin passes
Why it stands out: durable rock traction and ankle support without a punishing break-in
Compare options: best hiking boots and best hiking socks for preventing blisters
The Rest of Your Kit
These categories matter less than the four above, but each still earns its place on this trail.
Backpack
A bear canister and several days of food eat pack volume fast, even on a short trip. The Kelty Asher 65L fits the canister, food, and sleep system, with a hip belt that carries the load on the Buckskin Pass climb.
Compare options: best internal frame backpacks
Trekking Poles
Loose scree on the pass descents and the Fravert Basin creek crossing both load up knees and ankles. The Black Diamond Alpine Carbon Cork holds up over a full loop of climbing and descending.
Compare options: best trekking poles
Water Treatment and Carry
Water is frequent in the valleys but thins out on the final approach to each summit. Fill up before any climb, particularly the West Maroon and Trail Rider approaches. No heavy glacial silt here, so a standard squeeze filter handles it well. The Sawyer Squeeze threads onto standard bottles and packs down small.
Compare options: best water filters for hiking
Headlamp
An early start is how you get over each day’s pass before storms build, which means breaking camp in the dark most mornings. The Black Diamond Spot 400-R pairs genuine water resistance with enough brightness for a pre-dawn climb.
Compare options: best headlamps for hiking
Sun Protection
Almost the entire loop sits above 10,000 feet, and the passes are well above treeline with no shade at all. The Sunday Afternoons Ultra Adventure Hat is UPF 50, light, and folds flat for the stretches it rides in your pack.
Compare options: best sun hats for hiking
Stove and Cooking
Campfires are banned at all Crater Lake designated sites and anywhere above 10,800 feet, which covers most of this loop, so a gas canister stove is the only legal way to cook. Carry a spare lighter as backup; self-igniters are known to struggle at altitude.
Renting vs Buying
If you only plan to walk a bear-canister trail once, renting in Aspen is worth knowing about. Ute Mountaineer, on Galena Street, rents bear canisters, and Denver-area retailers including REI are another option if staging through the city. Renting the canister alone shaves real cost off a first-timer’s list, since it is the one item every hiker needs and almost no one owns. Poles and sleep-system gear are less commonly available to rent, so buying still makes sense there if you expect to use them again.
Kit at a Glance
| Category | Our Pick | Why It Matters Here |
|---|---|---|
| Bear canister | BearVault BV500 | Mandatory, hard-sided, every night |
| Sleeping bag | Kelty Cosmic Synthetic 0 Degree | Margin for near-freezing nights above 11,000 ft |
| Sleeping pad | Therm-a-Rest NeoAir XLite NXT | Genuine R-4.5 for cold alpine ground |
| Rain shell | Waterproof, seam-sealed, packable (see note) | Storms build fast above treeline most days |
| Insulated jacket | North Face ThermoBall Eco 2.0 | Keeps working if it gets storm-damp |
| Boots | Merrell Moab 3 Mid | Traction for four scree descents |
| Socks | DANISH ENDURANCE Merino | Blister prevention over four days |
| Backpack | Kelty Asher 65L | Room for canister and food, carried on the hips |
| Trekking poles | Black Diamond Alpine Carbon Cork | Stability on scree and the creek crossing |
| Water filter | Sawyer Squeeze | Reliable; no glacial silt to fight |
| Headlamp | Black Diamond Spot 400-R | For pre-dawn starts that beat the storm clock |
| Sun hat | Sunday Afternoons Ultra Adventure Hat | UPF 50 for treeless passes, no shade |
What You Can Skip
Plenty of hikers carry weight over Buckskin Pass that they never needed.
You do not need to carry a full day’s water from camp. Fill fully only before you start climbing, at the last reliable source below each summit.
You do not need a heavy four-season tent. Afternoon storms and cold camps are the issue here, not snow loading, so a sturdy three-season tent covers the normal July to September window.
You do not need a bulkier sleeping bag “just in case.” The Kelty Cosmic Synthetic 0 Degree already covers an 11,000-foot camp with margin, and going warmer just adds weight over four passes for nothing.
And you do not need brand-new, untested gear. A permit for this loop is hard to get and does not transfer easily to a new date, so this is the wrong trip to discover your boots rub. Walk in your kit at home first.
Final Thoughts
The Four Pass Loop rewards a hiker who takes the bear canister rule, the storm clock, and the cold camps seriously, and does not overthink the rest. Get those right and the kit stops being a worry and starts being what gets you to Trail Rider Pass with Snowmass Lake spread out below.
Once your kit is sorted, plan permits, parking, and the route with the full Four Pass Loop guide, and back up your gear logic with multi-day hiking gear: what you actually need. Weighing this against another short Western loop? Our Teton Crest Trail gear guide covers a similarly compact trip in a different range entirely.
Frequently Asked Questions
Do I need a bear canister for the Four Pass Loop?
Yes, every night, no exceptions. It must be a commercial, hard-sided, IGBC-approved canister; soft-sided options like an Ursack do not meet this wilderness’s requirement. A BearVault BV500 covers a standard 3 to 4 day trip, and you can rent one in Aspen if you would rather not buy.
How cold does it actually get at camp on this loop?
Overnight temperatures at high camps like Upper Snowmass and Geneva Lake commonly drop into the 30s and 40s Fahrenheit, even in July and August, despite 70-degree daytime highs. Pack a sleep system rated for that swing, not for the weather you hike in.
What is the one thing people forget to pack for the Four Pass Loop?
A rain shell they can get on fast. Afternoon thunderstorms build quickly above treeline, which is most of this loop, and the standard advice is to be off each pass before early afternoon. A packable, waterproof shell needs to live at the top of your pack, not buried under everything else.
Can I rent gear near the trailhead instead of buying it?
Bear canisters, the one item every hiker needs and few already own, can be rented at Ute Mountaineer in Aspen, with Denver retailers like REI another option if you are staging through the city. Sleep-system gear and poles are less commonly available to rent, so buying makes more sense there.
