

Last updated: August 2026
Wild Trail Hiker is reader-supported. We may earn a commission when you buy through links on this page, at no extra cost to you. We only recommend products we’d consider taking on a multi-day trip ourselves.
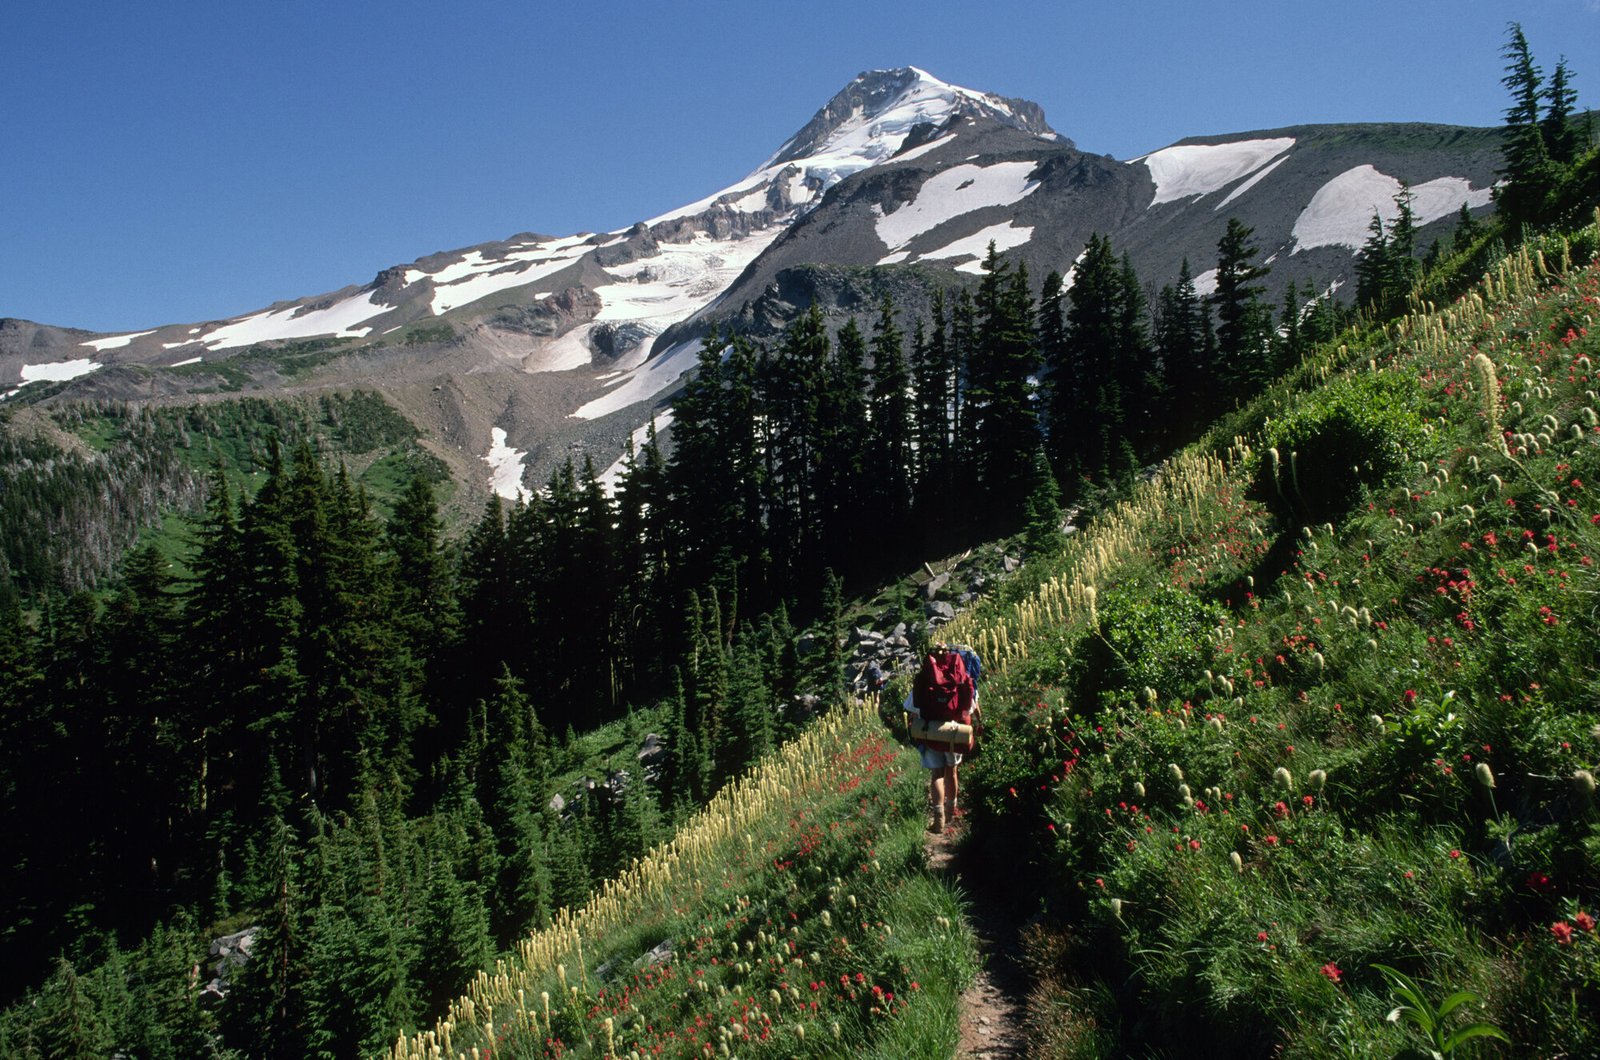
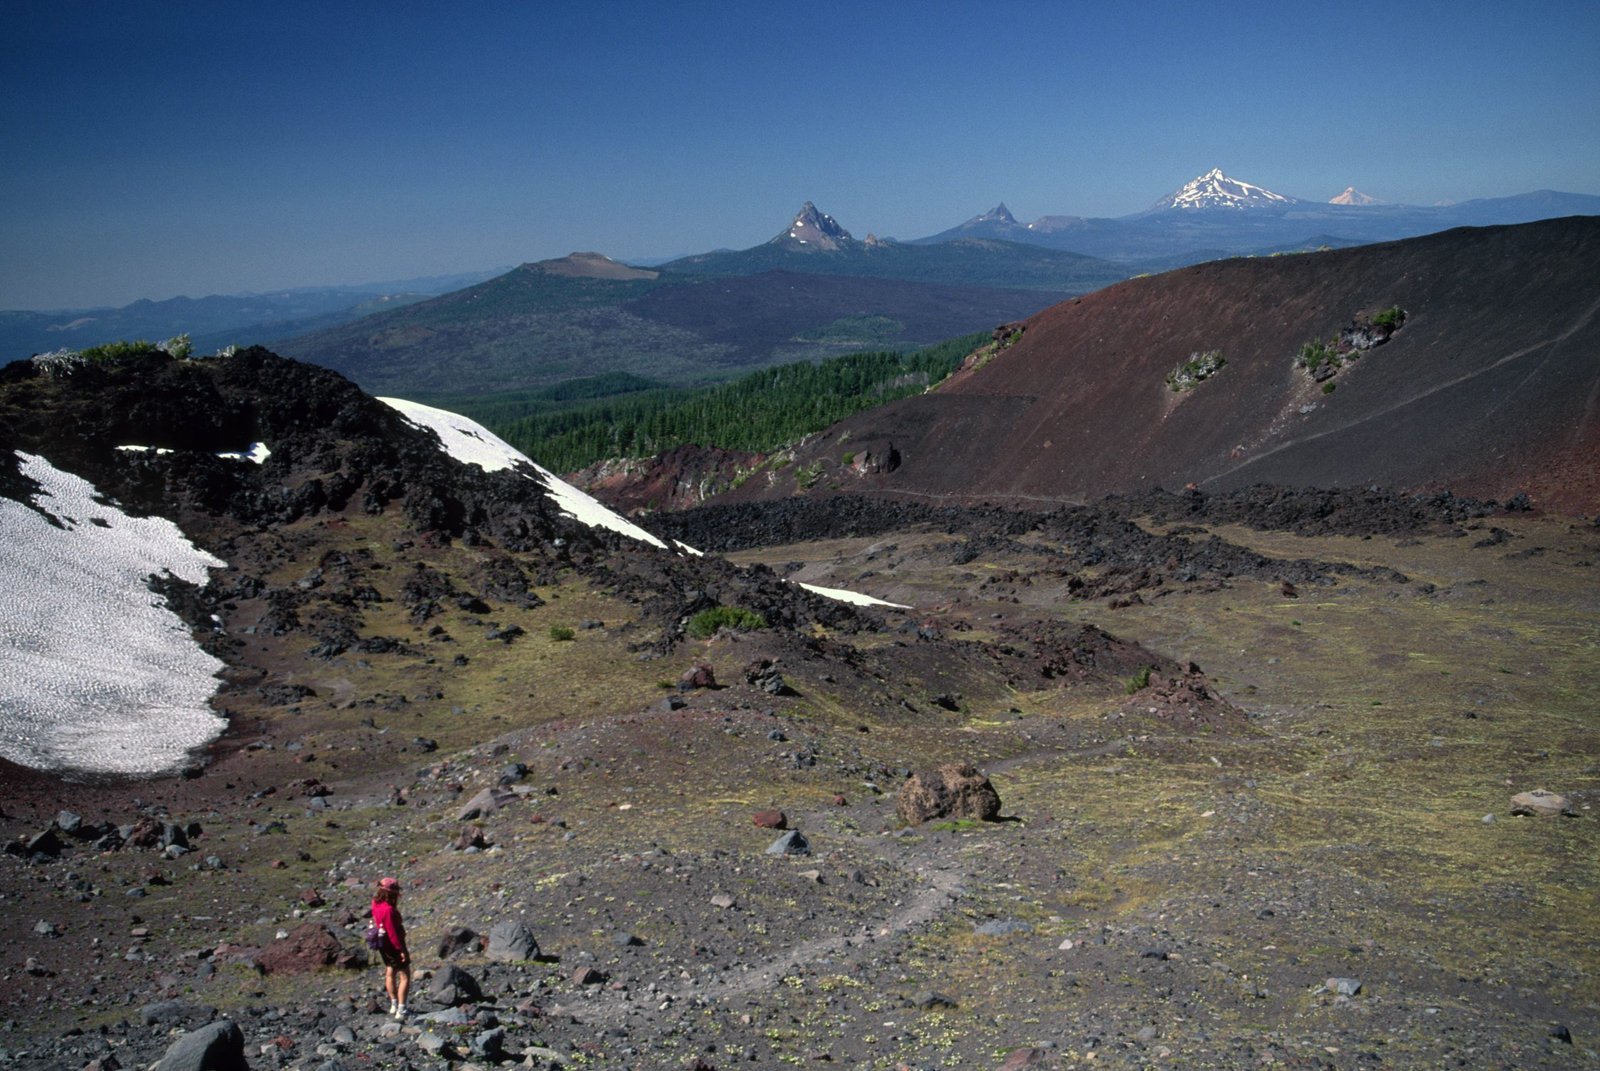
There’s a stretch on the east side of the Timberline Trail, somewhere between Elk Cove and Gnarl Ridge, where the forest falls away and the whole northeast face of Mount Hood is suddenly right there: glacier ice, exposed rock, and a view that stops most hikers mid-stride. It’s the payoff for a trail that spends its first two days working through deep old-growth forest and its last two days out on open pumice, and it’s a big reason experienced Pacific Northwest hikers rate this loop so highly for a long weekend.
Getting to that view means getting past what the Timberline Trail actually demands: seven named creek and river crossings with no bridge, over 9,000 ft of cumulative climbing on steep CCC-era switchbacks, and mountain weather that can turn cold and wet on an exposed ridge with almost no warning. There’s no ranger checking your gear at the trailhead either. You self-register and go, which makes the kit you carry the only safety net you’ve got.
This guide covers what to pack for the Timberline Trail: the exact kit built for that trail specifically, not a generic backpacking checklist. If you’re still deciding whether to walk it, start with the full Timberline Trail guide for the day-by-day route, permits, and the current trail-closure status. For the thinking behind gear choices generally, see multi-day hiking gear: what you actually need.
Conditions That Drive Your Kit
| Factor | Timberline Trail reality |
|---|---|
| Distance and duration | About 40 miles, full loop; most backpackers take 3 to 4 days |
| Best season | Mid-July through early October; snow can linger into July at the high point |
| Terrain | Steep, well-graded switchbacks; forest on the west side, open pumice and lava above 7,000 ft on the east |
| Elevation | 9,000 to 10,800 ft of cumulative gain, depending on source |
| Water | Abundant, but every major crossing runs heavy with fine glacial silt; treat everything |
| River crossings | Seven named unbridged fords: Sandy River, Muddy Fork, Coe Branch, Eliot Branch, Newton Creek, Clark Creek, White River |
| Remoteness | Free self-issued permit, no ranger checkpoint, no quota |
Every pick below traces back to a line in this table. Route detail, permit process, and the current 2026 wildfire closure on the trail’s eastern arc all sit in the Timberline Trail guide; check that before you finalise dates.
How This Kit Is Built
This list comes from the US Forest Service’s own Timberline Trail #600 guidance, cross-referenced against two independent trip guides written by hikers who’ve walked the loop multiple times in both directions. Three things decide whether a Timberline Trail kit works: water treatment that handles glacial silt without clogging, footwear that survives seven unbridged fords and thousands of feet of switchbacks, and layers that keep you warm and dry when the east side turns on you.
Water Treatment: Built for Glacial Silt
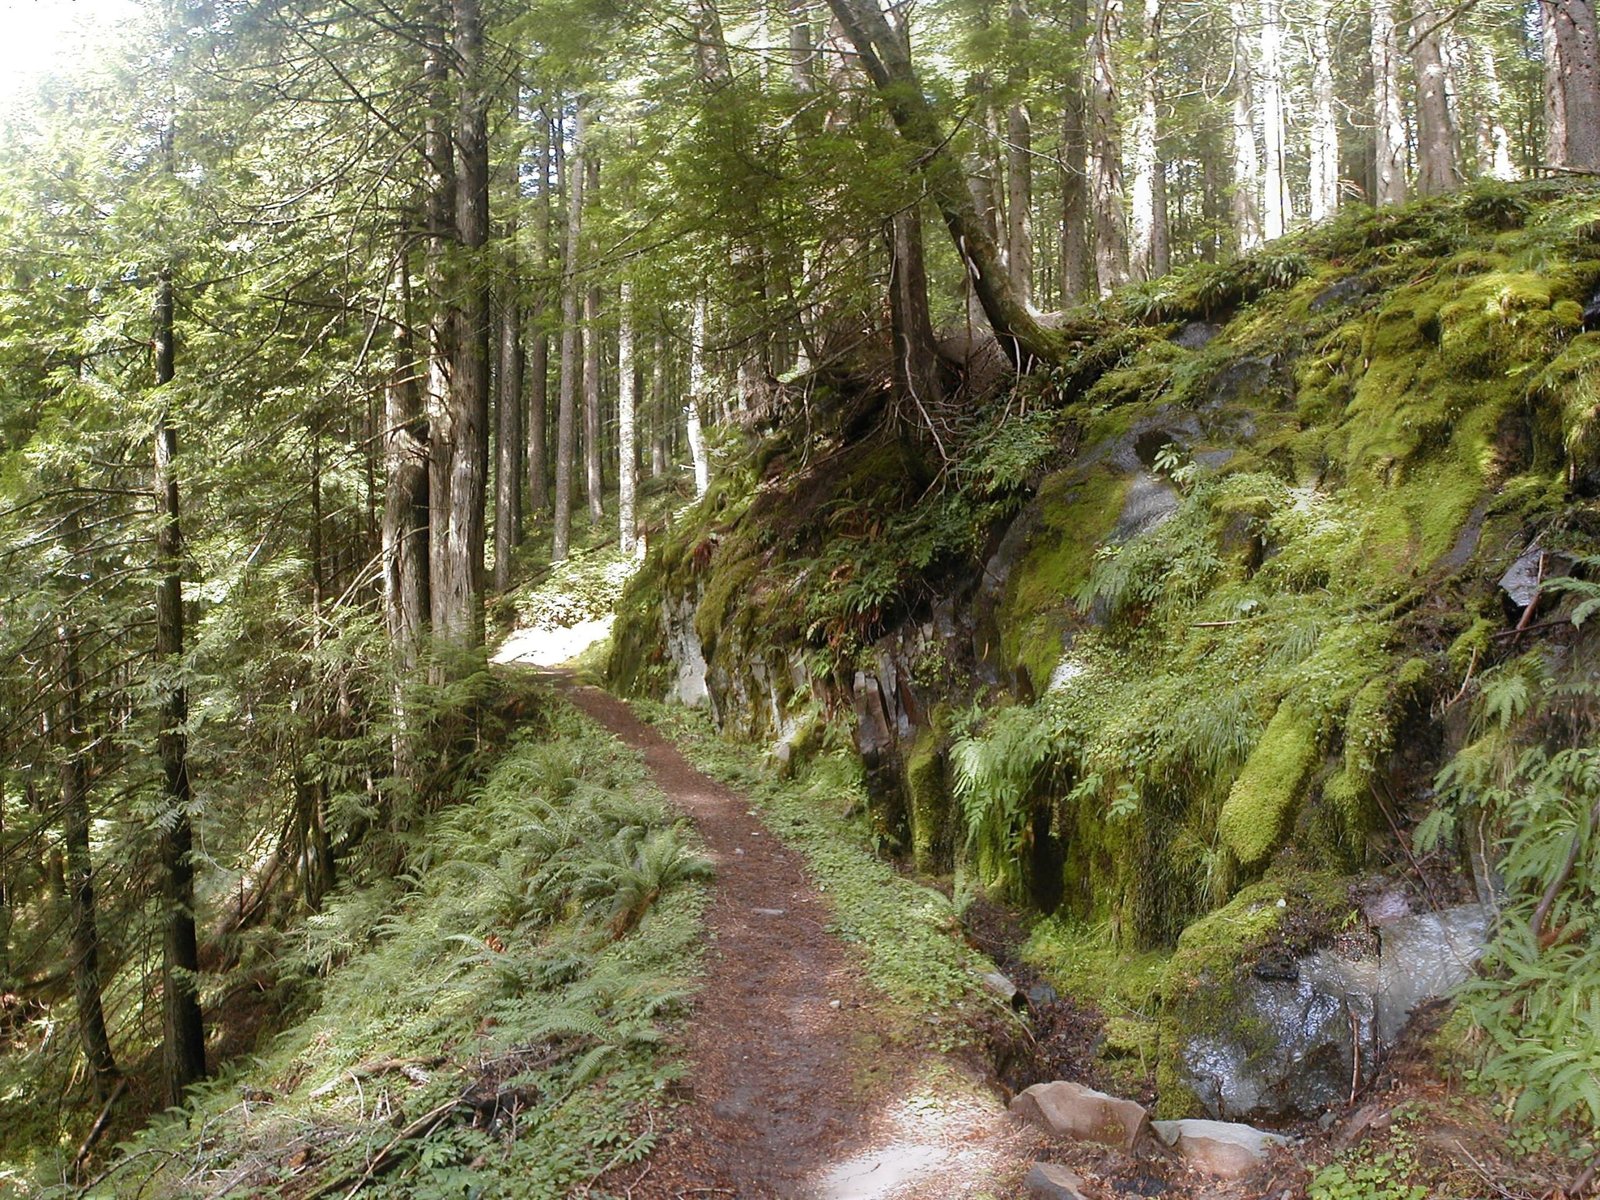
Water is not scarce here. Oregon does not do dry trails, and you’ll cross a named creek or river every one to three miles for most of the route. The problem is what’s in it. The Muddy Fork, Coe Branch, Eliot Branch, Newton Creek, and White River all run straight off glaciers and carry fine rock flour that clogs a standard filter fast. The Forest Service’s own advice is blunt: treat everything, no exceptions.
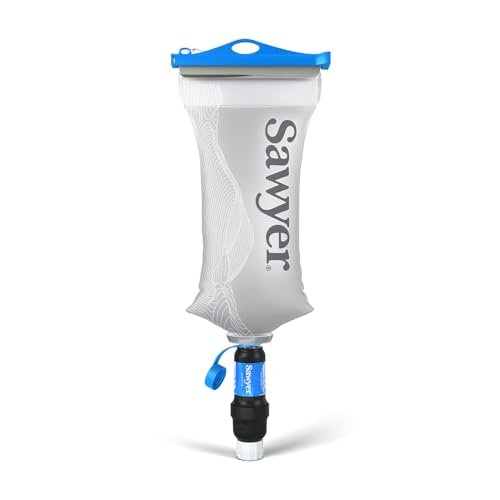
For day-to-day treatment, the Sawyer Squeeze is the pick both major independent Timberline Trail guides land on. It threads onto standard bottles, weighs almost nothing, and is easy to backflush in camp after a silty fill. Carry a couple of spare pouches so a clogged filter doesn’t end your water supply mid-crossing.
If you’d rather not think about backflushing, the GRAYL GeoPress presses clean water in about eight seconds and removes viruses as well as bacteria and protozoa, at the cost of extra bulk. Either way, let heavily silted water settle in a bottle for a few minutes before filtering; it saves real frustration at the Muddy Fork and White River especially.
Compare the best water filters for hiking.
Footwear: Two Honest Ways to Handle the Fords
Boots or trail runners is a real, unsettled debate on this trail, and both camps have good reasons. Whichever you choose, the two failure modes to plan around are a slip on wet rock mid-crossing and a blister from wet feet you never dried out.
If you’d rather move light and let your feet dry fast between fords, a trail runner like the Altra Lone Peak 8 is the choice experienced Timberline Trail thru-hikers reach for most often. It sheds water quickly, dries in an afternoon, and its wide toe box holds up over three or four days of repeated wet-dry cycles without the blister risk a stiff wet boot carries.
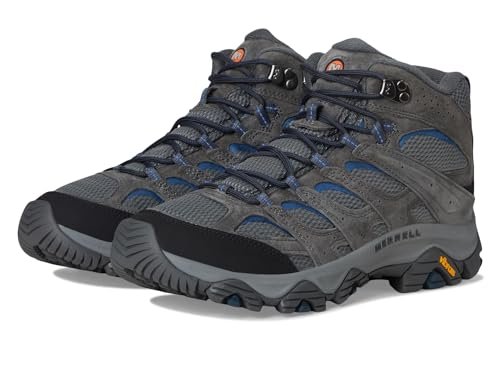
If you’re carrying a heavier pack or want more ankle support on the steep, loose CCC-era switchbacks, a supportive mid boot like the Merrell Moab 3 Mid is the safer default, especially on the descents off Gnarl Ridge and the final drop to the White River. It won’t dry as fast as a trail runner, so pack a dry pair of socks for camp regardless of which you choose.
Compare the best hiking boots.
A second, lighter pair of camp shoes or sandals is worth the extra grams too: dry feet at the end of a ford-heavy day are worth more than they weigh.
Trekking Poles: Close to Non-Negotiable
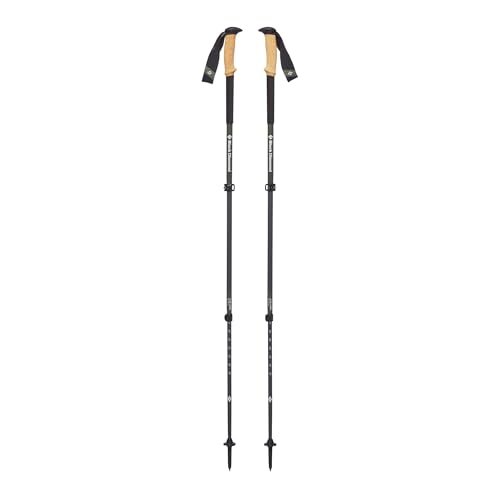
Every source on this trail says the same thing: bring poles. They’re the difference between a controlled step and a slip at a fast-moving ford, and with 9,000-plus feet of cumulative climb on steep switchback grades, your knees will thank you on the descents. The Black Diamond Alpine Carbon Cork is durable enough for a loaded pack and comfortable over a full day.
Compare the best trekking poles.
At a crossing, unclip your pack’s sternum strap and hip belt before you step in. If you go down, you want to be able to slip out of the pack rather than have it pull you under.
Warm Layer for Near-Freezing High Camps
Even in August, camps near Gnarl Ridge and the Timberline High Point sit close to freezing overnight, and the exposed east side loses heat fast once the sun drops. A packable insulated jacket with a hood earns its place in every pack on this loop. The North Face ThermoBall Eco Jacket 2.0 uses synthetic fill that keeps insulating even if it gets damp from condensation or an unexpected splash, which matters more here than on a dry trail.

Compare the best insulated jackets for hiking.
Rain Shell for Fast-Building Storms
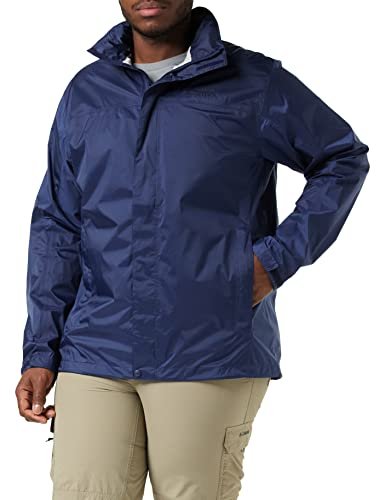
Mount Hood makes its own weather, and afternoon thunderstorms build quickly in July and August, especially on the exposed pumice slopes near the Timberline High Point. A genuinely waterproof shell, not a water-resistant one, is the standard here. The Marmot PreCip Eco is fully seam-sealed, packs down small, and has pit zips for the steep climbs where you’ll want ventilation without taking the jacket off.
Compare the best waterproof jackets.
The Rest of Your Kit
These categories matter less than the five above, but each still earns its place on a Timberline Trail pack list.
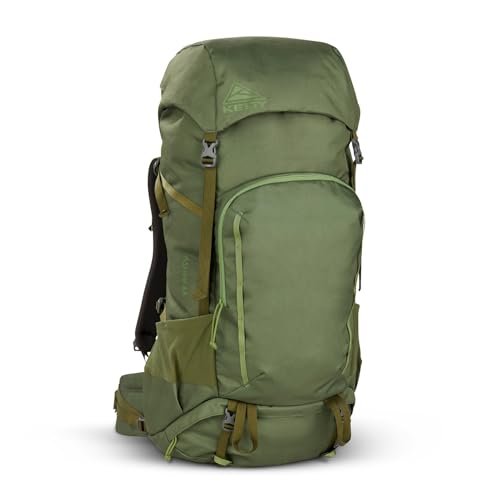
Backpack. A 3 to 4 day loop with no bear canister required doesn’t demand a huge pack, but you’re still carrying full camp kit over serious elevation change. A 55 to 65 litre pack with a supportive hip belt is the right size. The Kelty Asher 65L covers this without a premium price. Compare the best internal frame backpacks.
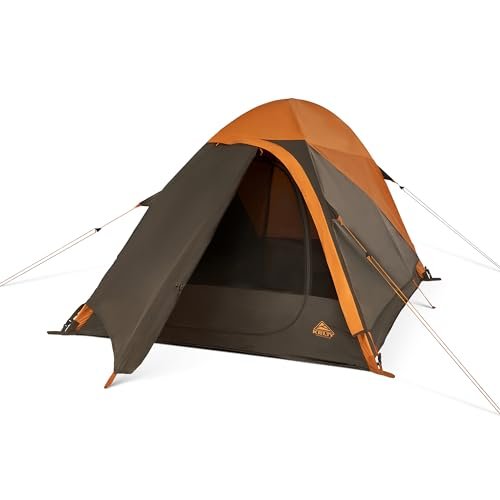
Shelter. Camping opportunities are plentiful along the route, so a freestanding tent gives you flexibility to pitch on rocky or uneven ground. The Kelty Grand Mesa 2P is a solid three-season pick that vents well against condensation on damp Pacific Northwest nights. Compare the best freestanding tents.
Sleep system. A bag rated 20 to 30°F covers the near-freezing high camps with margin; synthetic fill is the safer choice given the damp forest sections. Pair it with an insulated inflatable pad, R-value 3 or higher: cold ground pulls heat out of you overnight even when the air feels mild. See best synthetic sleeping bags and best insulated sleeping pads for hiking.
Headlamp. Non-negotiable for camp chores and the final stretch above 6,000 ft, where fog can make the trail genuinely hard to follow at dusk. The Black Diamond Spot 400-R is bright enough for route-finding in poor visibility and rechargeable. Compare the best headlamps for hiking.
Dry bag. With seven unbridged fords on the itinerary, keeping your phone and permit dry through a crossing is cheap insurance. A small dry sack in your pack’s top lid does the job. Compare the best dry bags for hiking.
Sun protection. The west side stays forested, but the east-side miles from Elk Cove through Gnarl Ridge and the Timberline High Point are open pumice with no shade. A wide-brim hat earns its place on that stretch specifically. Compare the best sun hats for hiking.
Bug repellent. Mosquitoes are worst in early-to-mid summer around the meadow camps at Elk Cove and Cairn Basin, tailing off by September. Picaridin-based spray is the better call over high-concentration DEET, which can degrade plastic buckles and synthetic fabric.
Navigation. Recent trail work has made the route easier to follow, but the area around Yocum Ridge and the crossings themselves can still get confusing when a log shifts or the tread washes out. Carry a paper map as backup even if you’re running a GPS app.
Emergency communication. There is no ranger checkpoint on this trail and several fords are genuinely difficult in high water. A personal locator beacon or satellite messenger is a sound call, particularly solo or off-season. This is a safety purchase, not an affiliate pick: buy or hire one you trust and register it before you go.
Kit at a Glance
| Category | Our Pick | Why It Matters Here |
|---|---|---|
| Water treatment | Sawyer Squeeze | Light, backflushable treatment for silty glacial fords |
| Water treatment (upgrade) | GRAYL GeoPress | Presses turbid water clean in seconds, no backflushing |
| Footwear (light) | Altra Lone Peak 8 | Dries fast between the trail’s seven fords |
| Footwear (supportive) | Merrell Moab 3 Mid | Ankle support on steep, loose CCC-era switchbacks |
| Trekking poles | Black Diamond Alpine Carbon Cork | Stability at fords and knee relief on 9,000+ ft of descent |
| Warm layer | North Face ThermoBall Eco Jacket 2.0 | Synthetic fill keeps insulating if it gets damp |
| Rain shell | Marmot PreCip Eco | Seam-sealed for fast-building afternoon storms |
| Backpack | Kelty Asher 65L | Right-sized for a 3 to 4 day loop with real elevation change |
| Shelter | Kelty Grand Mesa 2P | Freestanding, pitches on rocky or uneven camps |
| Headlamp | Black Diamond Spot 400-R | Route-finding above 6,000 ft if fog rolls in near dusk |
What You Can Skip
Plenty of hikers carry more than this trail actually asks for.
You do not need a bear canister. Hanging your food or using a lightweight Ursack-style bag is sensible for rodents, but Mount Hood National Forest does not require a hard-sided canister here the way Sierra Nevada trails do.
You do not need a four-season mountaineering tent. This is a summer backpacking loop, not the technical Mount Hood summit route. A sturdy three-season freestanding tent handles the wind and rain fine.
You do not need to carry your full water supply between fords. With a crossing every one to three miles, treat as you go rather than hauling extra litres you don’t need.
And you do not need brand-new, untested boots or a mat you’ve never slept on. Three unbridged fords into day one is the wrong place to discover a blister or a leaky valve.
Renting vs Buying
If you’re travelling to Portland without a full kit, Portland State University’s Outdoor Program rents backpacking gear and sits close to Highway 26 on the way out to Mount Hood, useful if you want to try before you buy a tent or sleeping bag you’d otherwise only use once. Big-ticket items like a satellite messenger are also worth hiring rather than buying if this is your only trip planned this year.
Final Thoughts
The Timberline Trail rewards a kit built around three things: water treatment that shrugs off glacial silt, footwear you trust at seven unbridged fords, and layers that keep you warm when the east side turns on you fast. Get those right and the trail stops being a logistics exercise and becomes the long weekend loop it’s known for.
Once you know what to pack for the Timberline Trail, plan the route, permits, and the current trail-closure status with the full Timberline Trail guide, and back up your gear logic with plan your first multi-day hike. If you’re weighing this against a bigger Pacific Northwest volcano loop, see our Wonderland Trail gear guide for the step up in scale.
Frequently Asked Questions
Do I need waterproof boots for the Timberline Trail?
Not necessarily. With seven unbridged fords, your feet are going to get wet regardless of what you wear. Many experienced Timberline Trail hikers prefer a trail runner that drains and dries fast over a waterproof boot that stays soaked once it’s breached. Either works if you pack dry socks for camp.
Do I need a water filter that can handle silty water?
Yes. The Muddy Fork, Coe Branch, Eliot Branch, Newton Creek, and White River all run direct from glaciers and carry fine rock flour that clogs a standard filter fast. Let silty water settle for a few minutes before filtering, and carry a backflushable filter or a press-style purifier.
Can I rent gear near the trailhead?
Portland State University’s Outdoor Program rents backpacking gear and is a reasonable stop on the way out from Portland if you’re missing a tent, sleeping bag, or other big-ticket item and don’t want to buy for a one-off trip.
How heavy should my pack be for a 3 to 4 day Timberline Trail loop?
With no bear canister requirement and water available every one to three miles, most hikers can keep a loaded pack in the 25 to 35 lb range depending on food carried and personal gear choices. The elevation gain makes every extra pound worth questioning before you leave the trailhead.
