

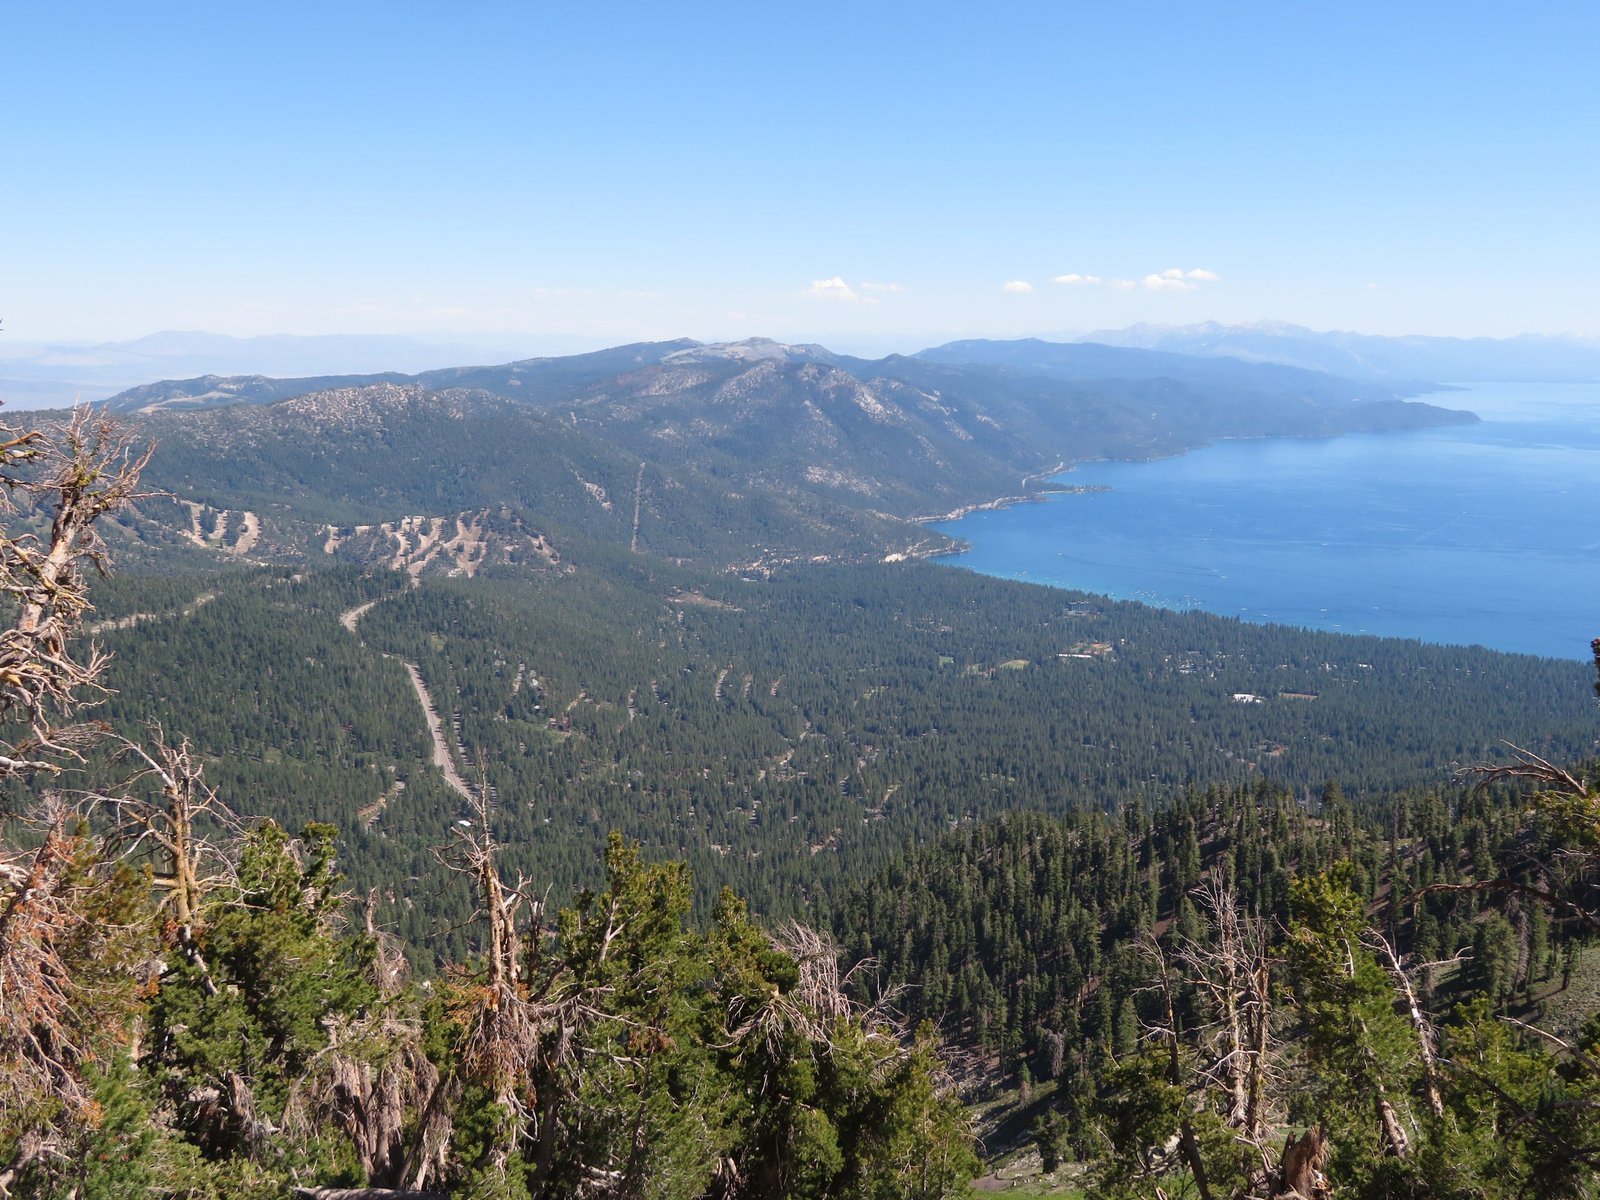
Somewhere above Christophers Loop, the trail breaks out of the trees and the translucent shallows of Sand Harbor open up below you, with Lake Tahoe stretching to a horizon of granite and volcanic ridgeline. It happens again and again: a climb through forest, then the lake, right there, from a different angle than the day before. Few long trails change scenery this much while still delivering the same view every day.
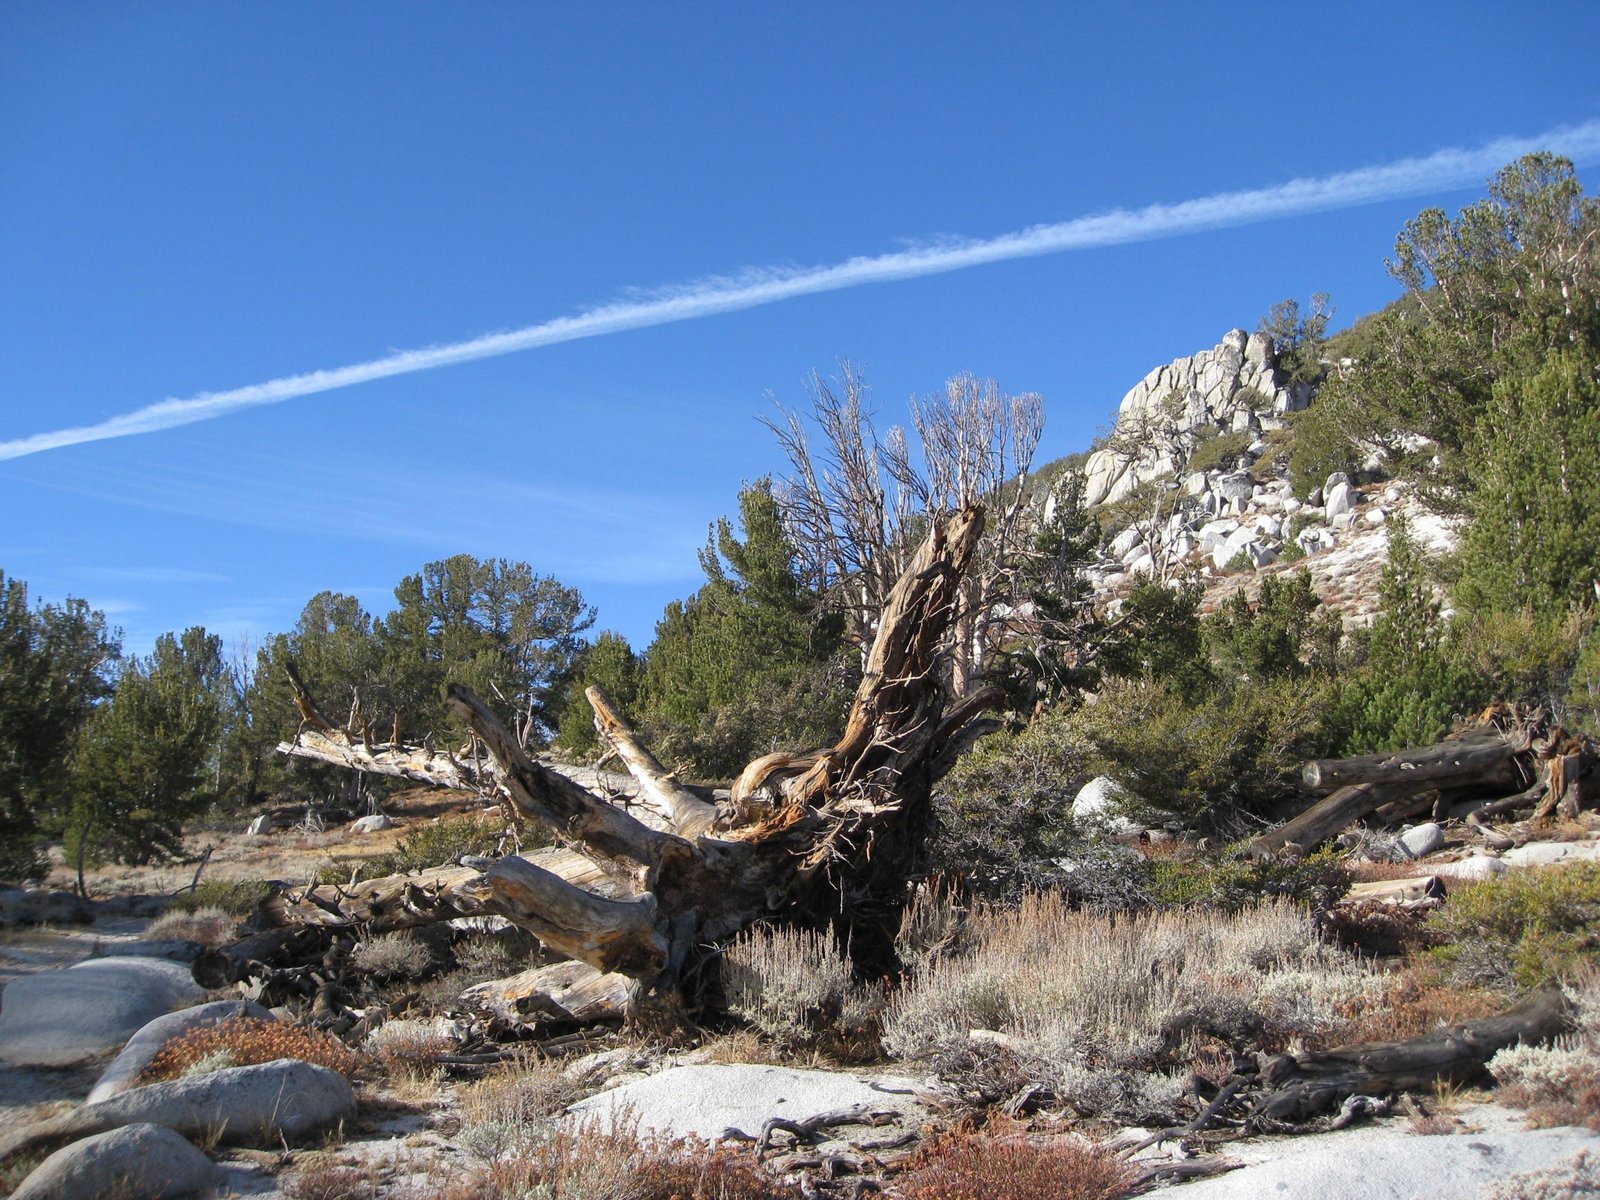
Getting around that loop in one piece means packing for what the Tahoe Rim Trail actually demands, not a generic Sierra checklist copied from a bigger trail. A hard-sided bear canister is mandatory across the entire Lake Tahoe Basin, not just in one wilderness zone, and it catches hikers who have done other Sierra trails off guard. Two full segments on the Nevada side run genuinely dry by late summer. Long stretches sit above the treeline with no shade, on rolling terrain that adds up to close to 28,000 feet of climbing over the full circuit. This guide is the kit built for those conditions, not a copy-paste packing list.
This is what to pack for the Tahoe Rim Trail: the kit dialled for a basin-wide canister rule, two dry segments, and long shadeless miles, not a generic list. If you are still deciding whether to walk it, start with the full Tahoe Rim Trail guide for permits, the day-by-day itinerary, and water planning by segment. For the thinking behind gear choices generally, see multi-day hiking gear: what you actually need.
Conditions That Drive Your Kit
| Factor | Tahoe Rim Trail reality |
|---|---|
| Distance and duration | About 174 miles, usually 7 to 14 days; this guide assumes a 9-day pace |
| Best season | July through September; June carries lingering snow and the worst mosquitoes |
| Terrain | Well-graded dirt and gravel singletrack, rolling rather than sustained, with loose shale near Relay Peak |
| Elevation | High point 10,338 feet at Relay Peak; about 28,000 feet of cumulative gain for the full loop |
| Water | Frequent in Desolation Wilderness and the west side; Mt. Rose to Spooner and Spooner to Kingsbury South run genuinely dry by late summer |
| Regulations | Hard-sided bear canister mandatory basin-wide since January 2024; free CA campfire permit needed for any stove use |
Every pick below traces back to a line in this table. Full permit process, segment mileage, and current water source reports sit in the Tahoe Rim Trail guide.
How This Kit Is Built: What to Pack for the Tahoe Rim Trail
This list is built from the Tahoe Rim Trail Association’s own trip-planning guidance, a thru-hiker gear breakdown from Treeline Review that names picks for what to pack for the Tahoe Rim Trail specifically, and an independent thru-hiker’s published gear list from a seven-day crossing. It is built for the loop first: everything here earns its place against what the TRT throws hardest at a hiker used to other Sierra trails, a basin-wide canister law, two genuinely dry segments, and long shadeless stretches on the Nevada side.
Bear Canister: Basin-Wide, No Exceptions
This is the one rule that catches experienced Sierra hikers out. Most nearby trails require a canister only inside a specific wilderness boundary. On the TRT it is required everywhere in the basin, for the entire loop. Rangers do check, and food, rubbish, and anything scented all need to fit inside it every night.
For the 8 to 9 night pace this guide follows, the BearVault BV500 is the safe default: enough food for a full week without careful rationing, and a clear body so you can see what is packed where in the dark.
Moving fast on the 7-day pace, or resupplying at Tahoe City, the smaller BearVault BV475 covers a shorter carry with less bulk. Size back up to the BV500 if resupplying less often or sharing food between two hikers.
Water: Treating It and Carrying Enough for the Dry Stretches
Desolation Wilderness and the west side have water at nearly every turn. That changes on the Nevada side. The Mt. Rose to Spooner Summit and Spooner Summit to Kingsbury South segments are consistently the driest on the trail, and by September some seasonal sources have dried up. This is a heavily used, multi-use corridor shared with horses in places, so treat everything you drink, even water that looks clean at 9,000 feet.
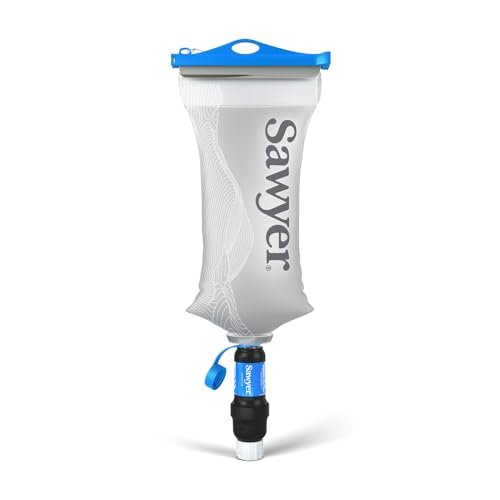
For everyday treatment, the Sawyer Squeeze is the pick both Treeline Review and independent trip reports land on for this trail. It threads onto standard bottles, weighs almost nothing, and handles the trail’s mostly clear, fast-moving sources.
If you would rather not stop to squeeze at every fill, the GRAYL GeoPress presses clean water in seconds and removes viruses as well as bacteria and protozoa, useful at any tank-fed trailhead source.
Compare the best water filters for hiking.
Size your capacity to the two dry segments, not the average day. A 2 to 3 litre reservoir plus soft-bottle capacity to reach 4 to 5 litres covers the Nevada-side stretches without extra weight the rest of the loop. See the best hydration bladders for hiking.
Sun Protection: The Category Nobody Packs For
This is the gap that catches hikers who have only done forested Sierra trails. Close to half the TRT runs through open manzanita hillsides, volcanic ridgelines in the Mount Rose Wilderness, and multi-use corridors with thin tree cover, especially on the Nevada side. There is real, sustained UV exposure on a trail most people picture as shaded pine forest throughout.
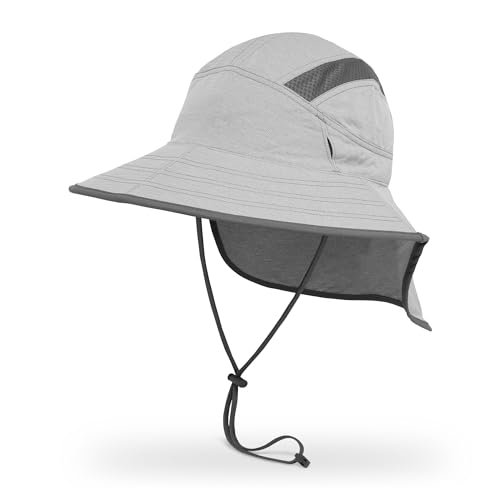
A wide-brim hat with a strap is the base layer. The Sunday Afternoons Ultra Adventure Hat covers the ears and neck and stays on in the wind along the ridges near Relay Peak, unlike a plain ball cap. Pair it with real UV-filtering sunglasses: the Smith Lowdown 2, with polarized ChromaPop lenses, cuts glare off the lake without losing trail detail on shaded singletrack.
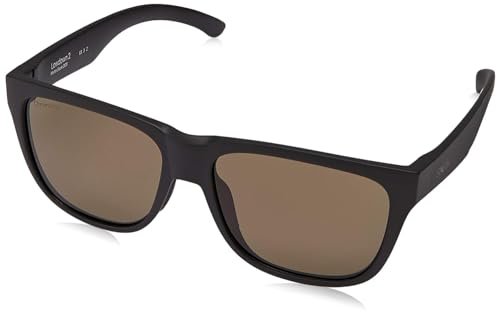
Compare best sun hats for hiking.
Add a long-sleeve sun shirt for the open Nevada-side miles. See the best moisture-wicking shirts for hiking, and carry sunscreen for anything left exposed.
Footwear: Built for Rolling Terrain and Long Days
The TRT is well graded and marked, but it is not gentle. Road crossings often sit lower than the ridge, so each one adds a climb back up, and this itinerary’s longer days run past 20 miles with a bear canister’s added weight. Loose shale near Relay Peak rewards secure footing over speed.
If you want to move light and let your feet breathe over consecutive long days, a trail runner like the Altra Lone Peak 8 is a common choice on this trail’s faster thru-hikes, with a wide toe box that holds up over back-to-back 20-mile days.
If you are carrying more weight or hiking earlier in the season when snow can linger, a supportive mid boot like the Merrell Moab 3 Mid gives ankle support that pays off on the loose shale descents.
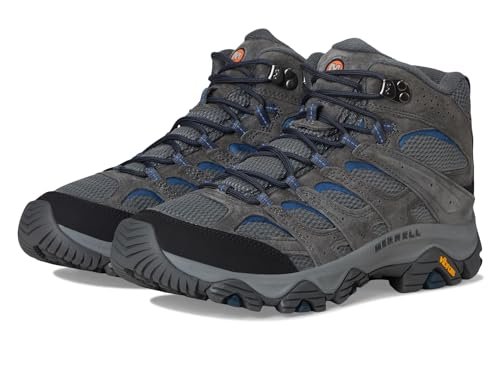
Compare the best hiking boots.
Whichever you choose, break it in on real miles before you start. Twenty-mile days are the wrong place to discover a hot spot.
The Rest of Your Kit
These categories matter less than the four above, but each still earns its place on a Tahoe Rim Trail pack list.
Trekking poles
The rolling terrain and the steeper descents near Relay Peak and South Camp Peak reward the stability. The Black Diamond Alpine Carbon Cork holds up well over a multi-day loop.
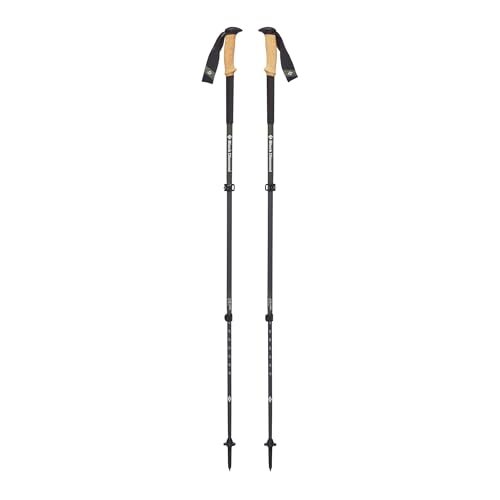
Compare the best trekking poles.
Insulated jacket
Overnight lows drop into the 40s°F even at the height of summer, colder at the higher camps. The North Face ThermoBall Eco Jacket 2.0 keeps insulating even if it picks up damp from condensation.
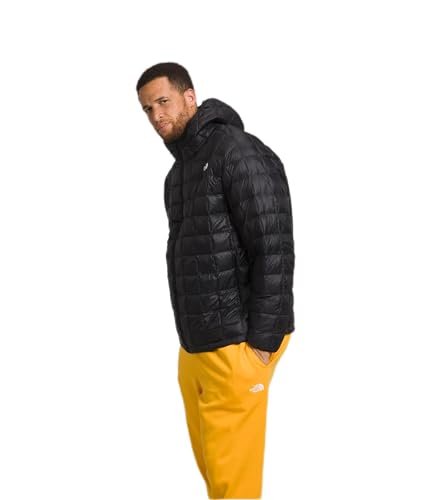
Compare the best insulated jackets for hiking.
Sleep system
A bag rated 20 to 30°F covers the summer camps with margin, since it can freeze at higher elevations in any month. Pair it with an insulated inflatable pad, R-value 3 or higher: cold ground pulls heat out of you even on a mild night. See best synthetic sleeping bags and best insulated sleeping pads.
Backpack
Add a canister and dry-stretch water to several days of food, and a weak pack becomes a sore back on the rolling elevation. The Kelty Asher 65L carries that load onto your hips without a premium price.
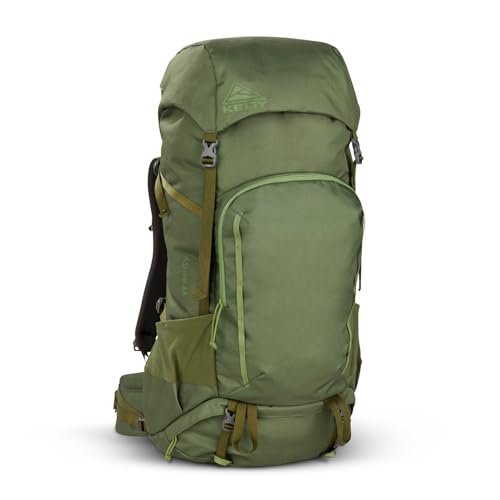
Compare the best internal frame backpacks.
Shelter
Established campsites are common along the route, so a reliable freestanding tent gives flexibility. The Kelty Grand Mesa 2P is a solid three-season pick that vents well against condensation.
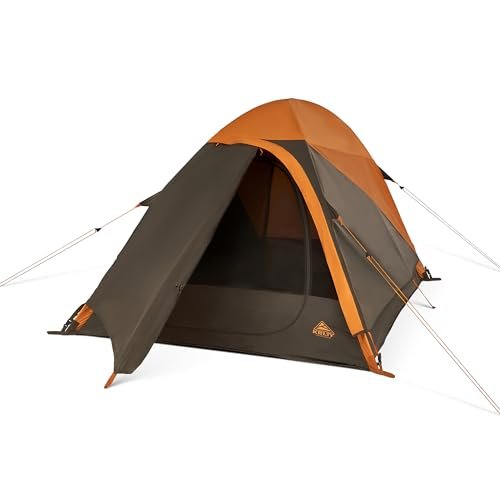
Compare the best freestanding tents.
Bug protection
Mosquitoes are worst in June and early July, one reason a July start is often recommended. This trail needs a net you can hike in, not just a camp shelter. Our current bug net pick is a pop-up screen tent, not a wearable one, so a basic wearable mesh head net covers the gap.
Rain shell
The Sierra’s afternoon thunderstorms build fast in summer, and exposed ridge sections are the worst place to get caught without one. The Marmot PreCip Eco is seam-sealed and packs down small.
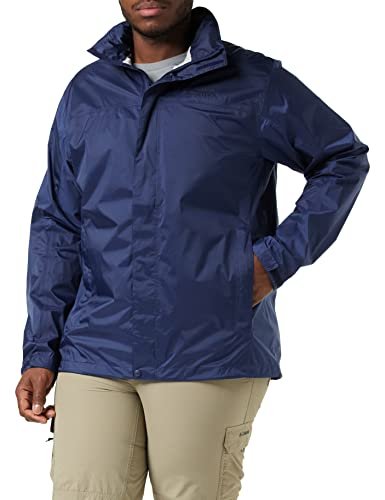
Compare the best waterproof jackets.
Navigation, power, and extras
The trail is well marked, but the Association recommends not relying on a phone alone, since coverage is patchy. Carry a paper map and compass; see the best hiking compasses. A headlamp helps for early starts (see best headlamps), and a power bank is worth the weight given limited charging between towns (see best power banks). A satellite messenger or PLB suits the remote Nevada-side segments: a safety purchase, not an affiliate pick, so buy or hire one you trust and register it before you go.
Kit at a Glance
| Category | Our Pick | Why It Matters Here |
|---|---|---|
| Bear canister | BearVault BV500 | Mandatory basin-wide, not just in wilderness; holds a full week of food |
| Water treatment | Sawyer Squeeze | Light, proven pick from the trail’s own thru-hiker gear guides |
| Water carry | Hydration bladder + soft bottles | Sized for the two genuinely dry Nevada-side segments |
| Sun hat | Sunday Afternoons Ultra Adventure Hat | Covers ears and neck for the shadeless Nevada-side ridgelines |
| Sunglasses | Smith Lowdown 2 | Cuts glare off the lake without losing trail detail in forest |
| Footwear (light) | Altra Lone Peak 8 | Wide toe box for back-to-back 20-mile days |
| Footwear (supportive) | Merrell Moab 3 Mid | Ankle support on the loose shale near Relay Peak |
| Trekking poles | Black Diamond Alpine Carbon Cork | Stability across the trail’s constant rolling elevation |
| Insulated jacket | North Face ThermoBall Eco Jacket 2.0 | Keeps insulating through condensation at the higher camps |
| Backpack | Kelty Asher 65L | Carries the canister and dry-stretch water onto your hips |
| Shelter | Kelty Grand Mesa 2P | Freestanding, vents well on established campsites |
| Rain shell | Marmot PreCip Eco | Seam-sealed for fast-building Sierra afternoon storms |
What You Can Skip
Plenty of hikers carry weight this trail never asked for.
You do not need a food hang or an Ursack-style bag here. The basin-wide rule means one hard-sided canister handles the whole trip, and rangers check, so an alternative that passes on other trails is not worth the risk on this one.
You do not need maximum water capacity for the entire route. The west side has water at nearly every turn, so size your carry to the two dry Nevada-side segments, not the average day.
You do not need microspikes or an ice axe for a standard July to September hike. They only earn a place on an early-June start, when snow can linger near Relay Peak, and even then most thru-hikers manage without them.
And you do not need brand-new boots or a sleeping pad you have never slept on. Twenty-mile days are the wrong place to discover a hot spot or a slow leak.
Renting vs Buying: The Bear Canister
If this is your first canister trip, you do not need to own one outright. Canisters can be rented at the Taylor Creek Visitor Center or the Placerville Ranger Station when you pick up your Desolation Wilderness permit, a sensible way to try the trail before buying. Hikers doing more Sierra trails will find a BV500 pays for itself within a couple of trips.
Final Thoughts
That is what to pack for the Tahoe Rim Trail: a canister rule stricter than most nearby trails, two segments where water planning genuinely matters, and long shadeless stretches that catch forest-trail hikers off guard. Get those three right and the rest of the kit falls into place.
Once your kit is sorted, plan the route, permits, and the driest sections with the full Tahoe Rim Trail guide, and back up your gear logic with multi-day hiking gear: what you actually need. If this loop has you thinking about the deeper, more committing granite country a range further south, see our What to Pack for the Rae Lakes Loop guide.
Frequently Asked Questions
Do I need a bear canister for the entire Tahoe Rim Trail?
Yes. Since January 2024, a hard-sided canister has been required for food storage across the entire basin, not just inside Desolation Wilderness. This is stricter than most nearby Sierra trails and catches experienced hikers out. Rangers check, and canisters can be rented locally if you do not want to buy one.
What is the biggest gear mistake people make on this trail?
Underpacking for sun exposure. Hikers picture the TRT as shaded forest and get caught out by the long, open stretches on the Nevada side, especially the Mt. Rose to Spooner and Spooner to Kingsbury South segments. A wide-brim hat, UV-filtering sunglasses, and a long-sleeve sun layer belong in every pack here.
Can I rent gear near the trailhead?
Bear canisters can be rented at the Taylor Creek Visitor Center in South Lake Tahoe or the Placerville Ranger Station. There is no broader gear rental operation at the trailhead itself, so arrive with the rest of your kit sorted.
How heavy should my pack be for the Tahoe Rim Trail?
Most hikers on a 7 to 9 day pace land between 28 and 38 pounds loaded, with several days of food and a canister. The canister alone adds close to 2 pounds before it holds a meal, so weigh your base kit without it first, then account for canister and food separately, especially heading into the dry Nevada-side segments.
